Julie & Alan Glaysher
Julies Box
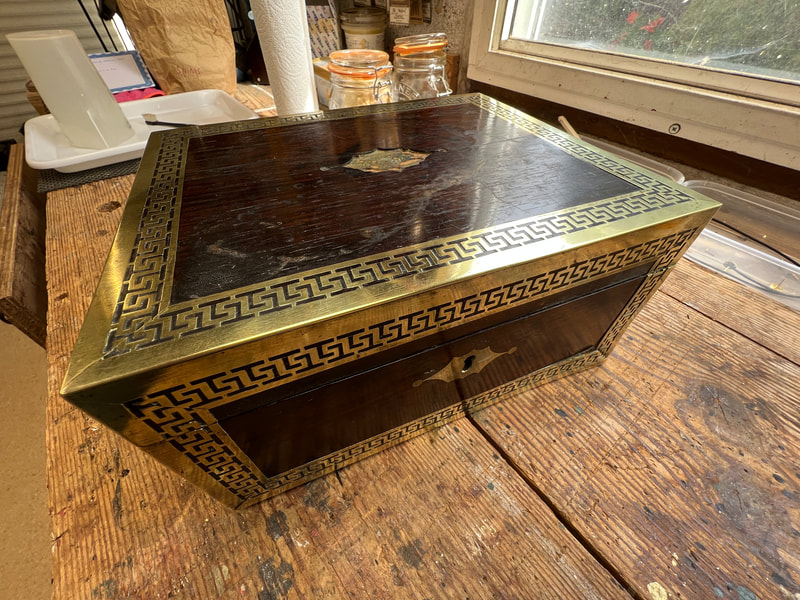
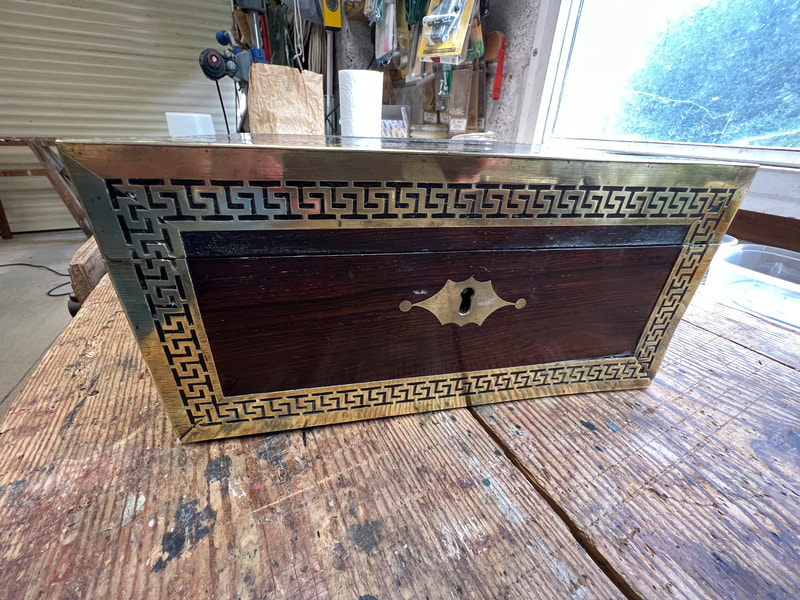
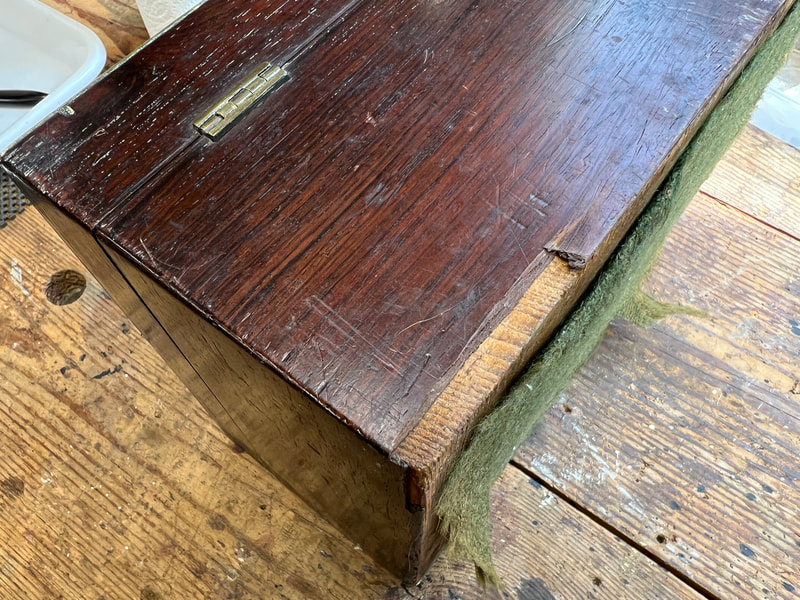
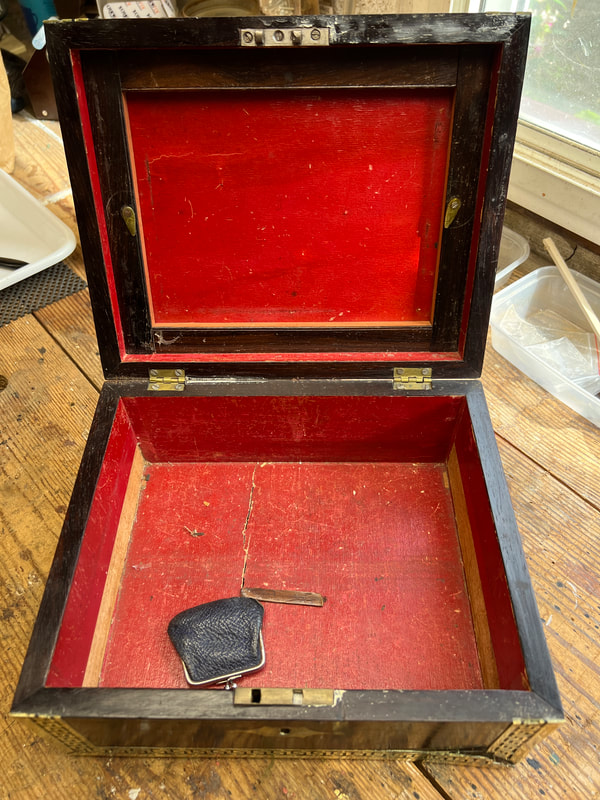
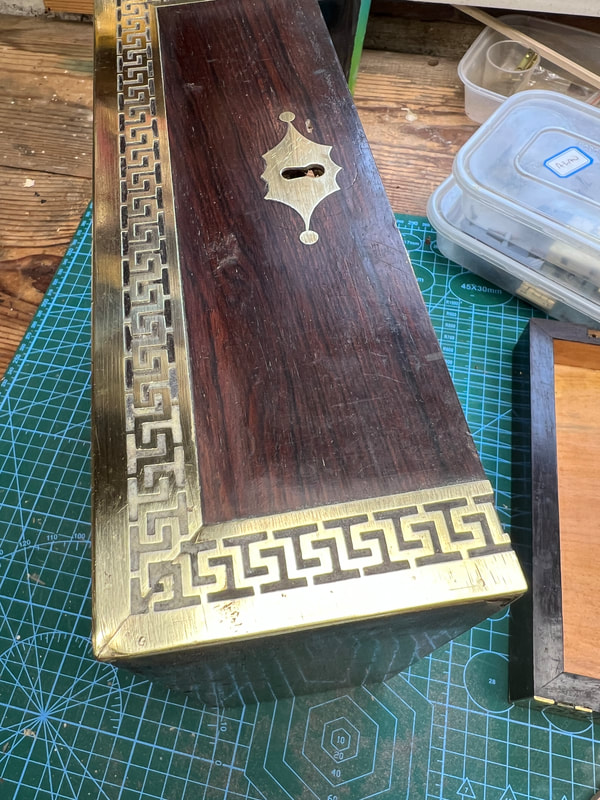
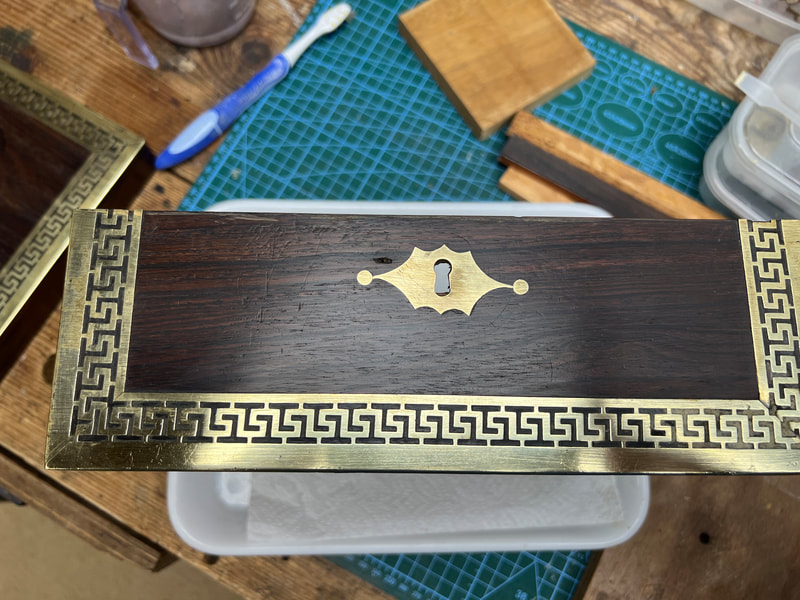
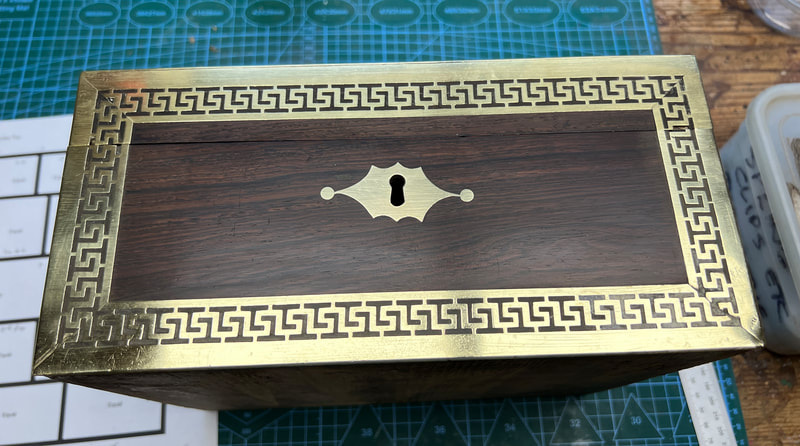
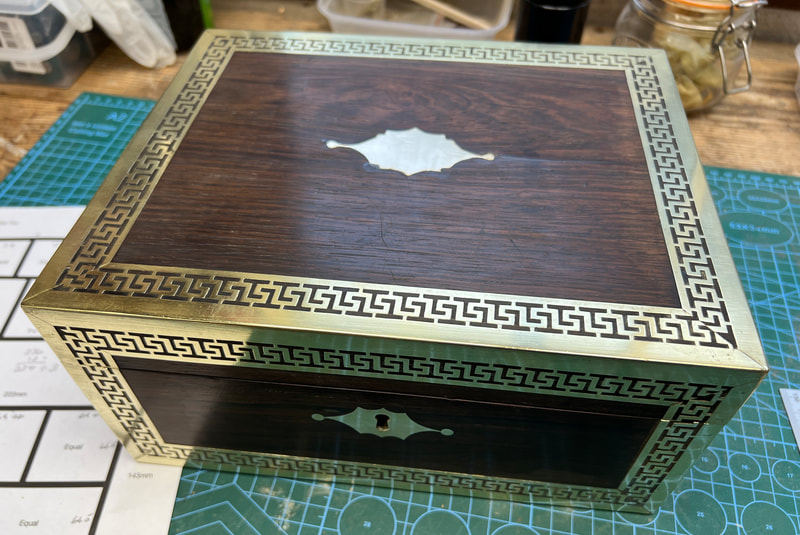
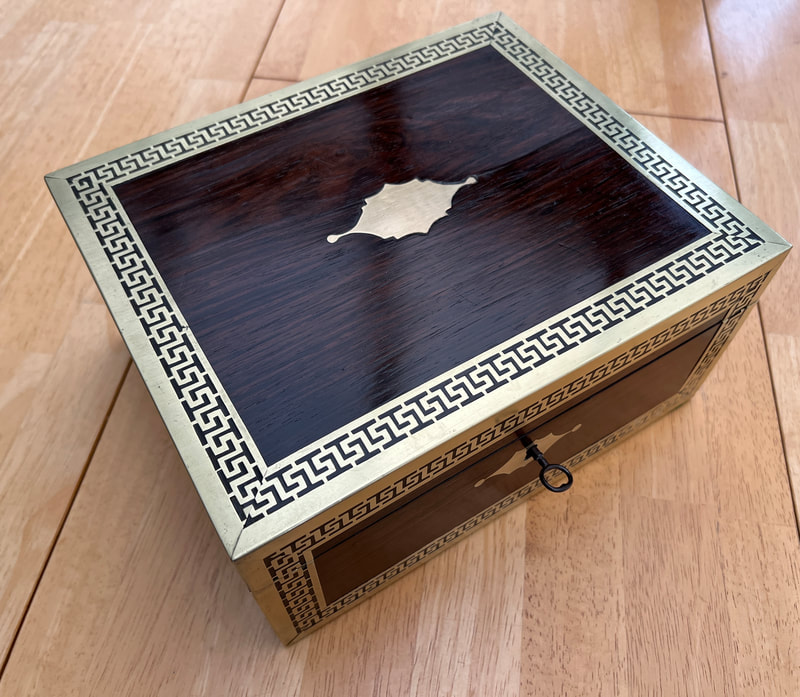
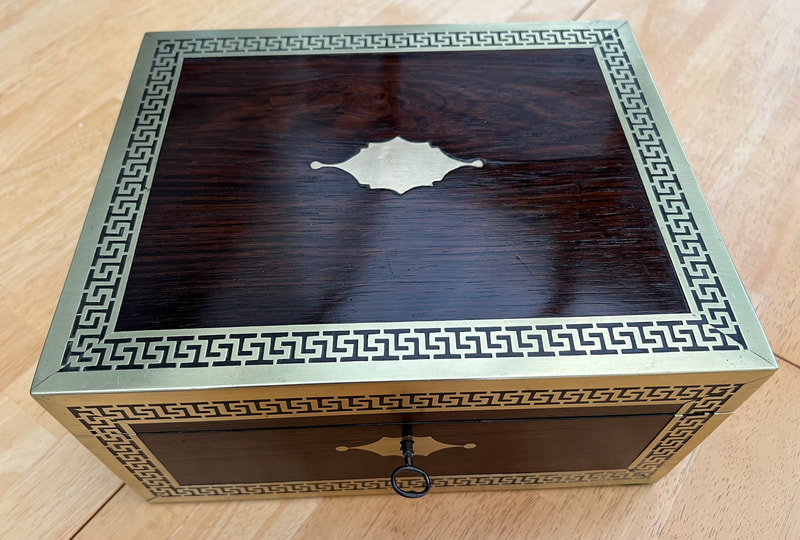
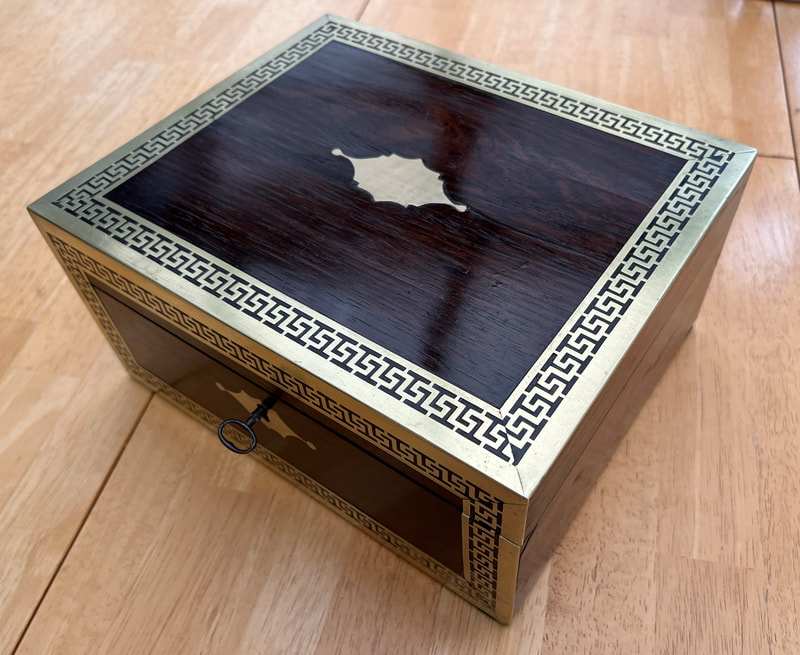
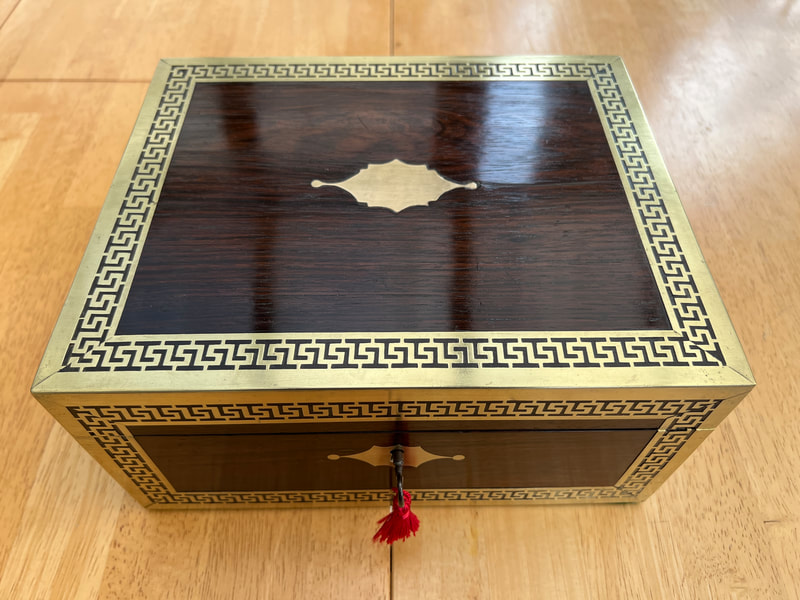
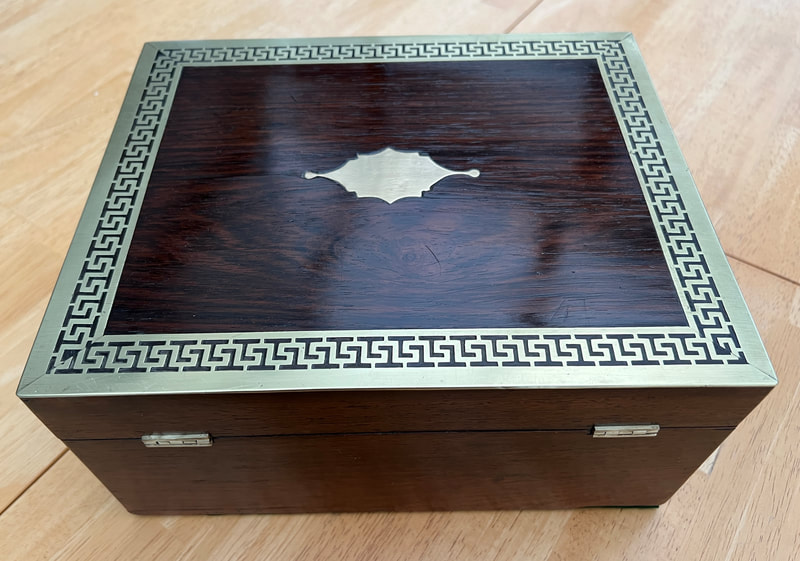
Coromandel veneered box with brass boule work to top and front.
Structure basically sound, but with a few minor issues.
Structure basically sound, but with a few minor issues.
Issues:
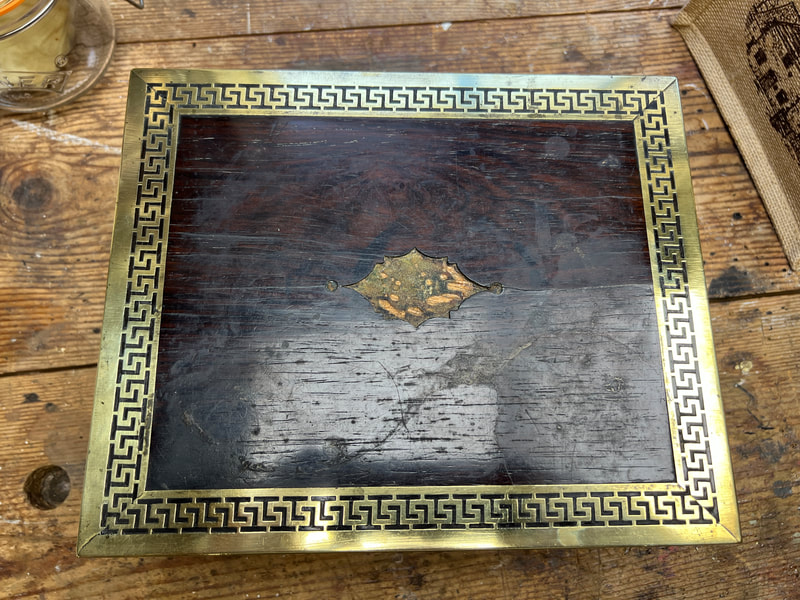
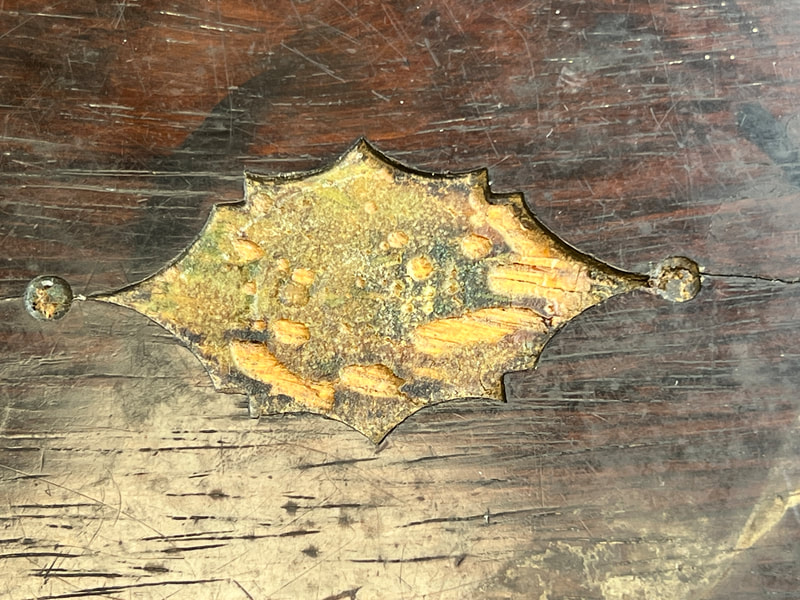
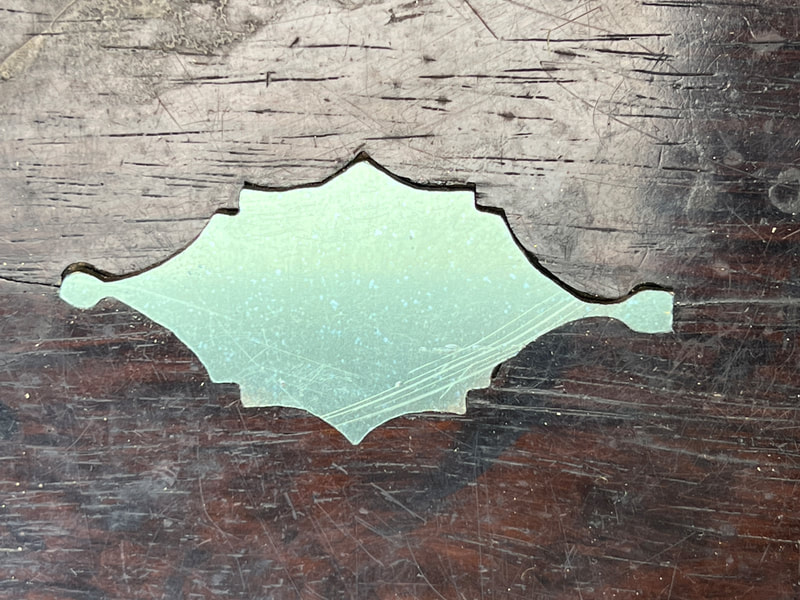
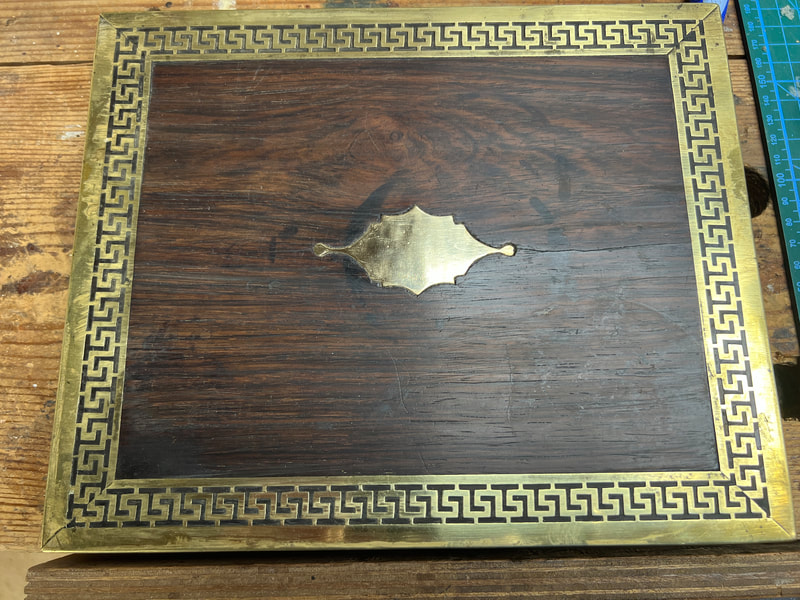
Brass cartouche missing from the lid
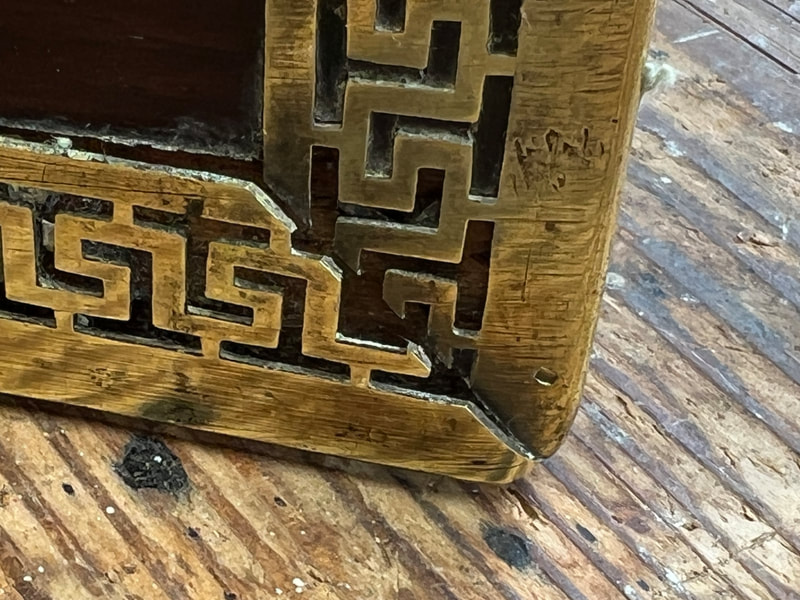
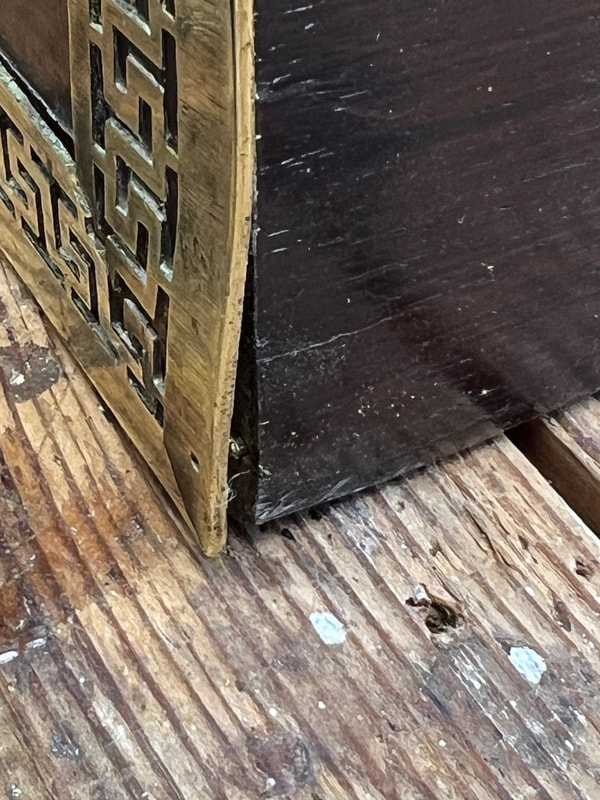
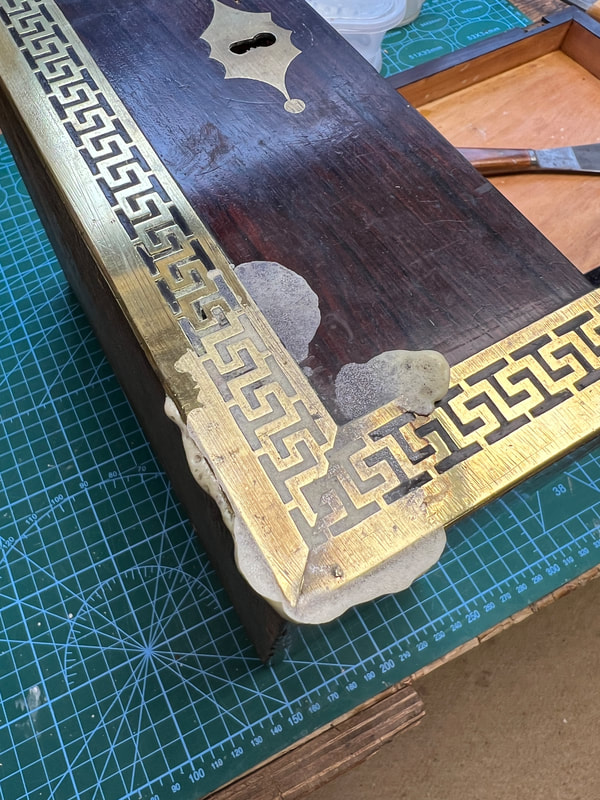
Some brass inlay to bottom right lifted and veneer inserts missing
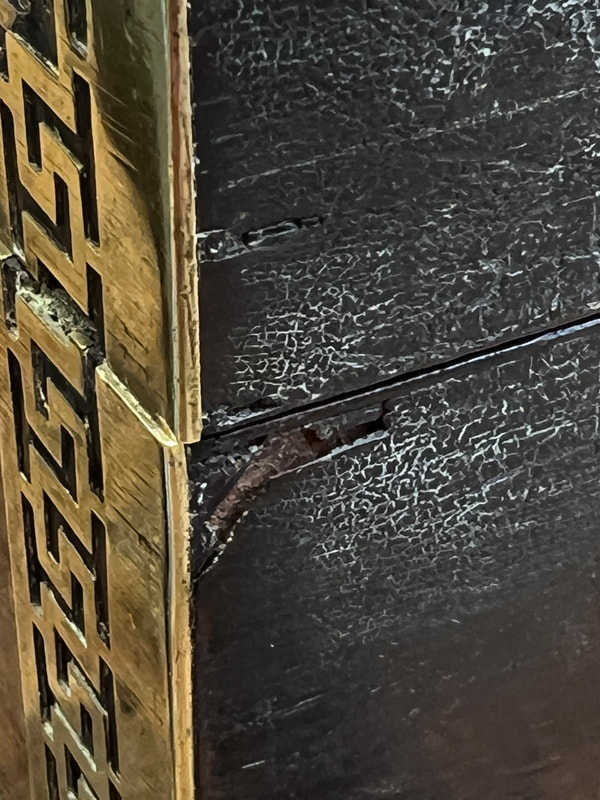
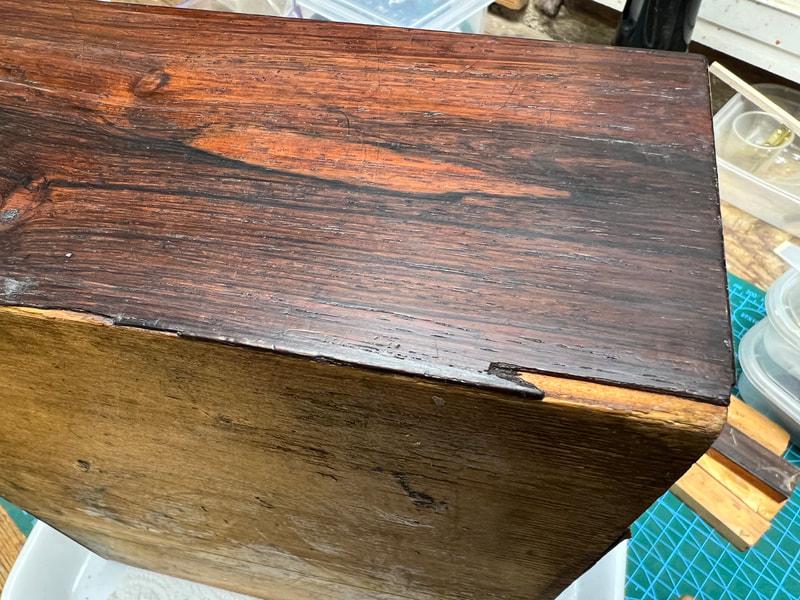
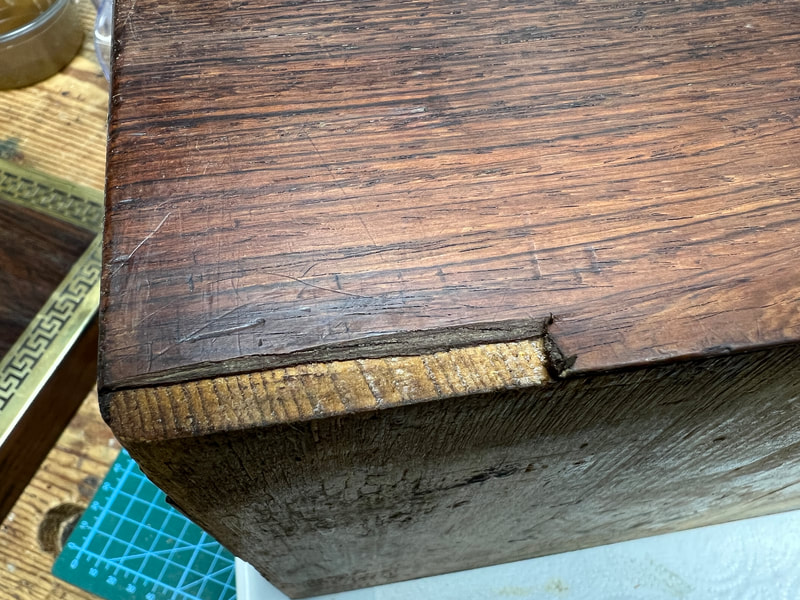
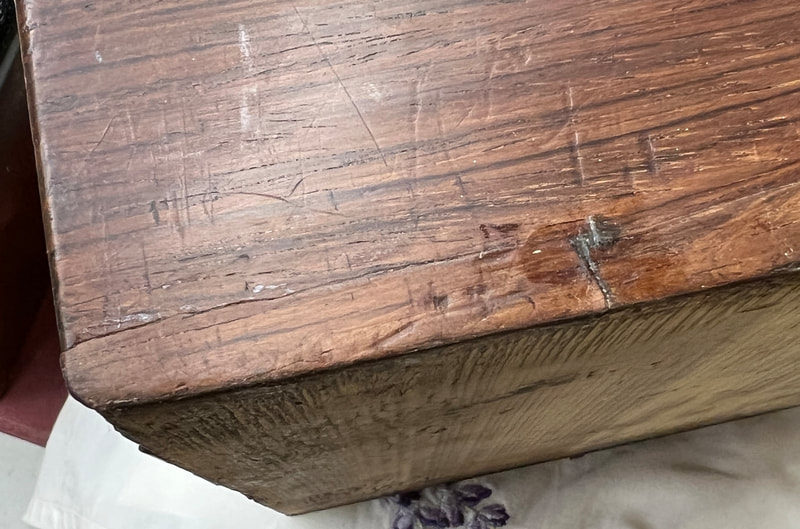
Several small pieces of veneer missing. One original supplied
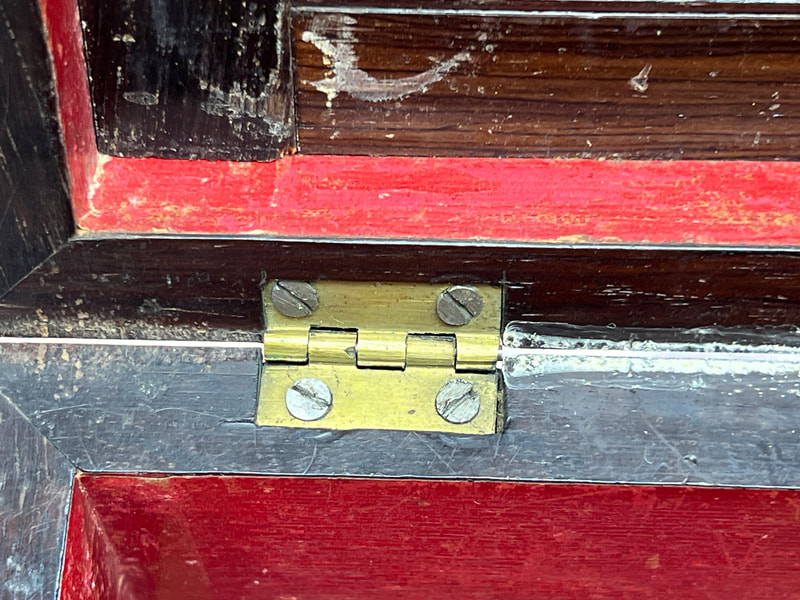
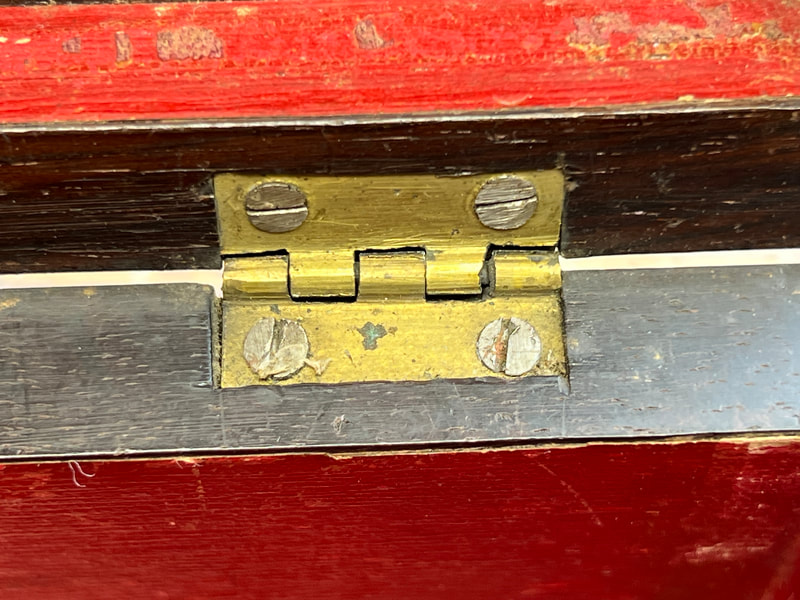
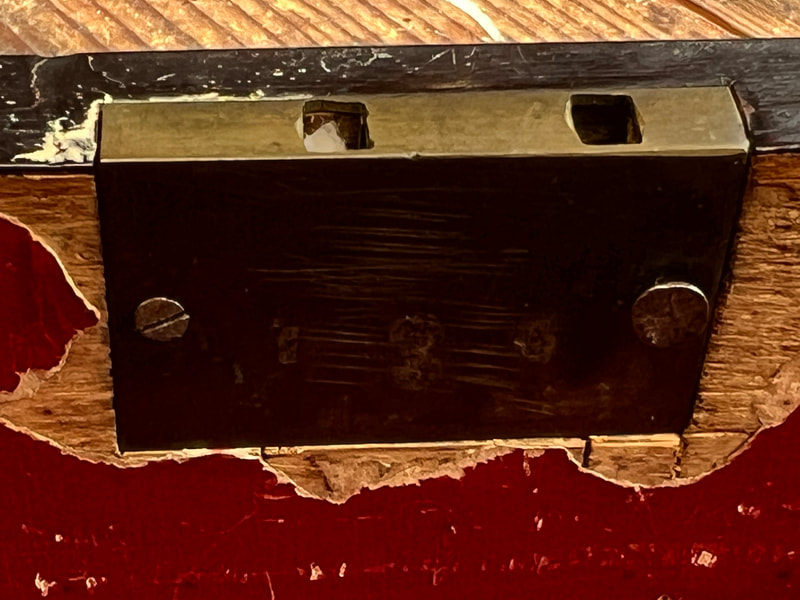
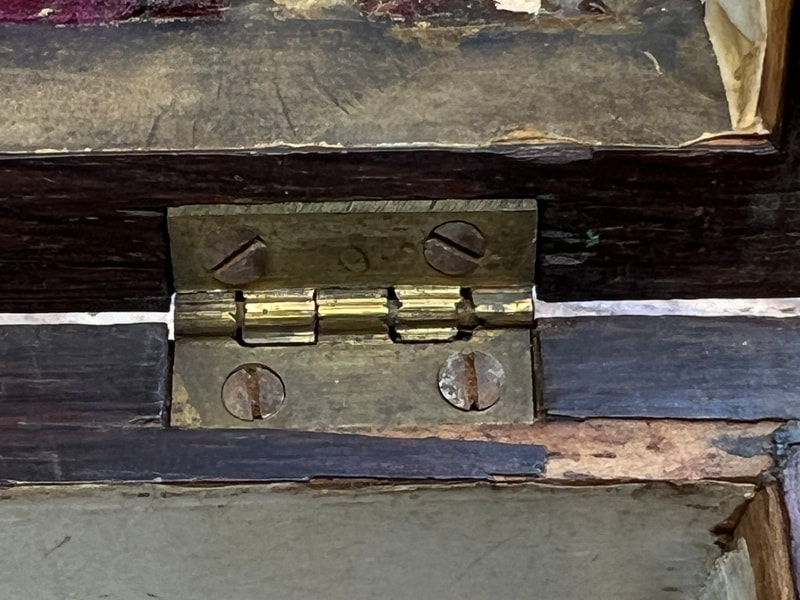
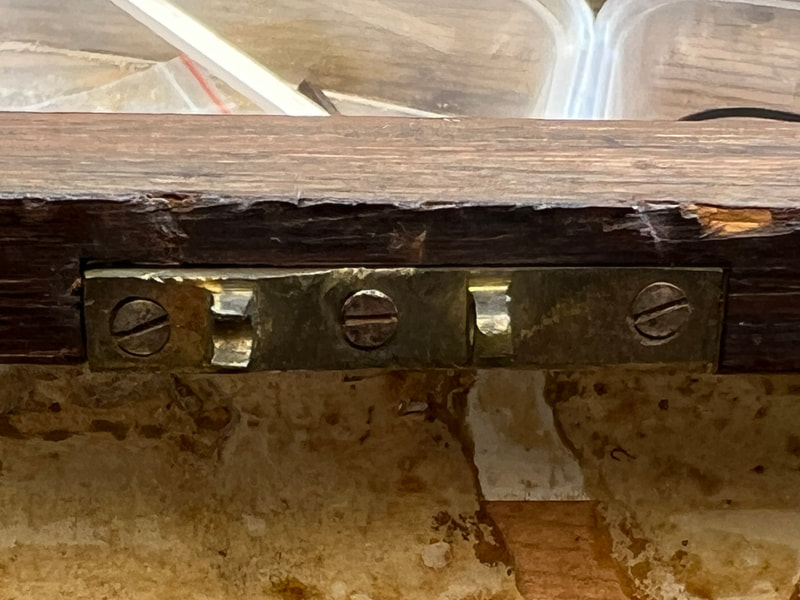
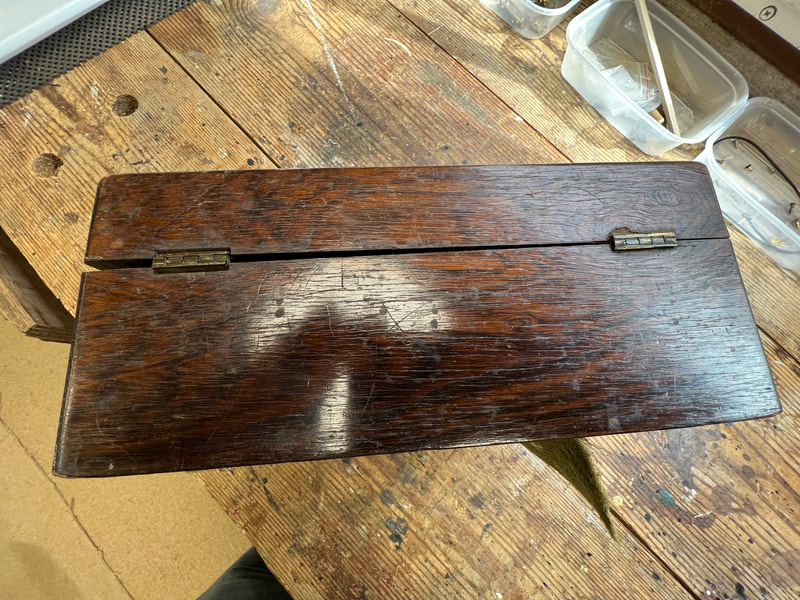
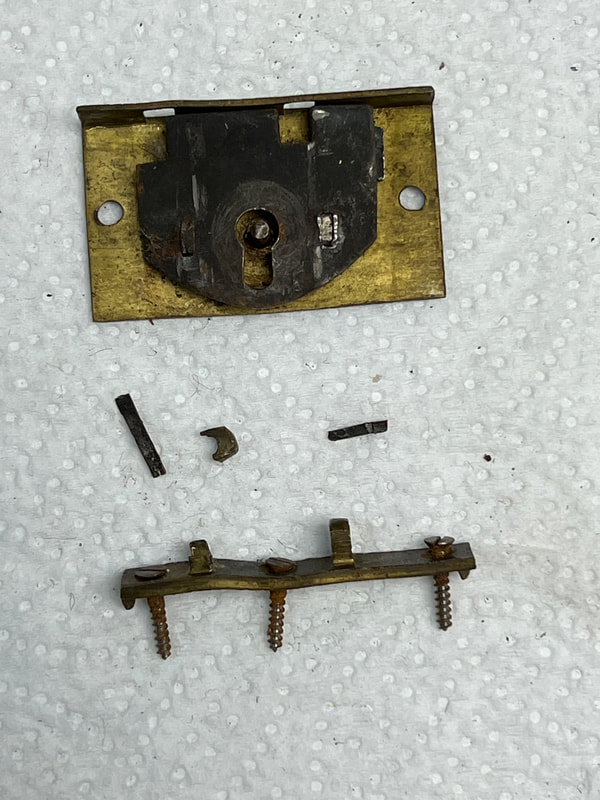
Hinges loose. Lock nailed in position. Key provided.
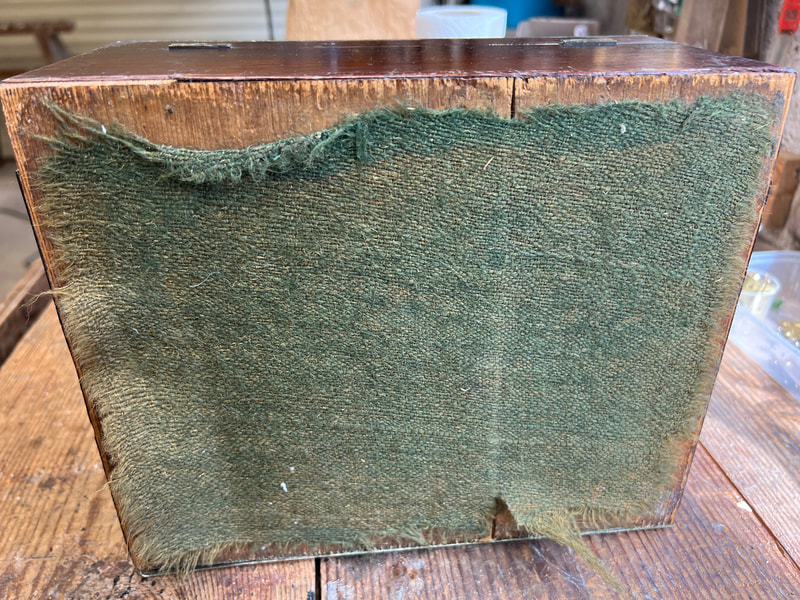
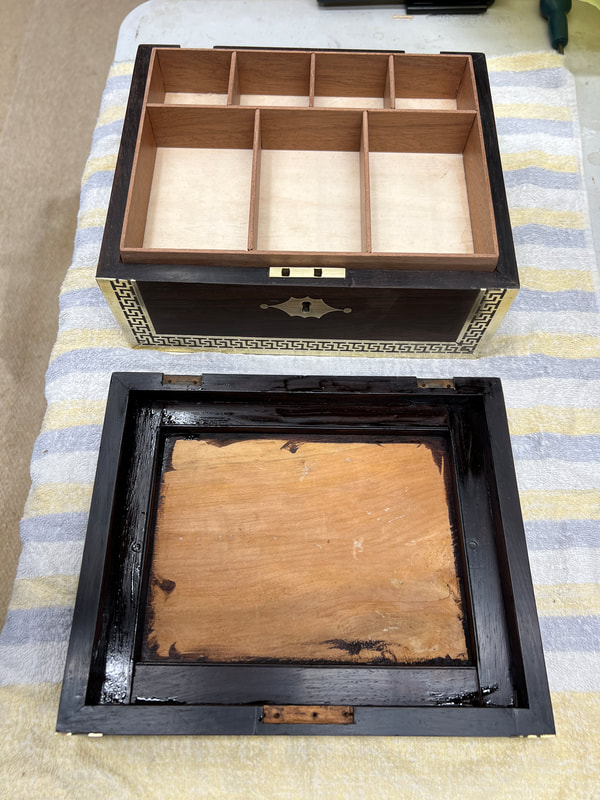
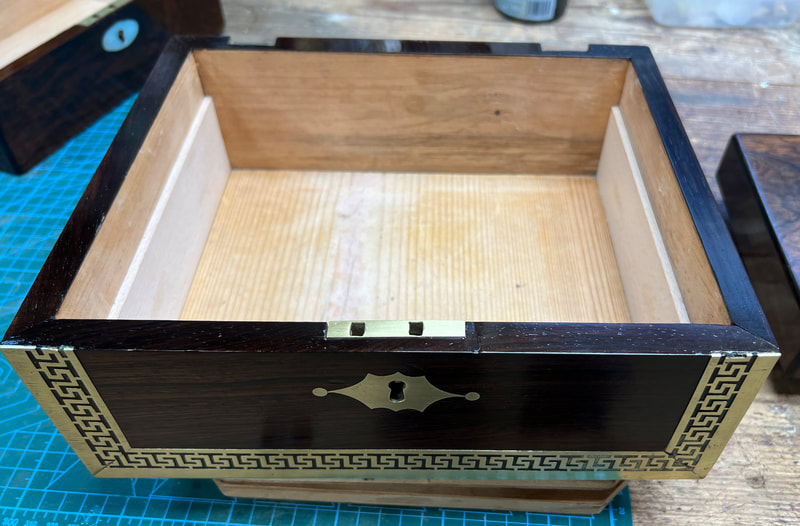
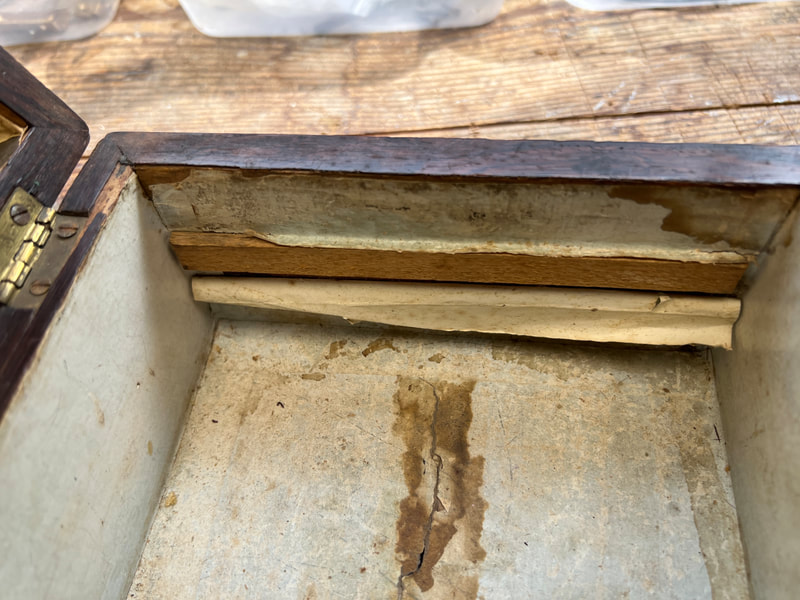
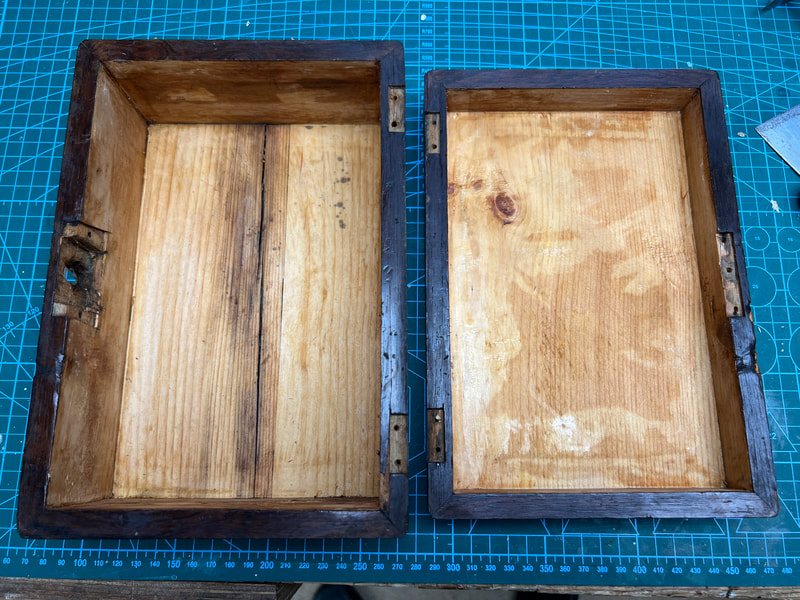
Tray and supports missing
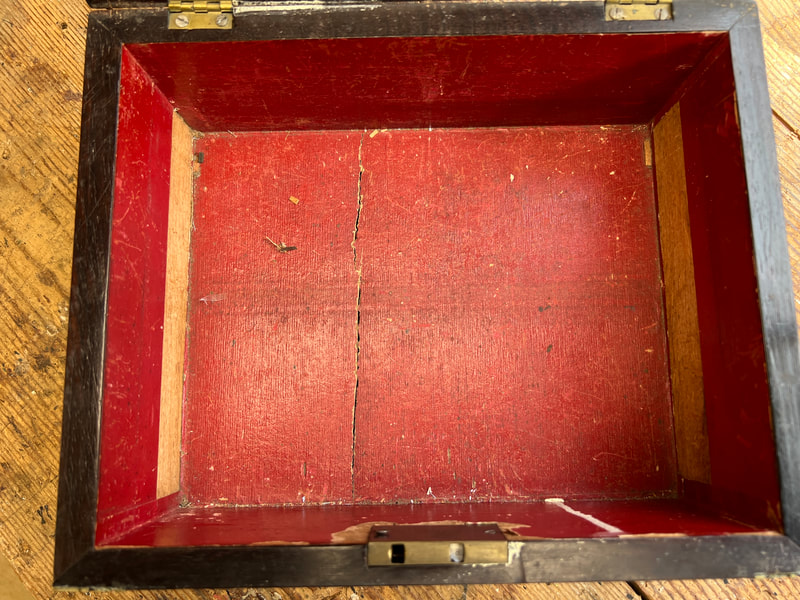
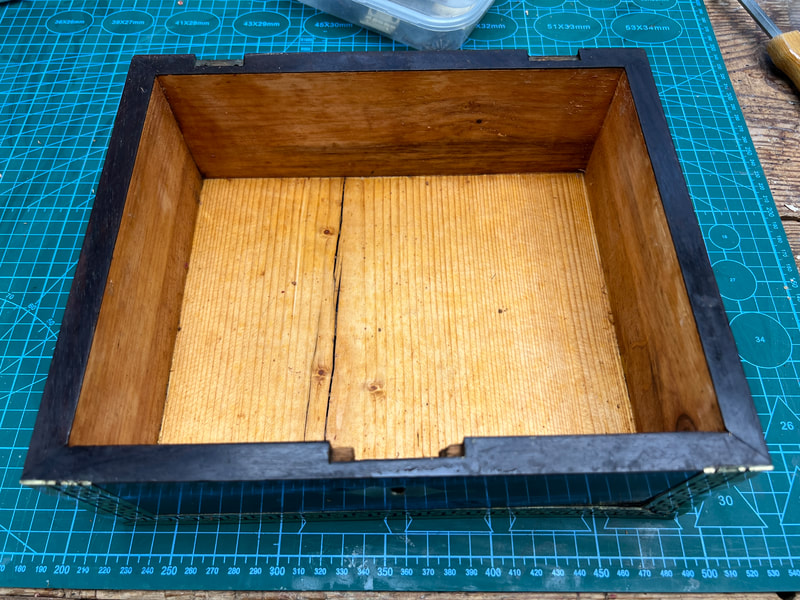
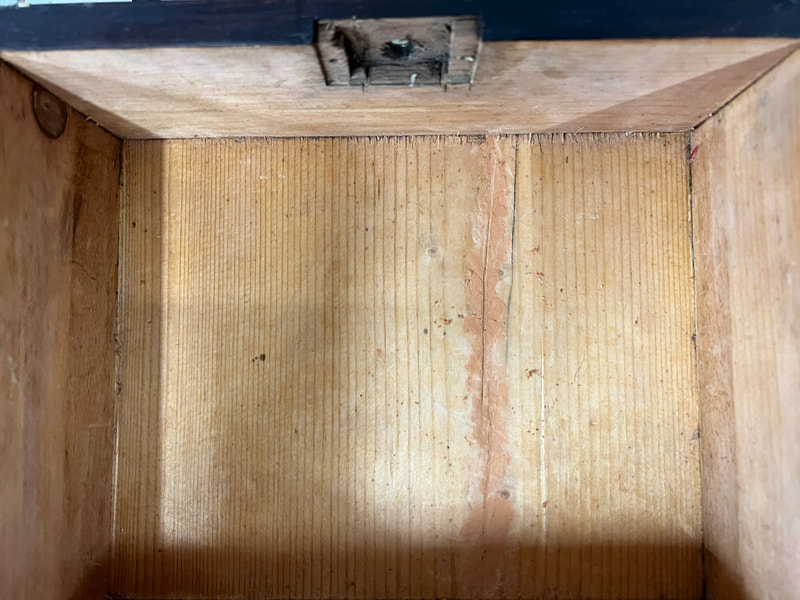
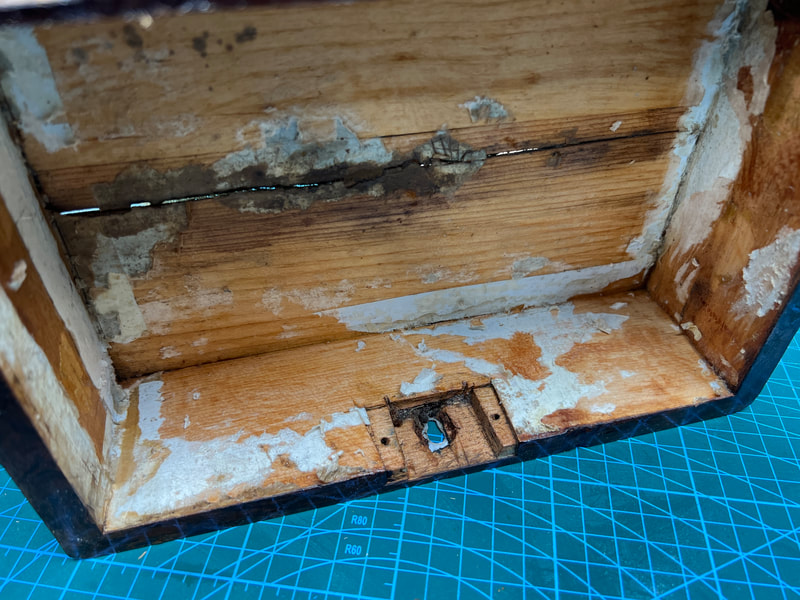
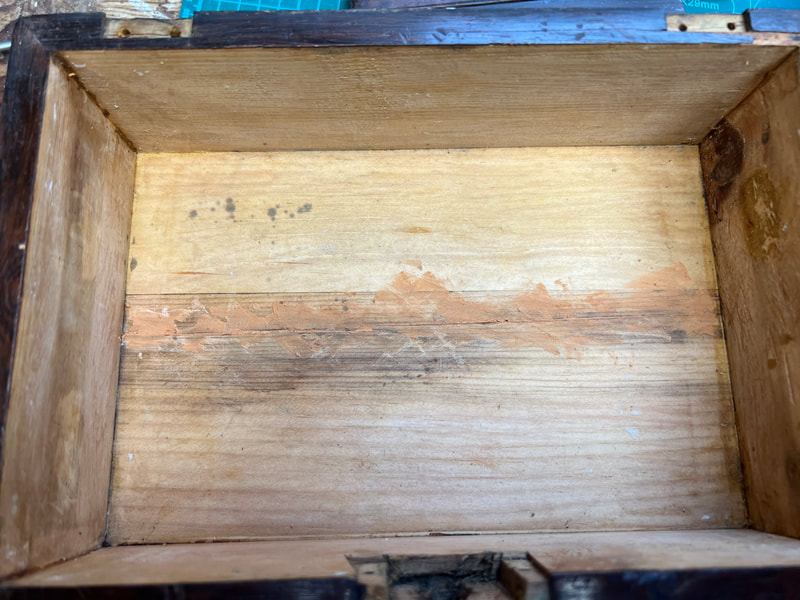
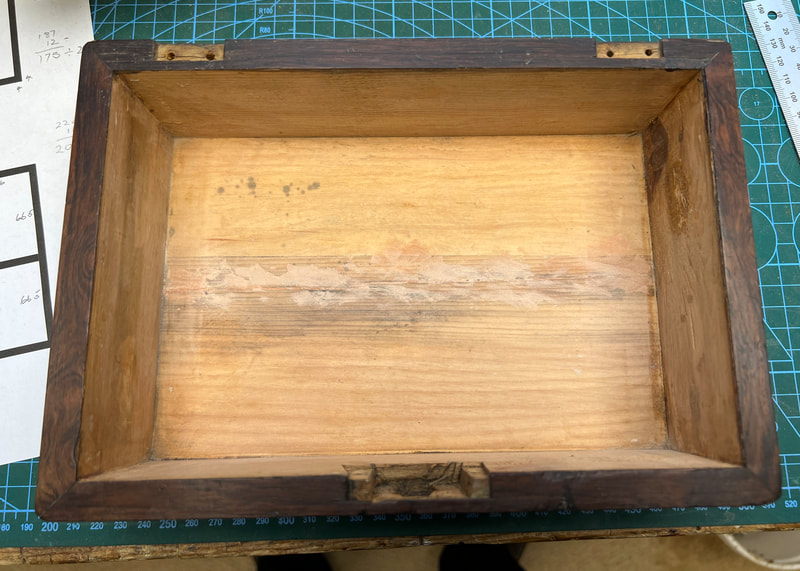
Large crack in base
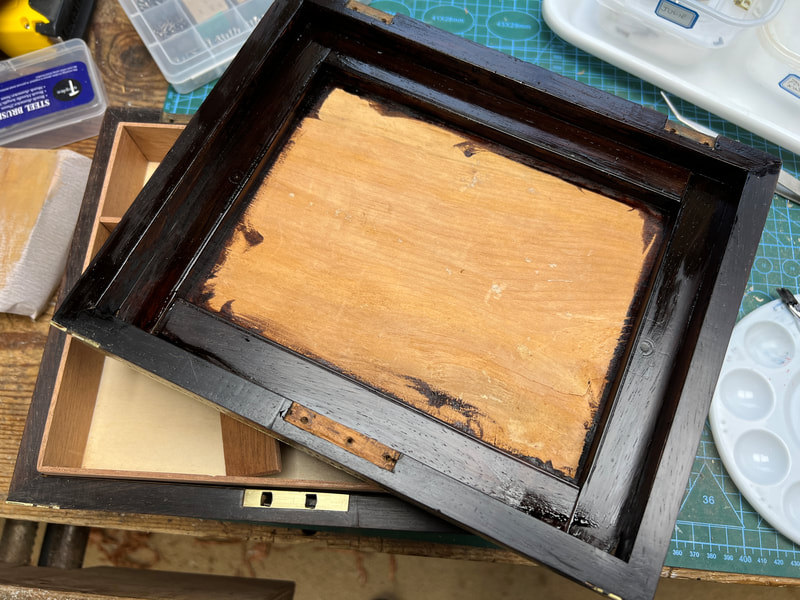
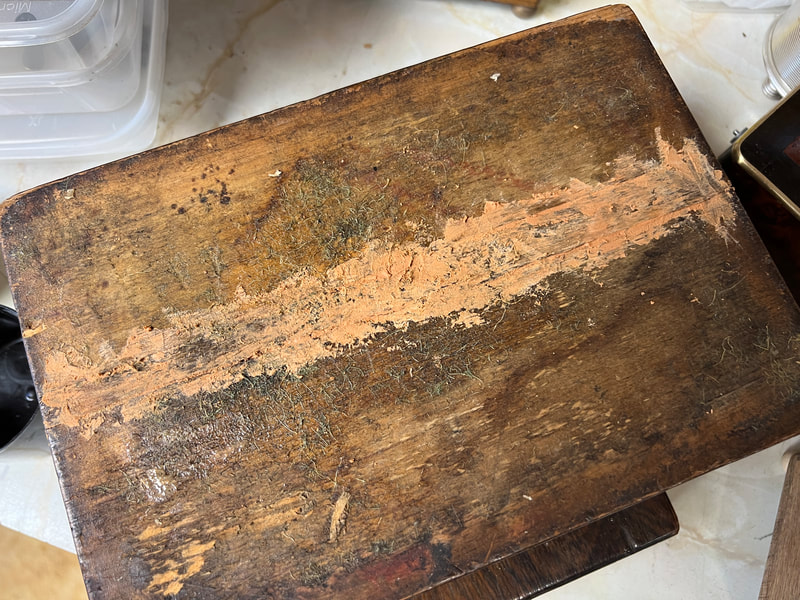
Beize on base in poor shape
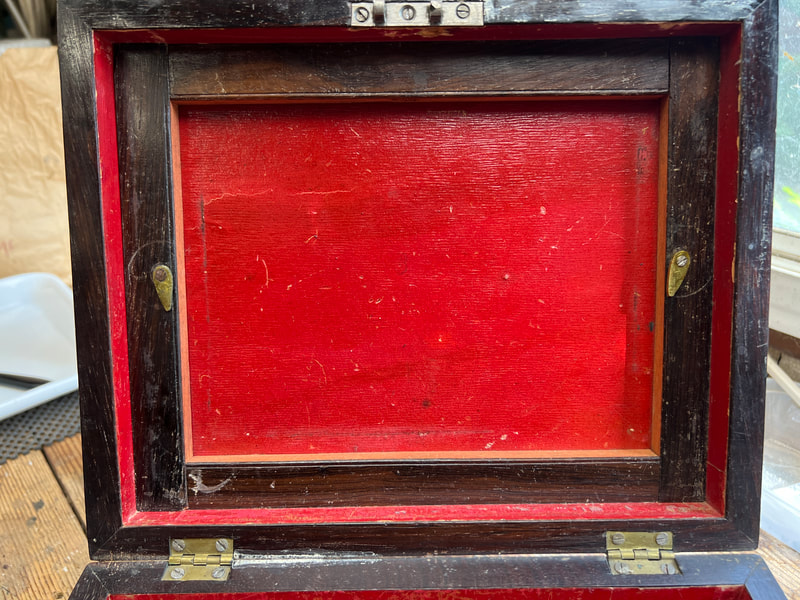
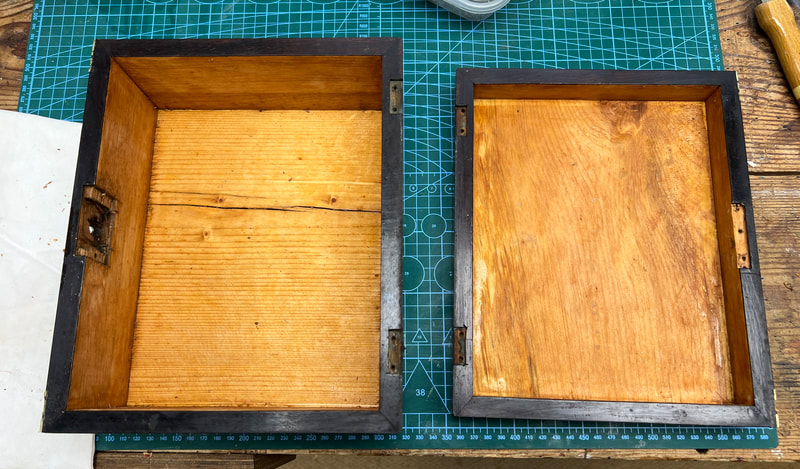
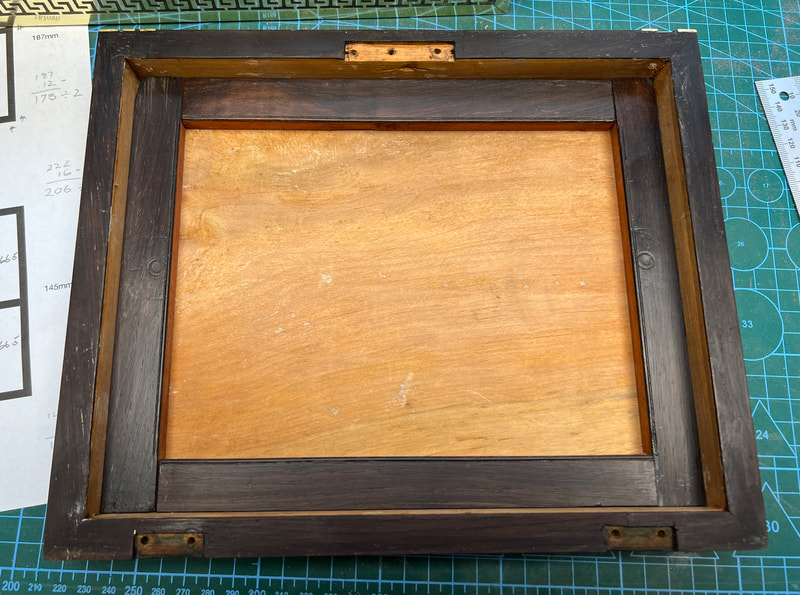
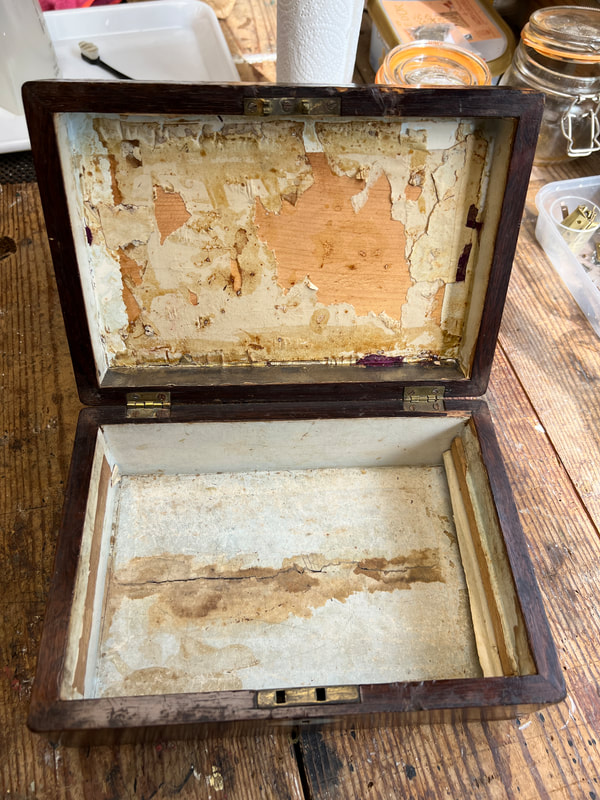
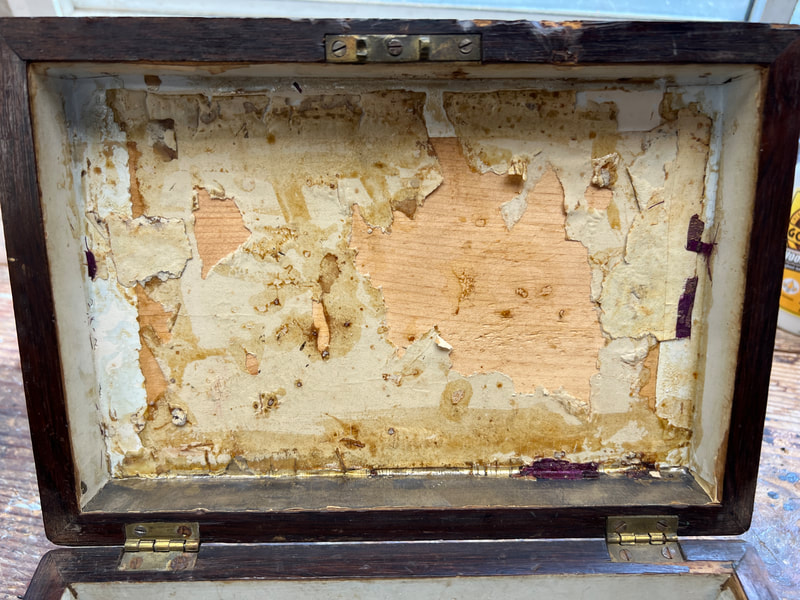
Lid interior has one loose rail and no centre content
Photos below of the box as received
Planned work
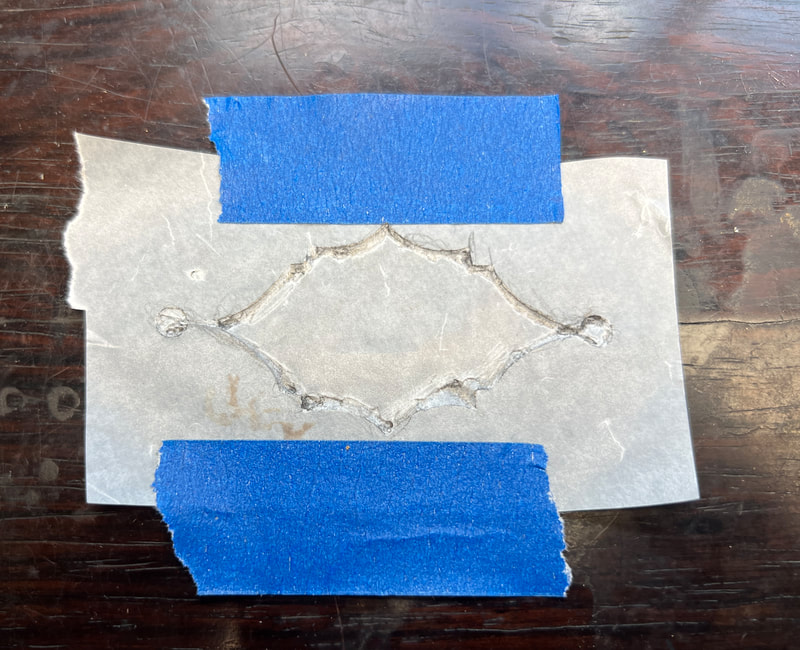
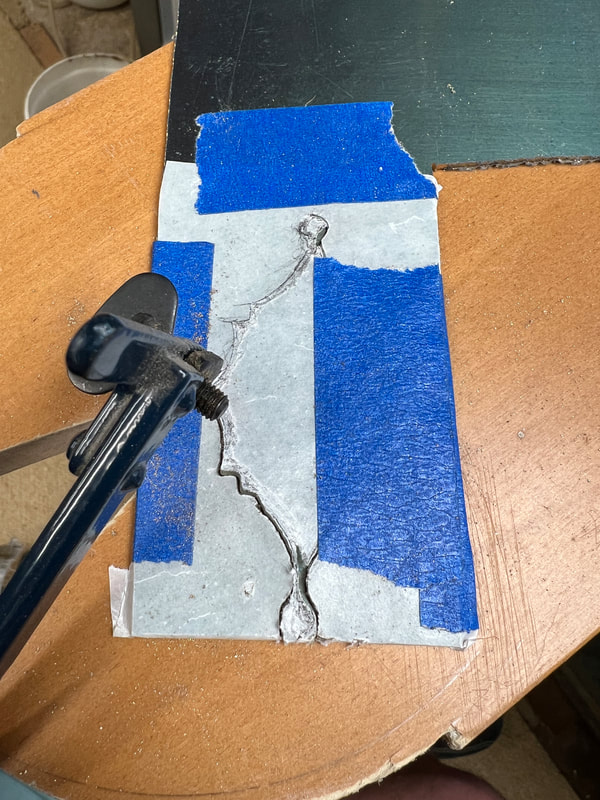
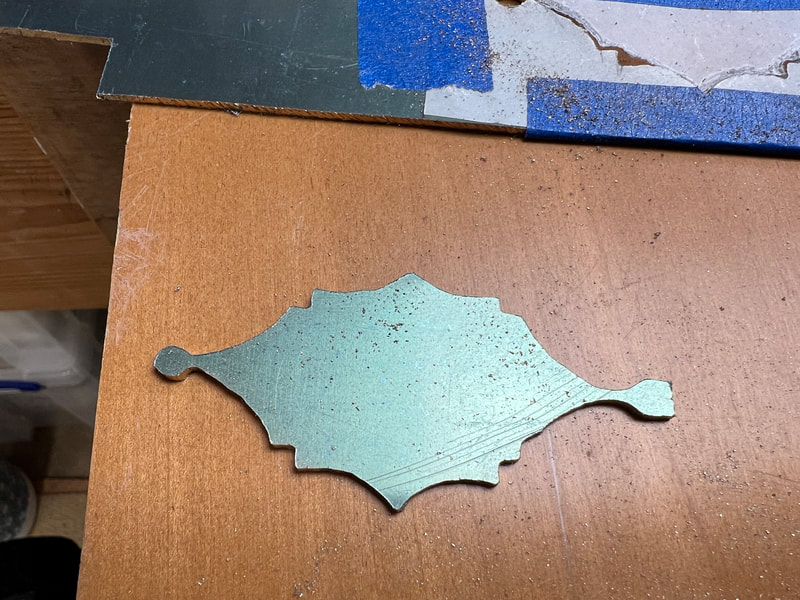
Make new central brass inlay for lid and fit.
Refit lifted brass to RH front corner. Make and fit missing hardwood inlays
Remove hinges, polish and re-fit. Provide new screws where necessary
Remove lock and keep, clean and service. Provide red tassel for key
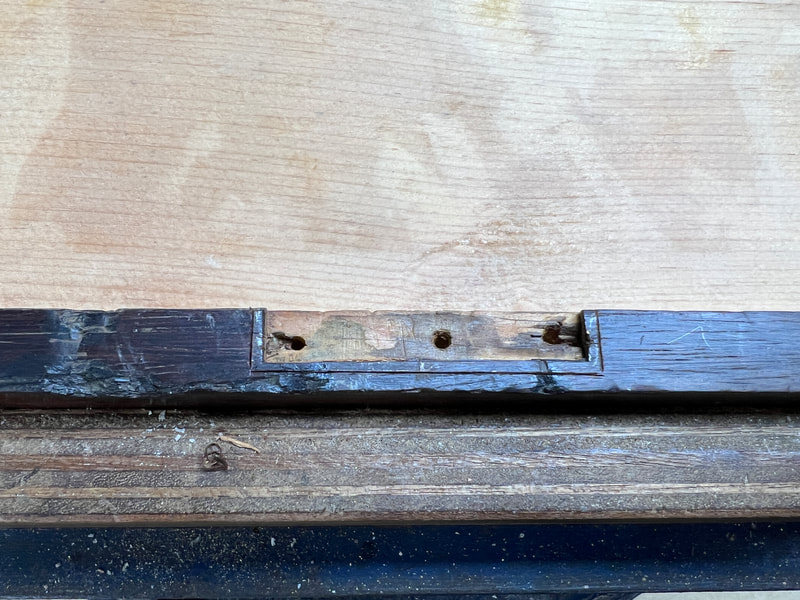
Remove toggles from lid frame and fill holes. Re-glue loose piece
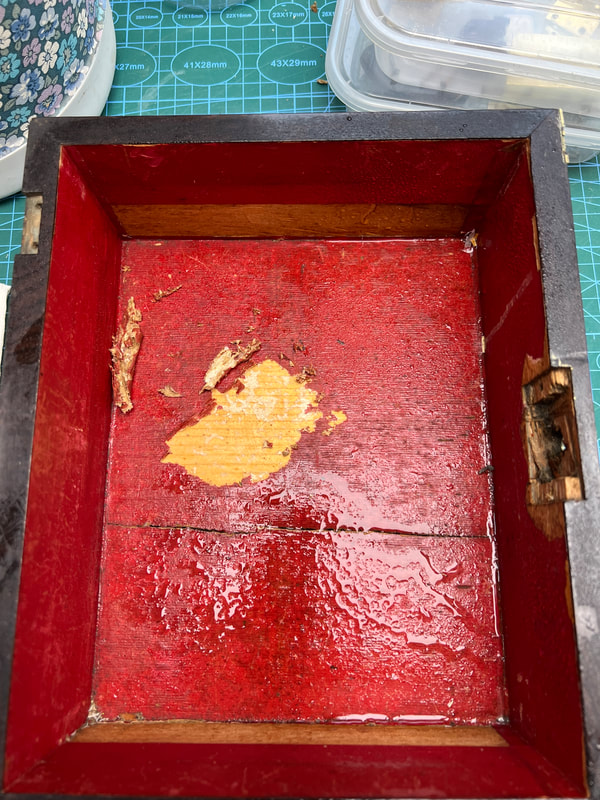
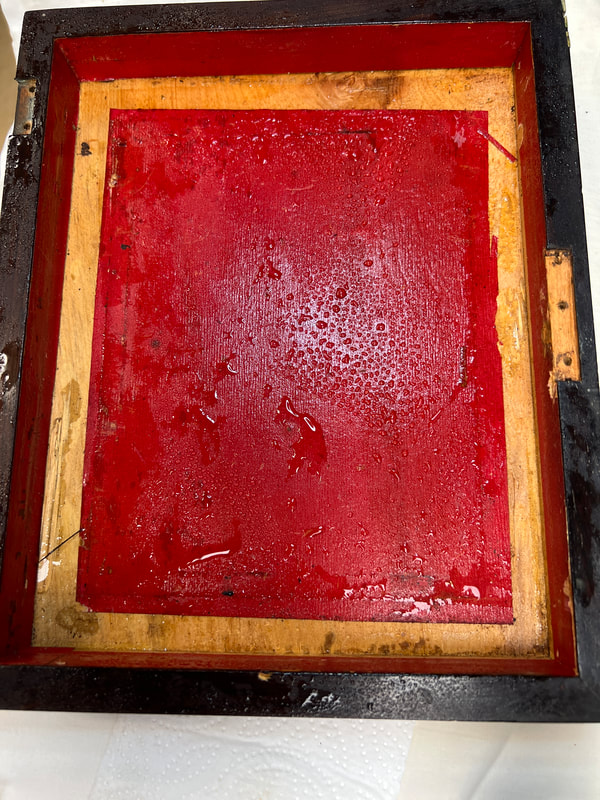
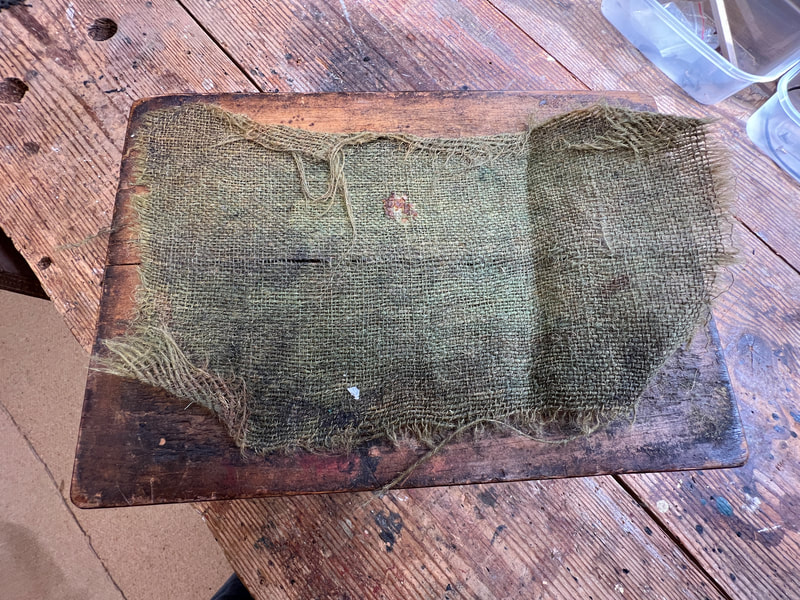
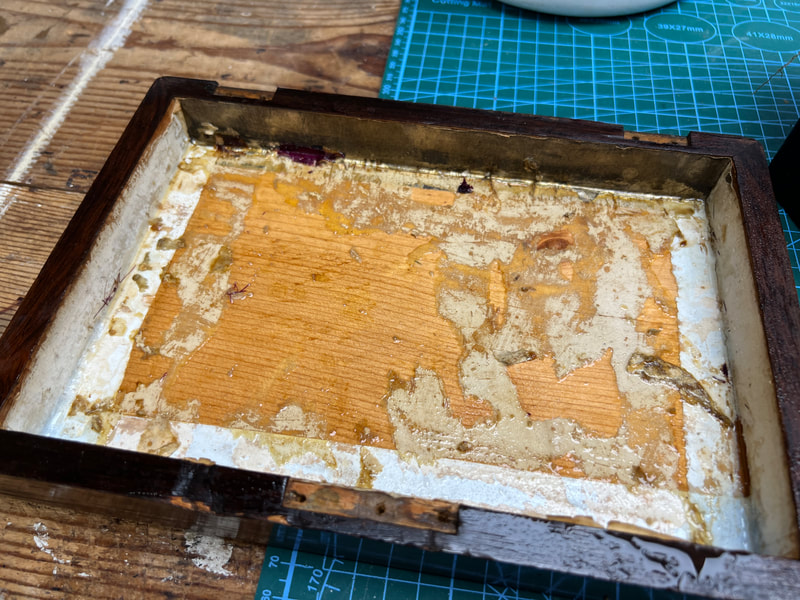
Strip red interior.
Repair crack in base
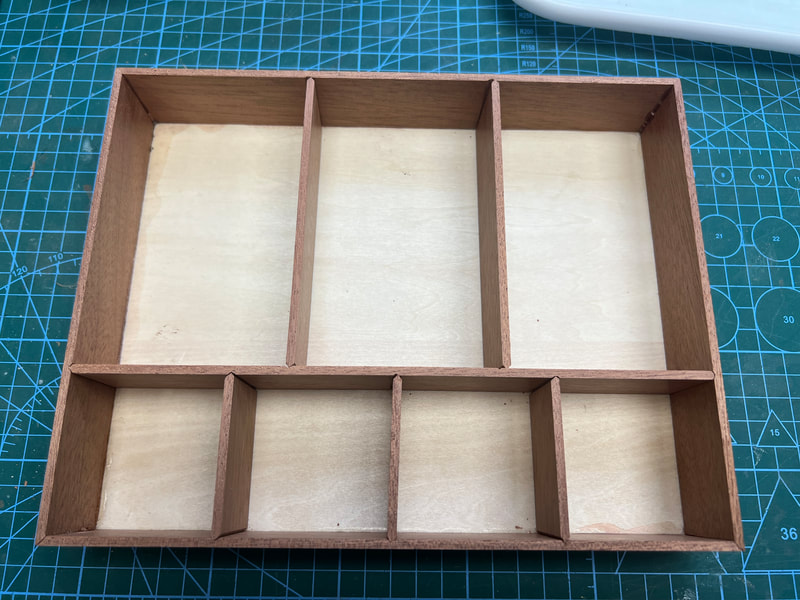
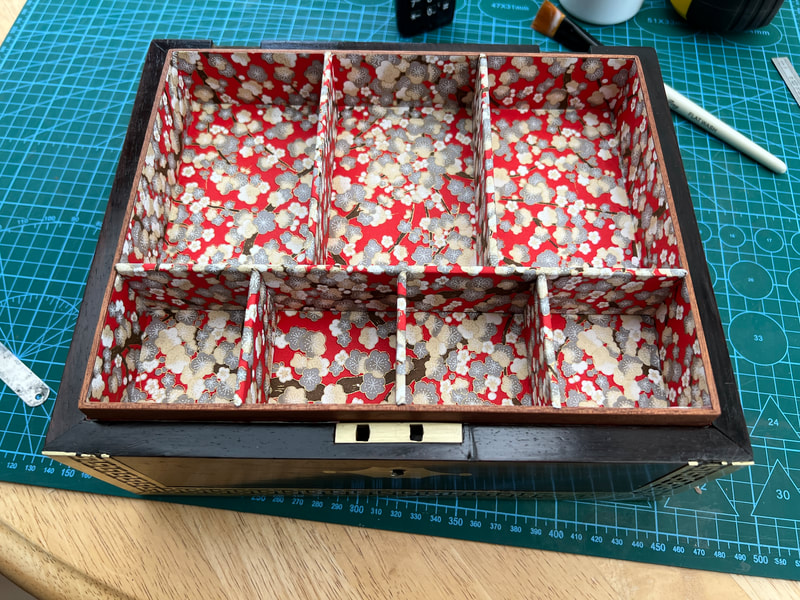
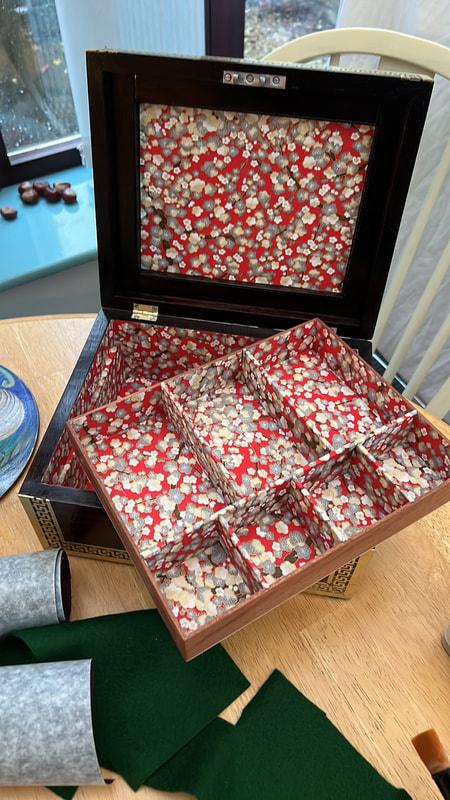
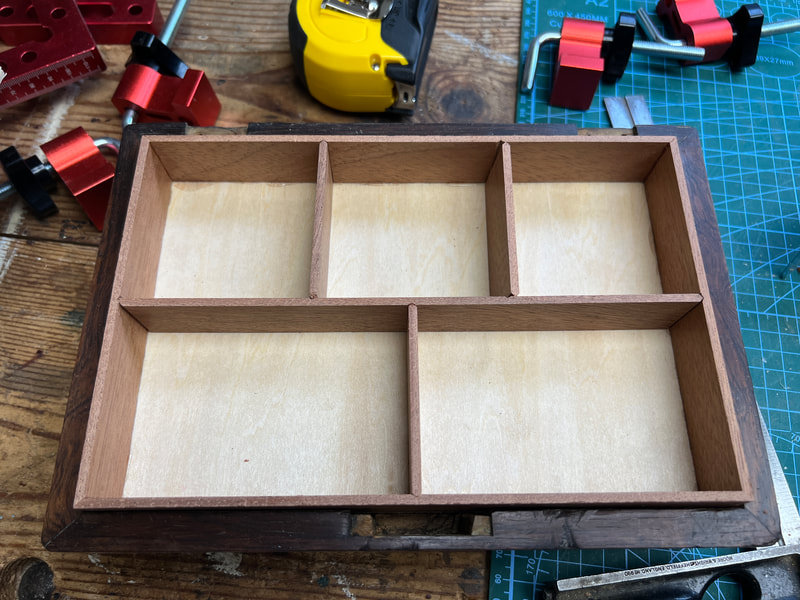
Make and fit new tray, dividers and supports.
Re-glue detached piece of veneer.
Supply and fit missing veneers where necessary
Polish all brass boule work and escutcheon.
Clean off exterior polish, abrade and repolish with pure clear shellac to a mid shine. Includes frame to inside of lid.
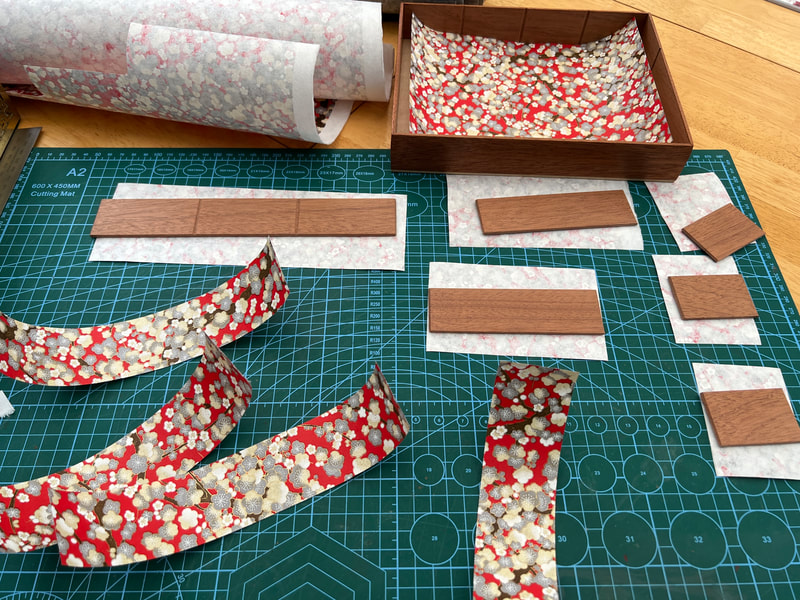
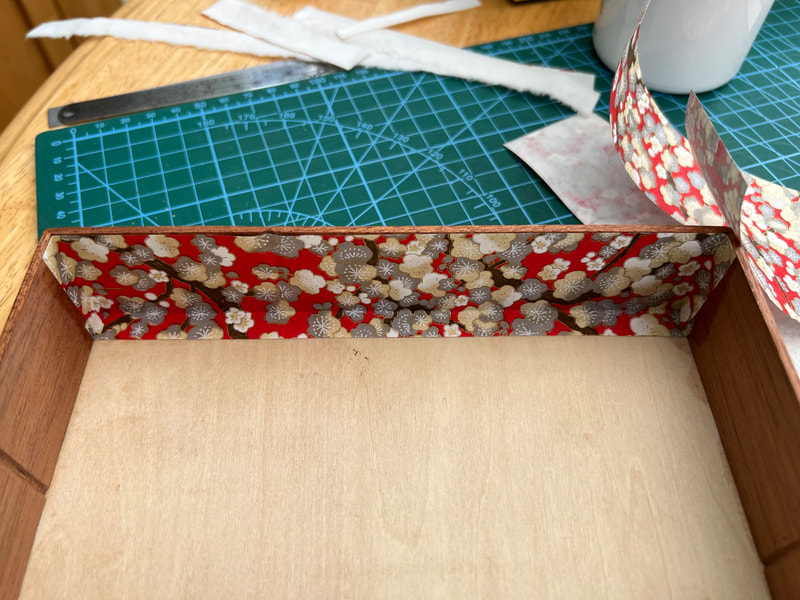
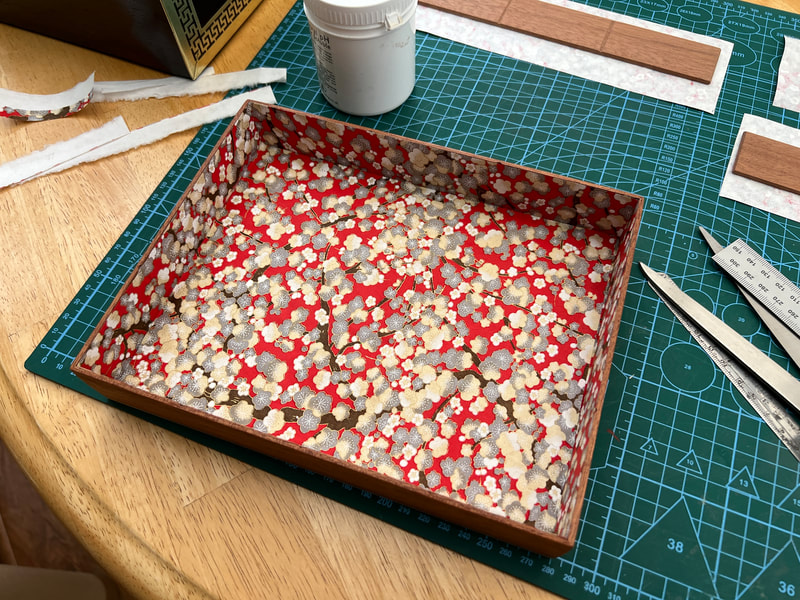
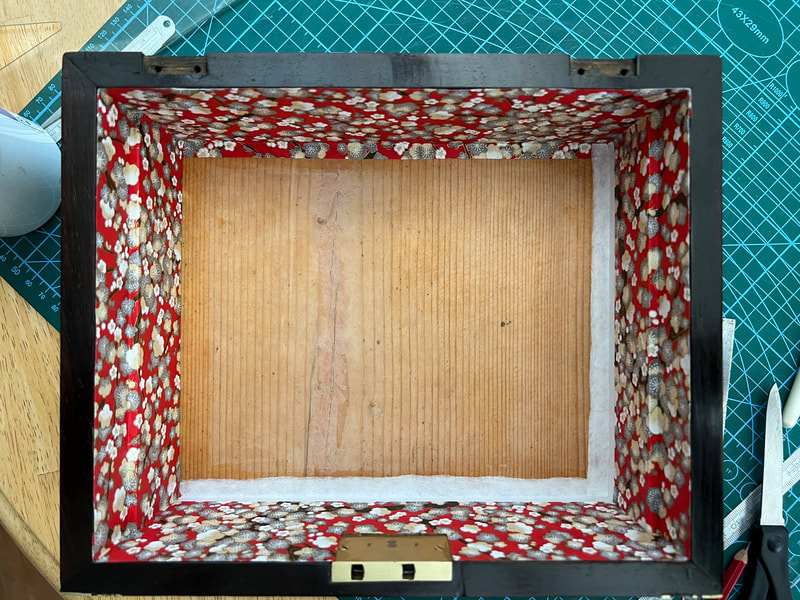
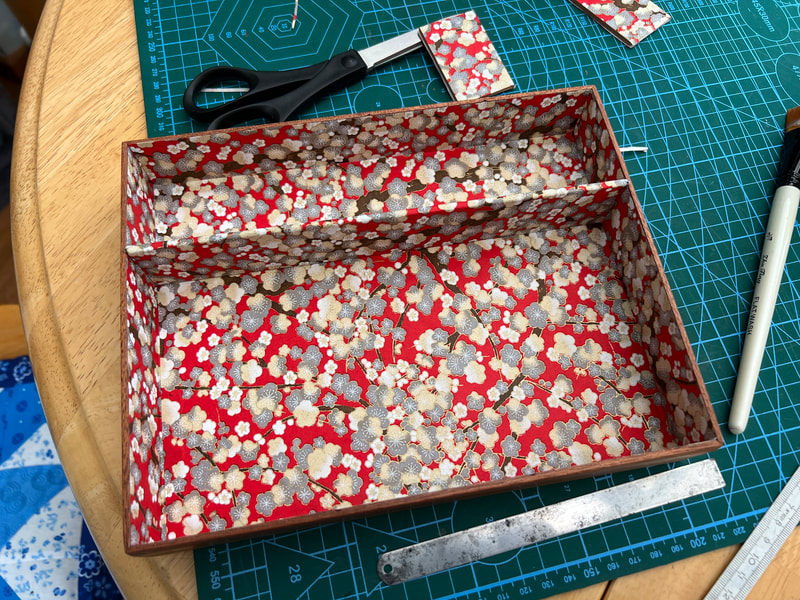
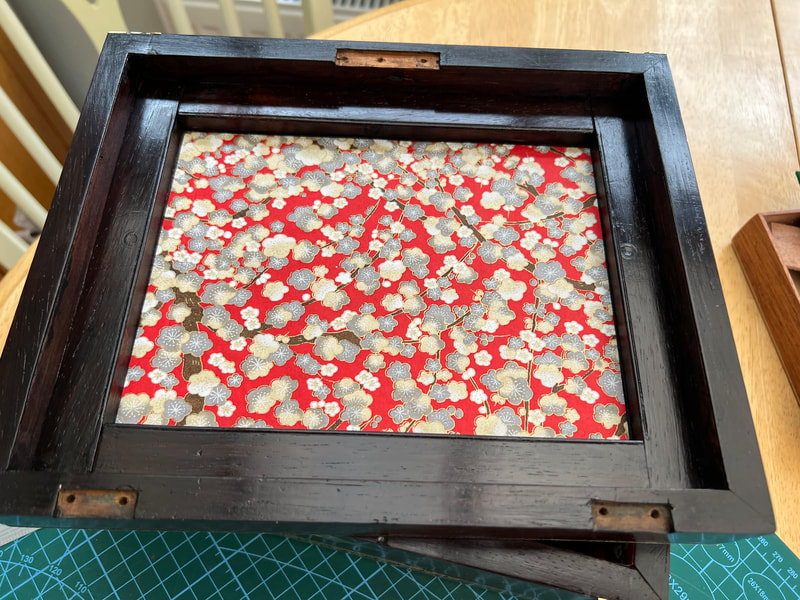
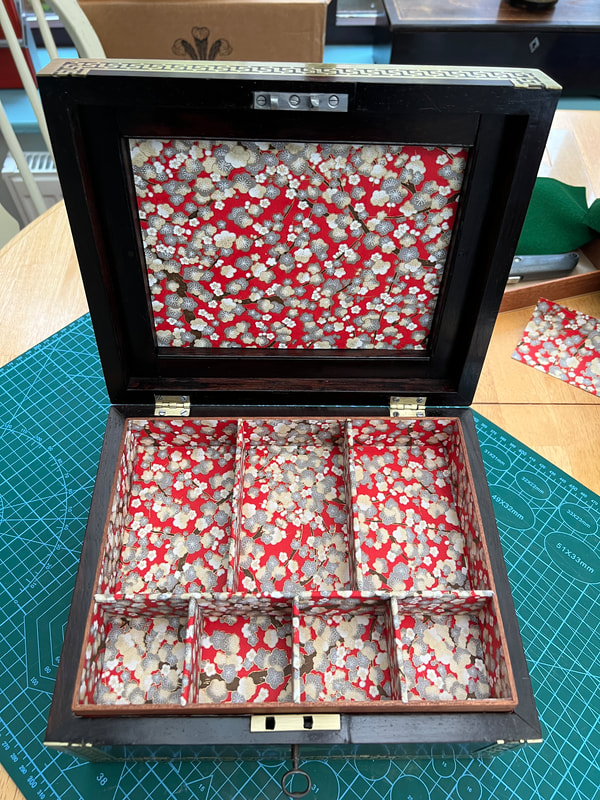
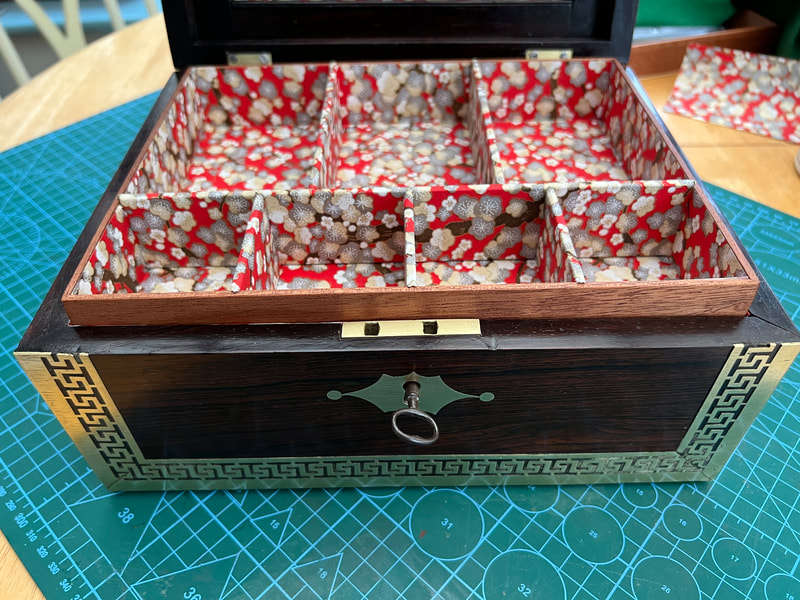
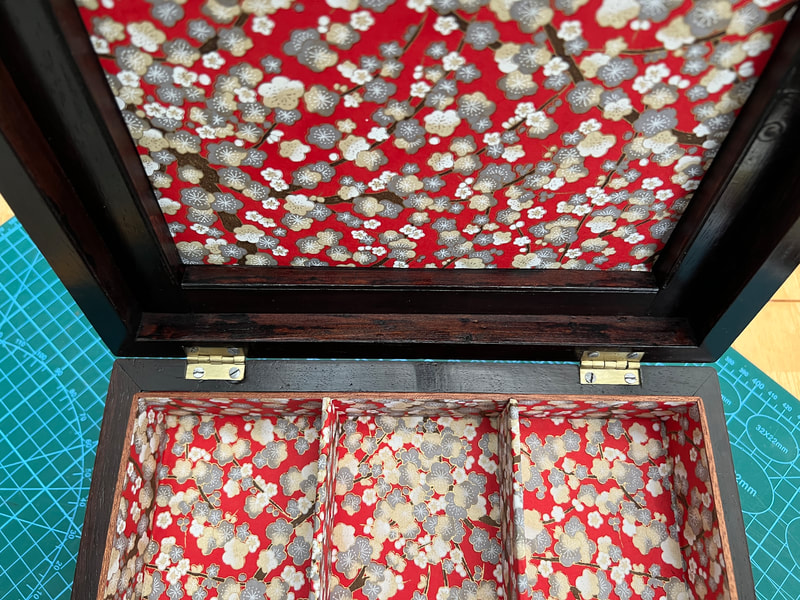
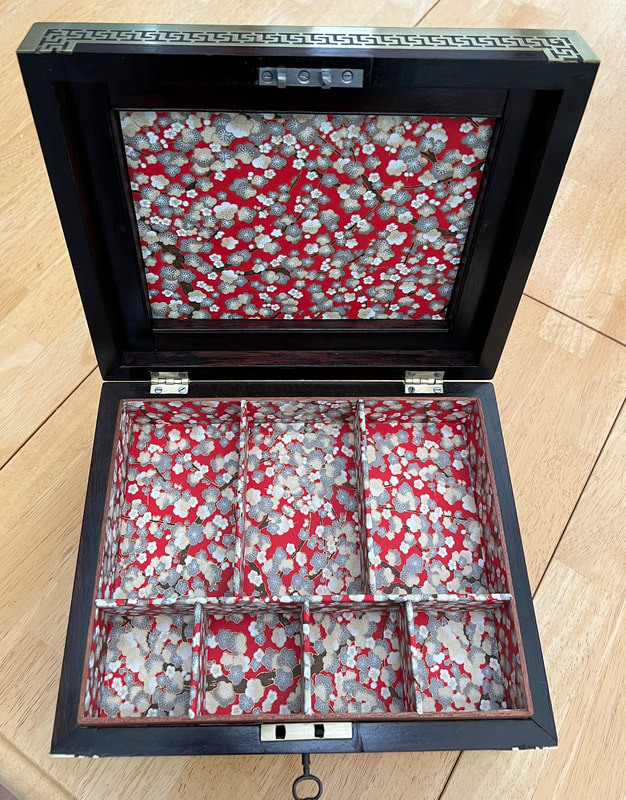
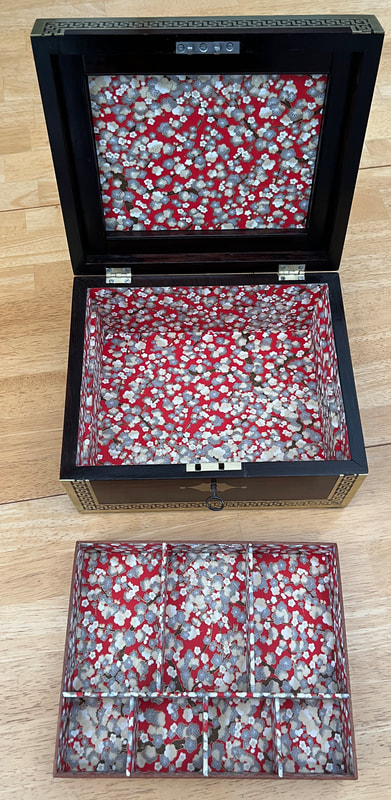
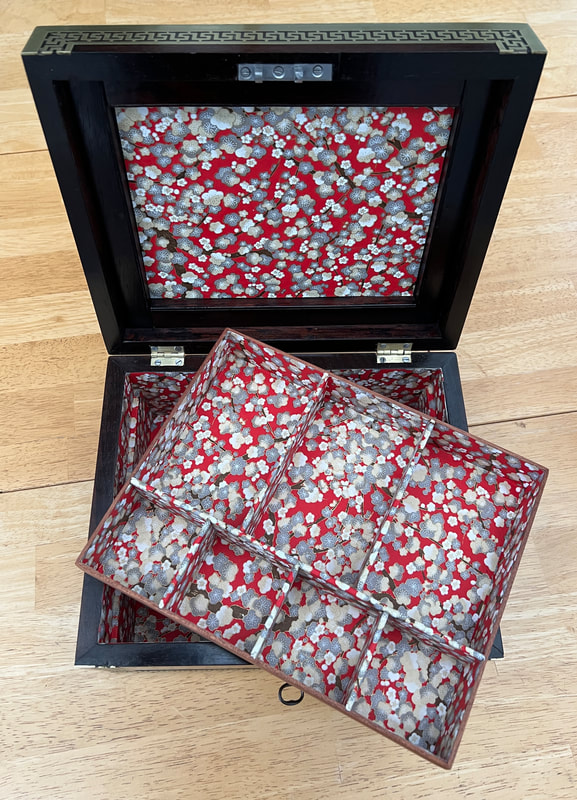
Line interior and lid, tray and dividers with Japanese Paper - Red Cherry Blossom
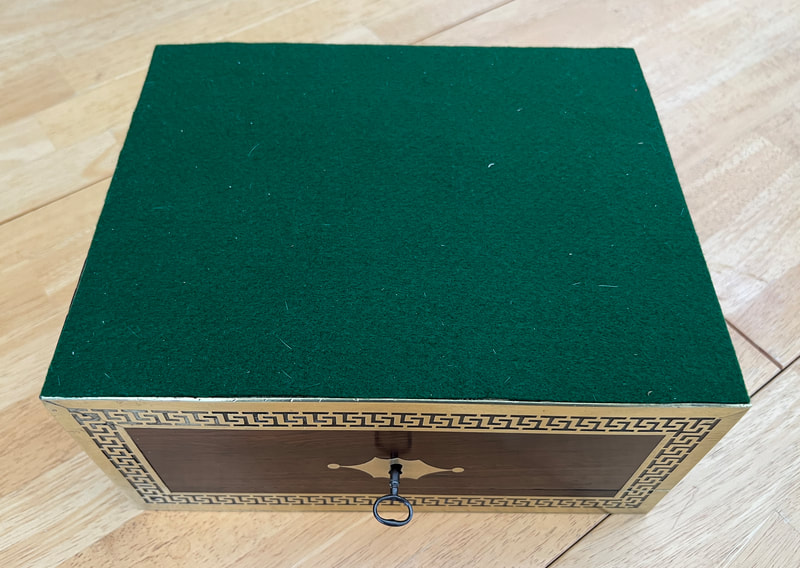
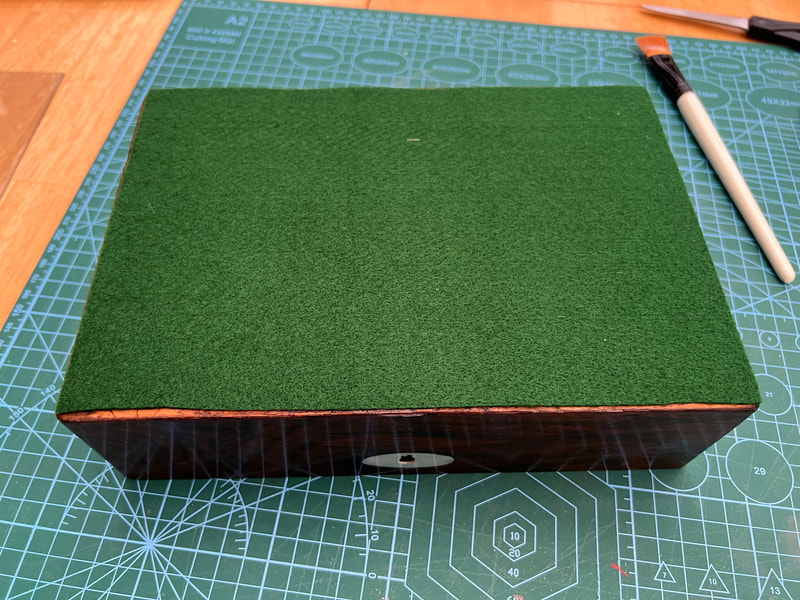
Supply and fit new baize to base.
Refit hinges, lock & keep. Provide new screws where necessary
29th September
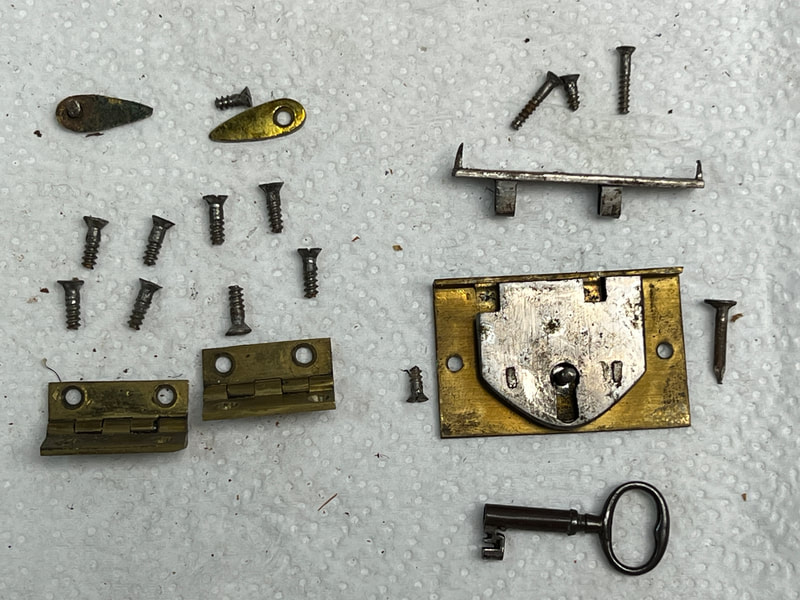
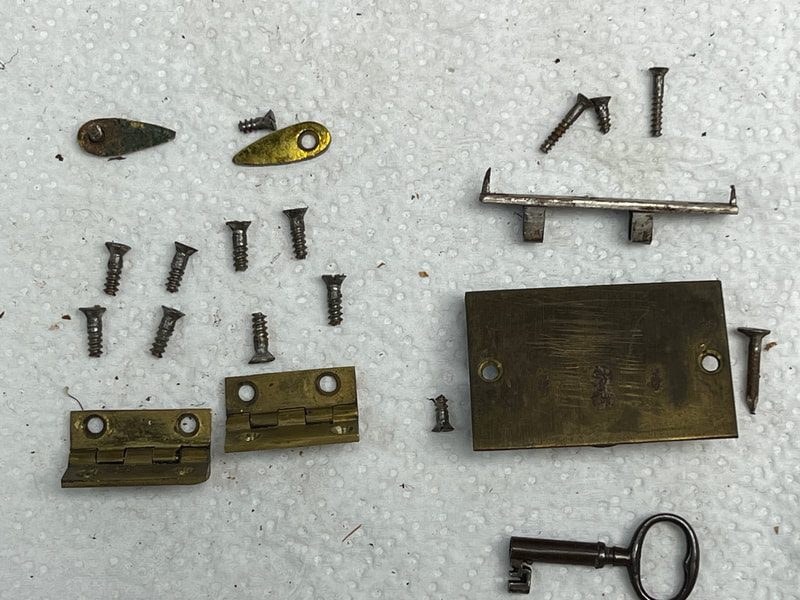
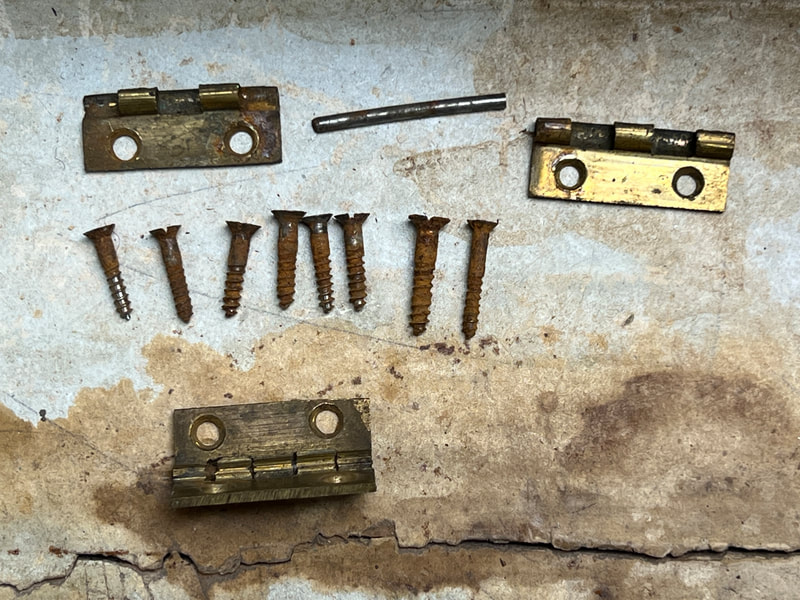
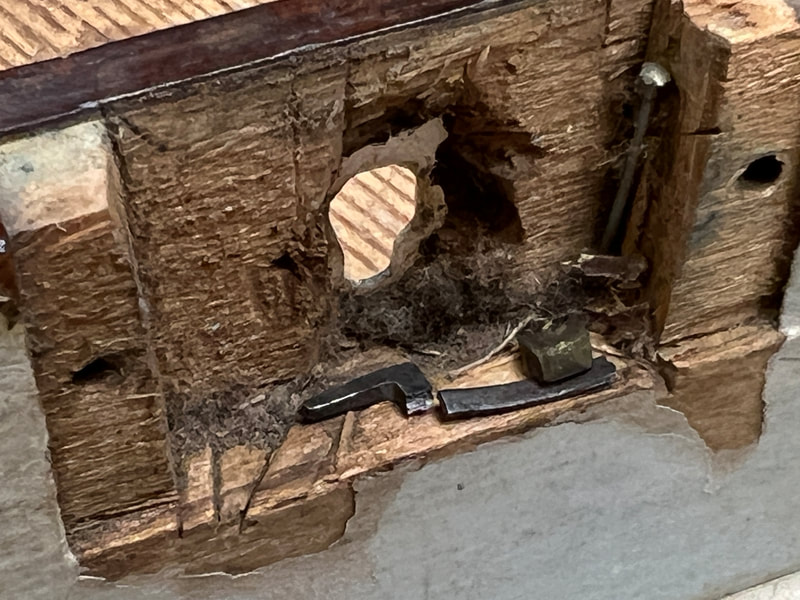
The removal of all hardware.
Note the assortment of different screw sizes and the fact that most screws have been shortened.
The lock works and there is a key.
The removal of all hardware.
Note the assortment of different screw sizes and the fact that most screws have been shortened.
The lock works and there is a key.
2nd October
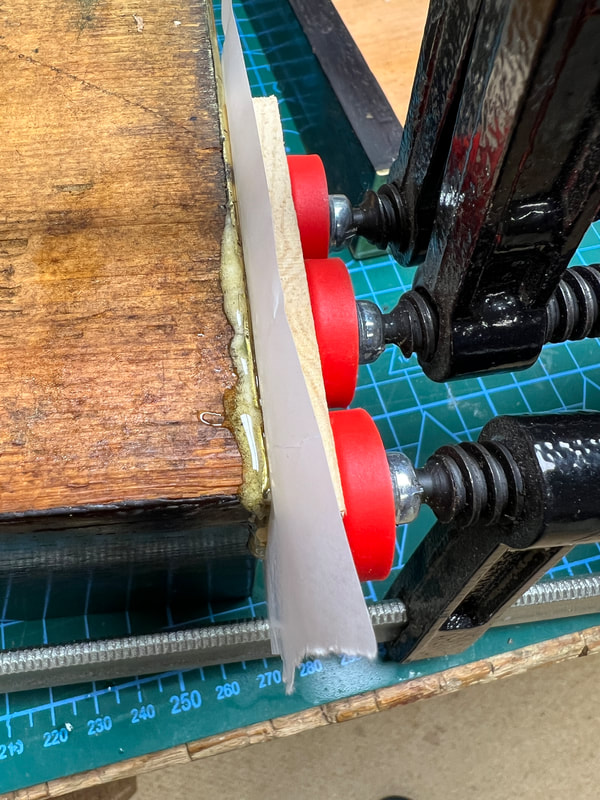
Today I've stripped the interior, including the wooden frame inside the lid and have glued the loose brass boule work back in place
I have also polished the brass fittings.
Today I've stripped the interior, including the wooden frame inside the lid and have glued the loose brass boule work back in place
I have also polished the brass fittings.
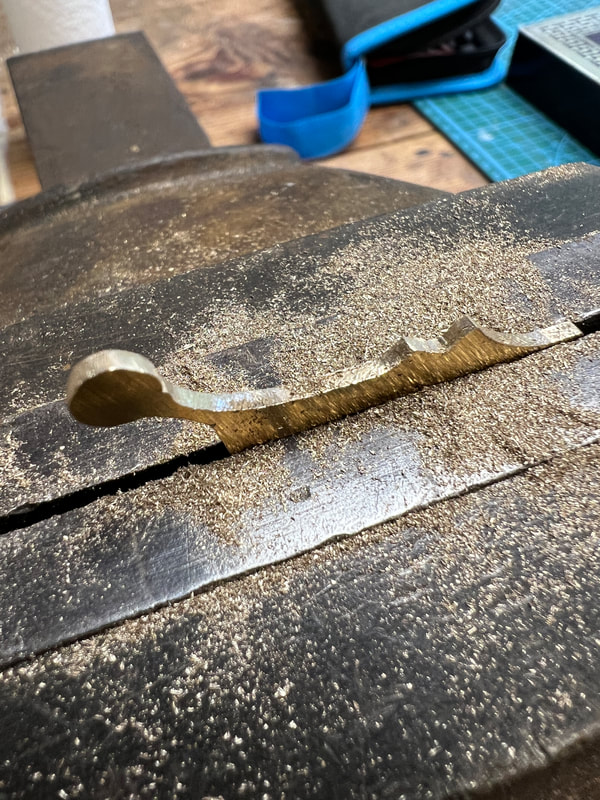
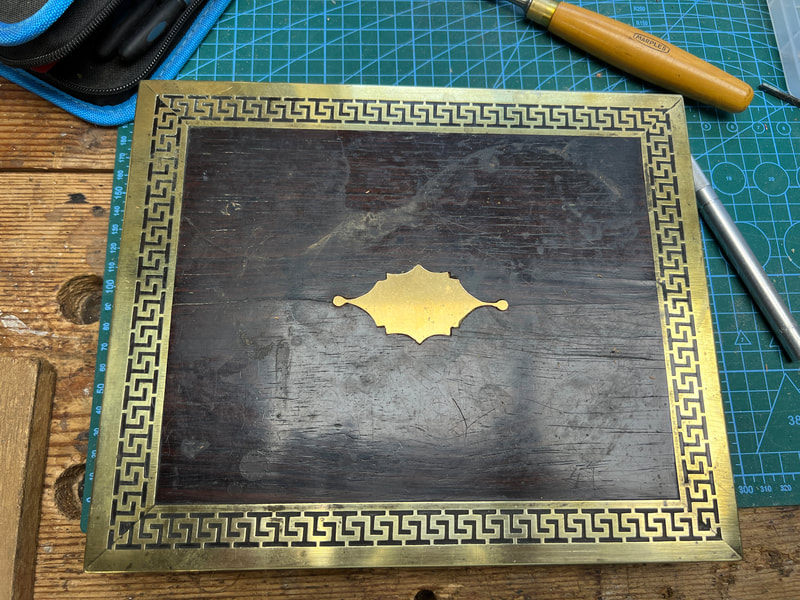
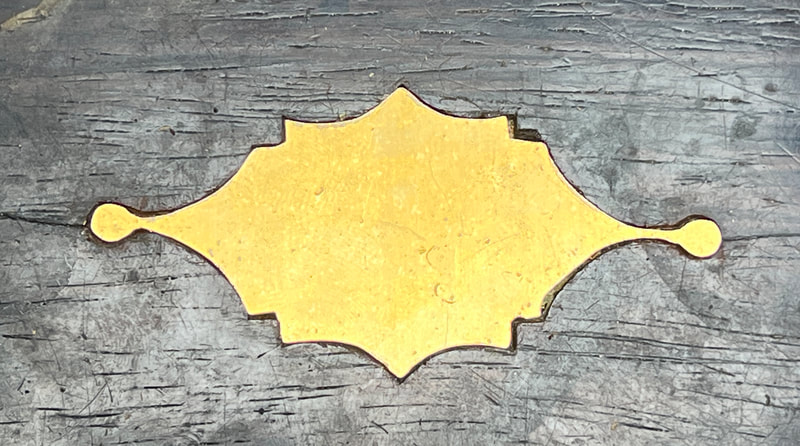
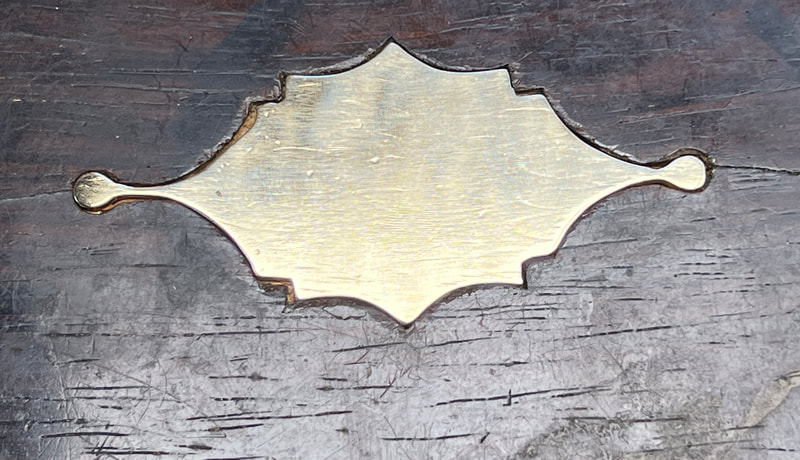
3rd October - The cartouche
Today I have cut, shaped, fitted and glued in a new cartouche. Quite a challenge but looks great.
4th October - Repairs
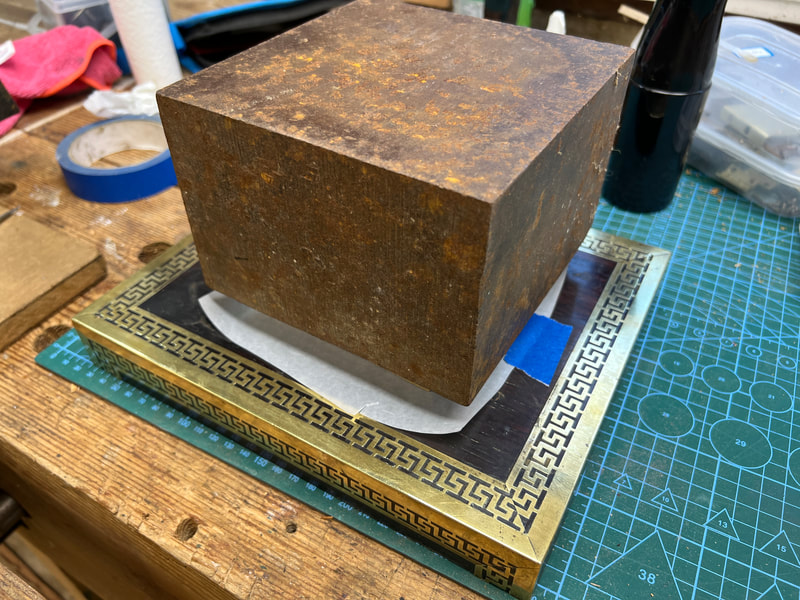
Today I have re-glued the biggest piece of veneer that had been kept and filled the crack in the base both sides
Today I have cut, shaped, fitted and glued in a new cartouche. Quite a challenge but looks great.
4th October - Repairs
Today I have re-glued the biggest piece of veneer that had been kept and filled the crack in the base both sides
7th / 8th October
External cleaned ready for finishing
Interior sanded and cleaned
Lid frame re-glued
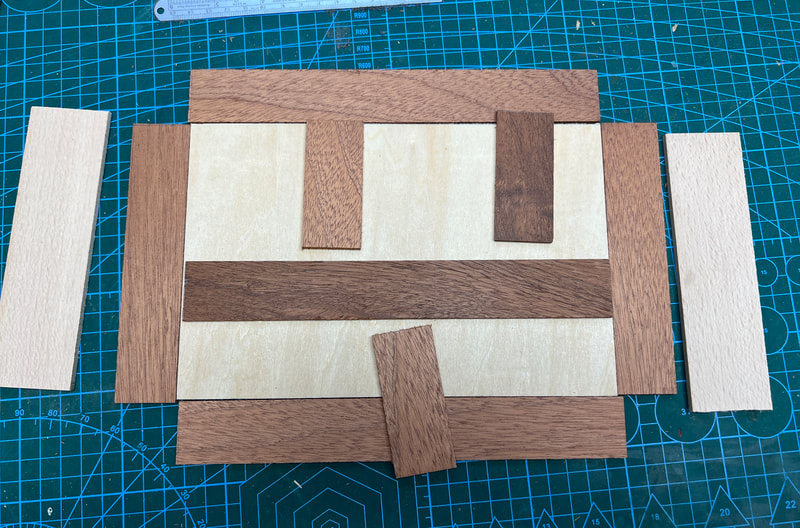
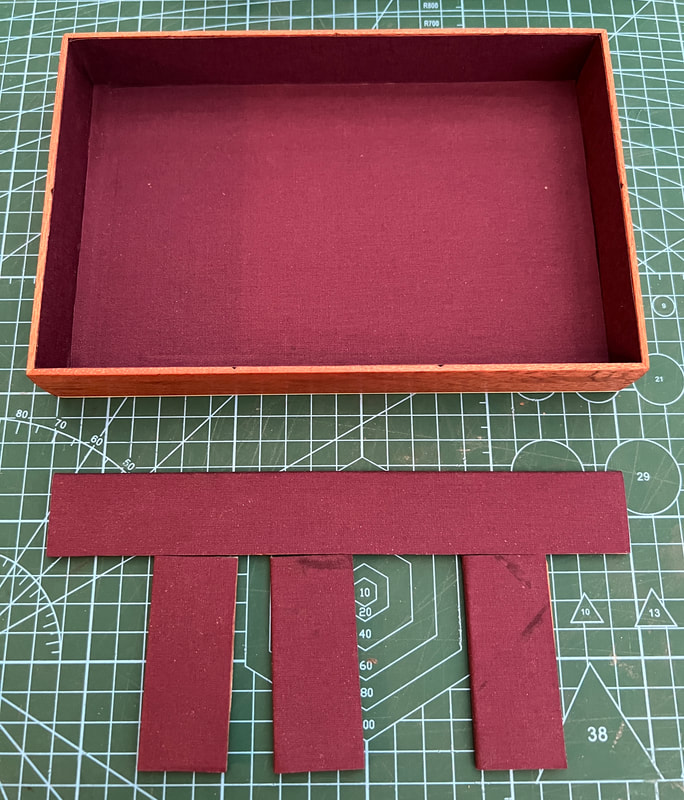
Tray components cut to size
Tray supports glued in place
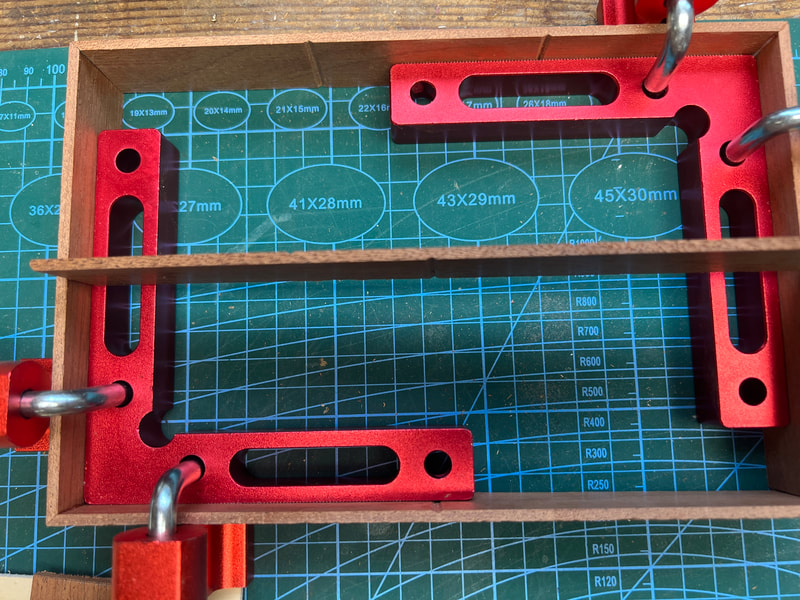
Tray sides and base glued together
External cleaned ready for finishing
Interior sanded and cleaned
Lid frame re-glued
Tray components cut to size
Tray supports glued in place
Tray sides and base glued together
16th & 17th October
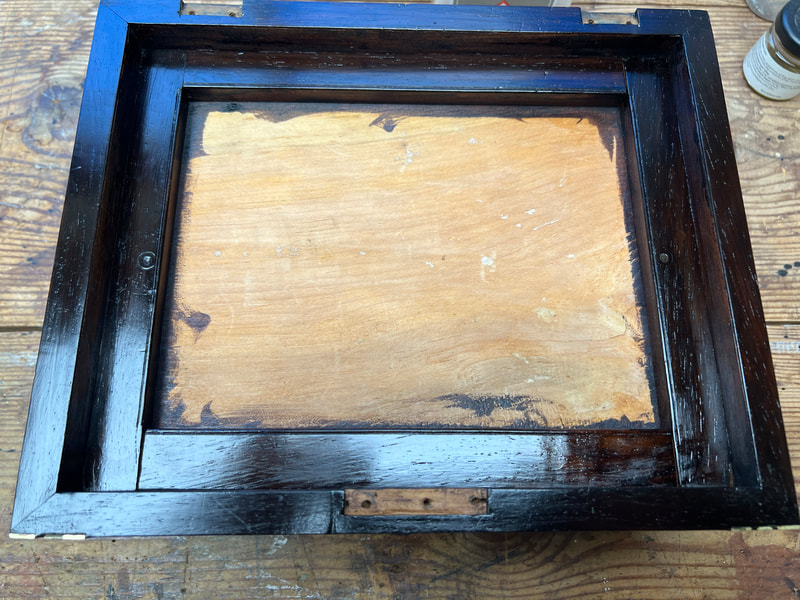
Lid interior stained using Van Dyke crystals (Walnut husks dissolved in water)
Final clean up prior to polishing
Several coats of clear shellac
Lid interior stained using Van Dyke crystals (Walnut husks dissolved in water)
Final clean up prior to polishing
Several coats of clear shellac
18th October
Lining the box with Japanese Red Cherry Blossom paper.
Lining the box with Japanese Red Cherry Blossom paper.
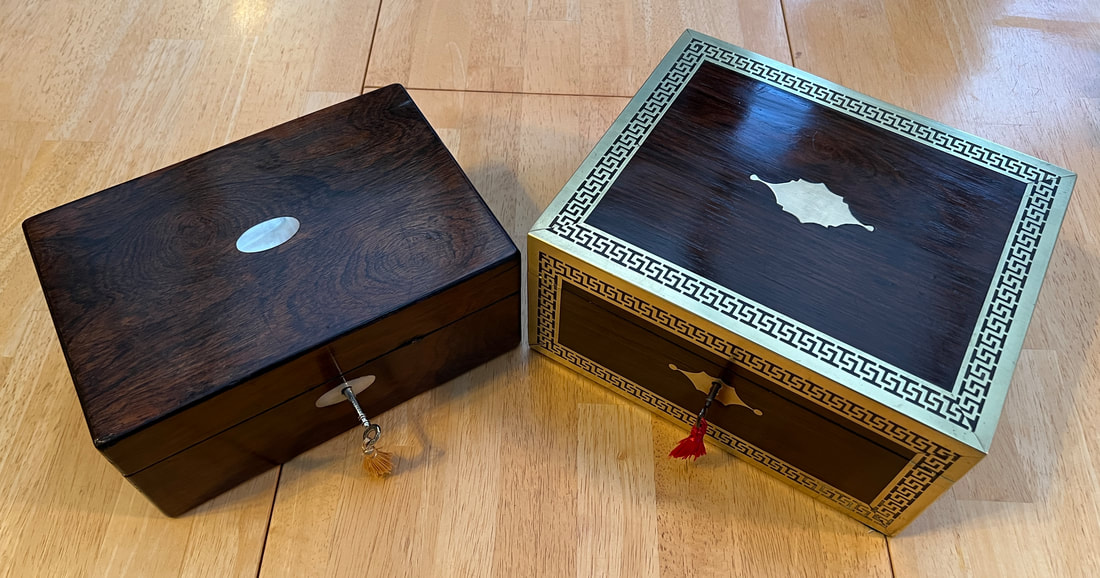
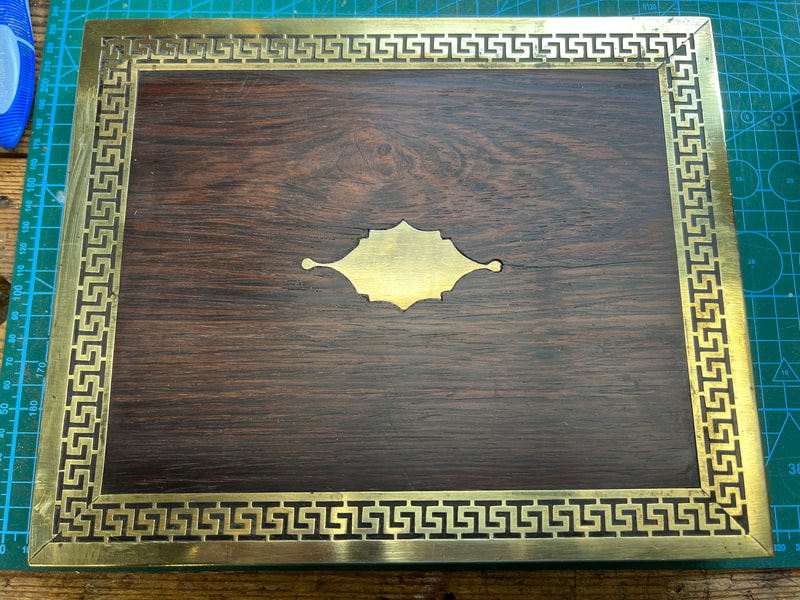
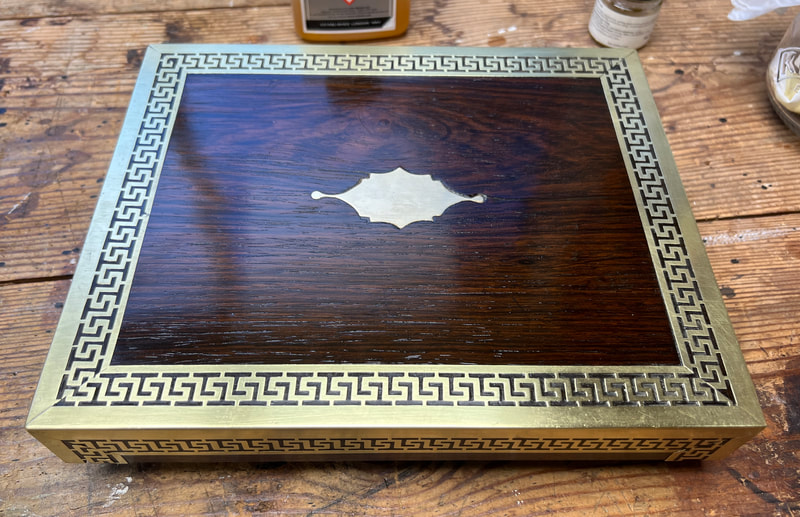
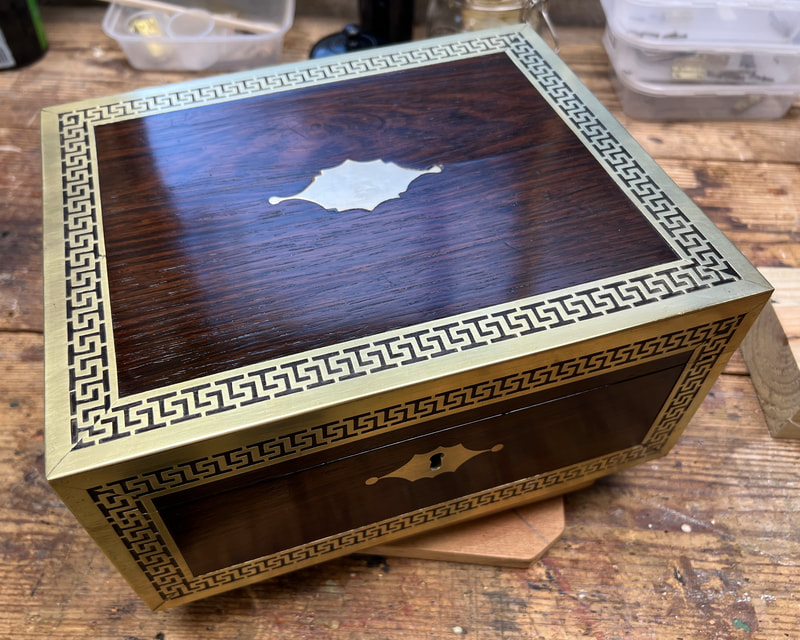
Finished box.
Key tassel to fit and it will be ready to go home.
Key tassel to fit and it will be ready to go home.
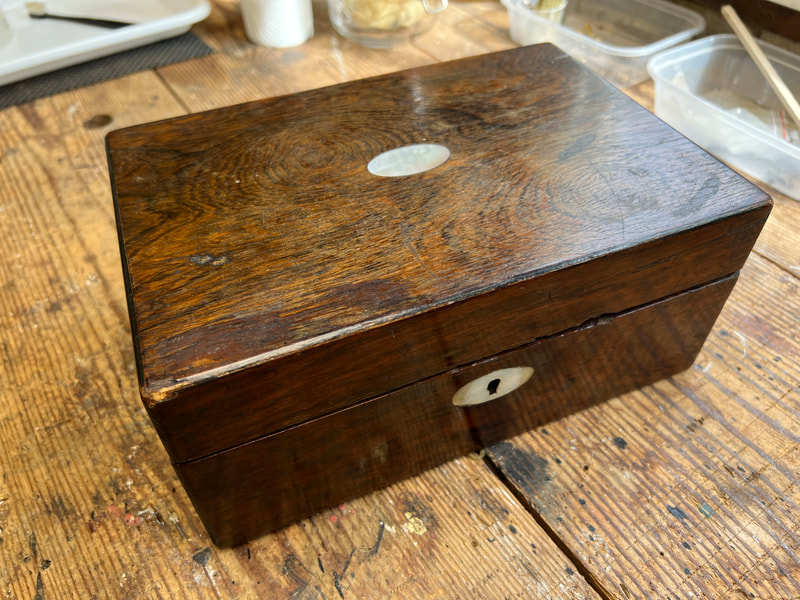
Alans Box
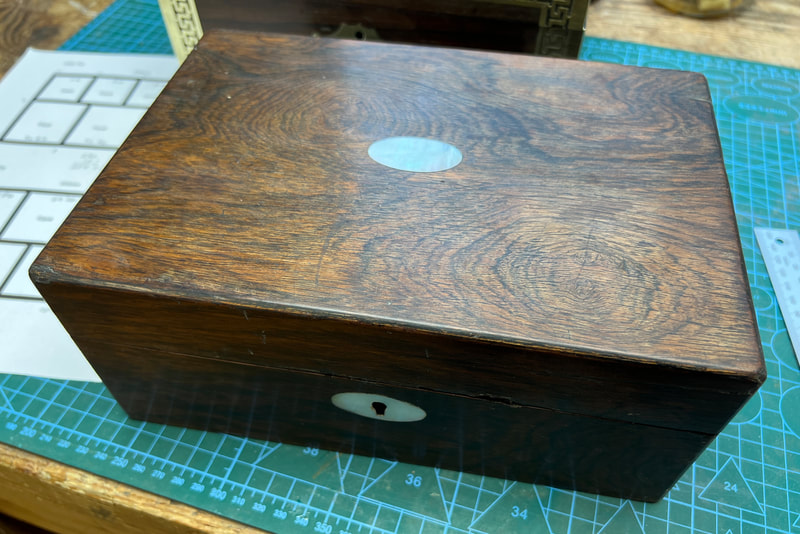
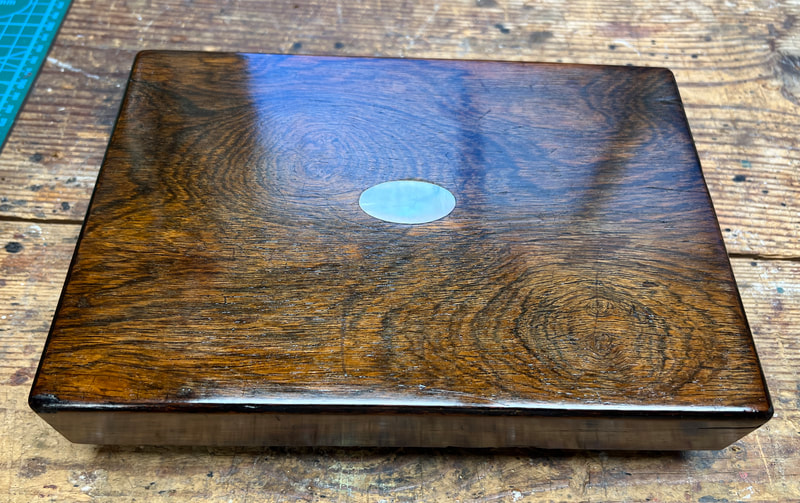
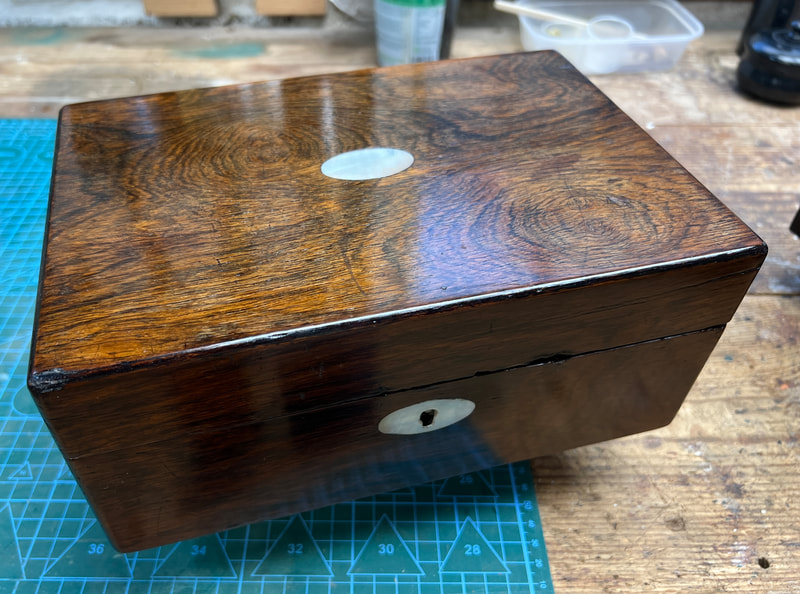
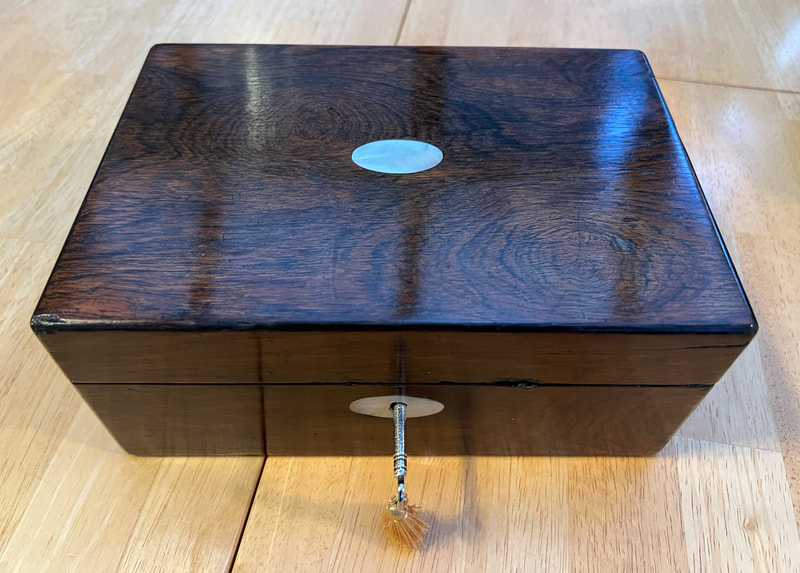
A plain mahogany veneered box with mother of pearl cartouche in centre of lid and similar for the lock escutcheon
Structure basically sound.
Structure basically sound.
Issues:
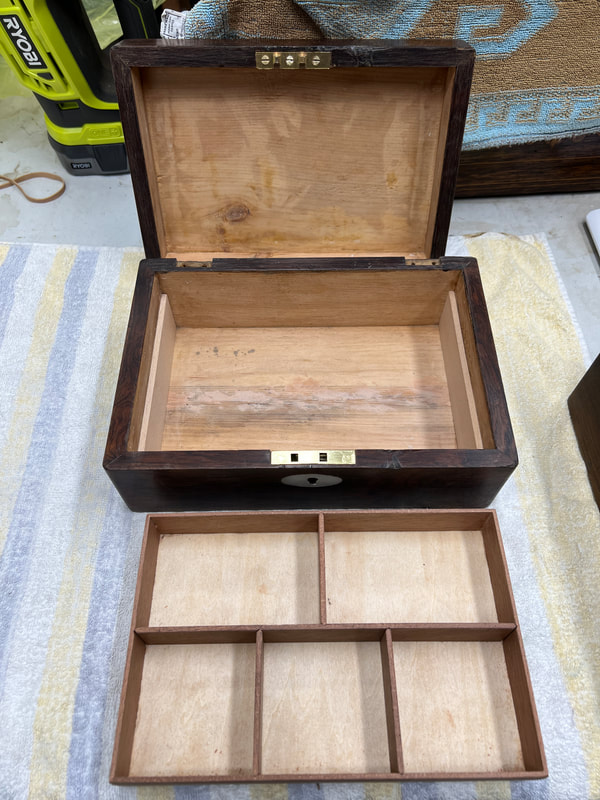
One rail and tray missing
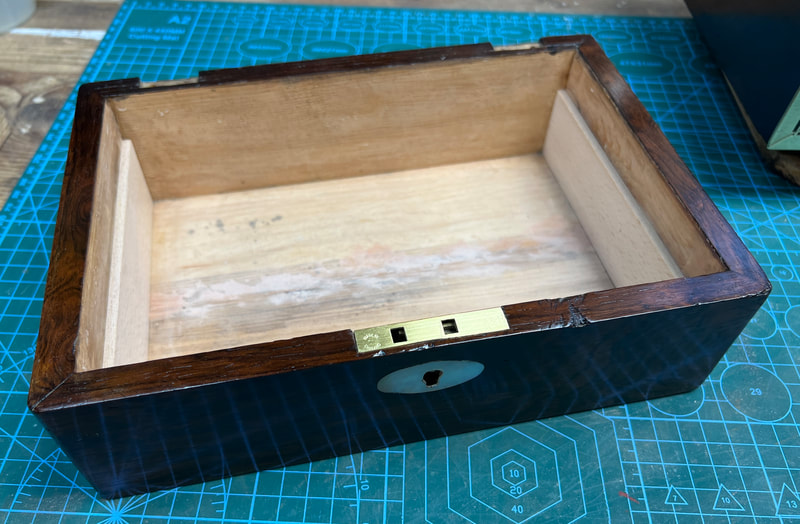
Interior in poor shape, including large crack in the base
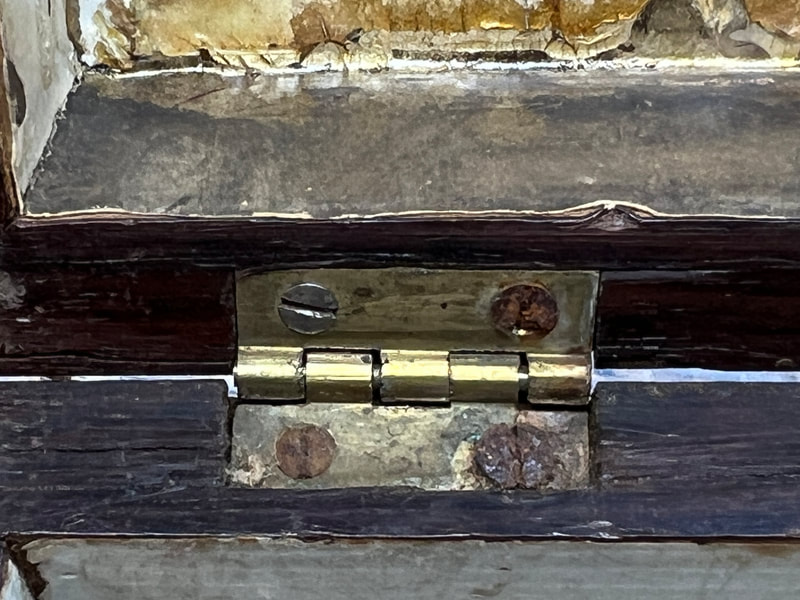
Hinges loose. Evidence of replacement screws
Lock keep partly broken due to being forced
No key for lock
Beize on base in poor shape
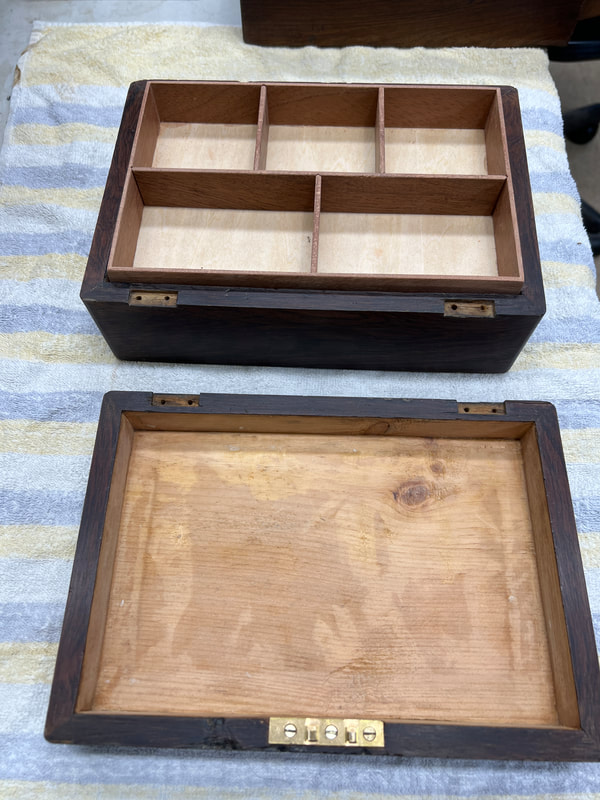
Photos below of the box as received
One rail and tray missing
Interior in poor shape, including large crack in the base
Hinges loose. Evidence of replacement screws
Lock keep partly broken due to being forced
No key for lock
Beize on base in poor shape
Photos below of the box as received
Planned Work
Remove hinges, polish.
Remove lock and keep. Clean and service lock. Straighten keep. Provide key and gold tassel
Strip interior.
Repair crack in base
Make and fit new tray, dividers and supports.
Clean off exterior polish, abrade and repolish with pure clear shellac to a mid shine
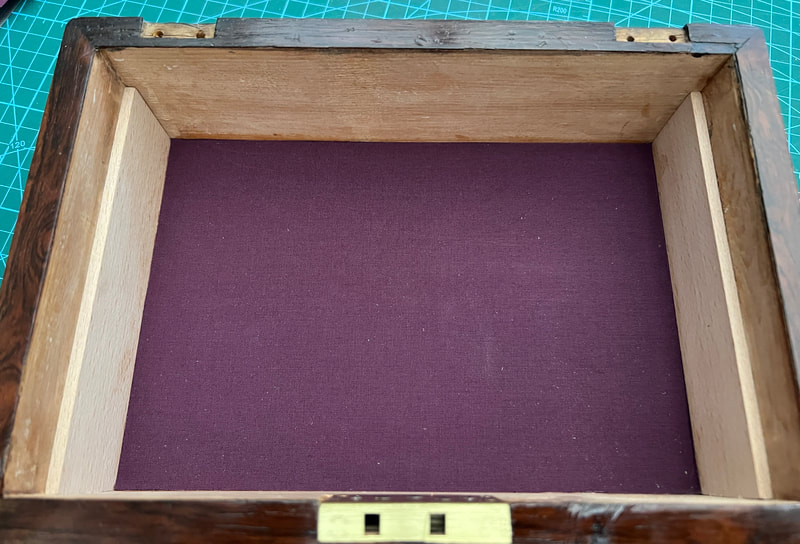
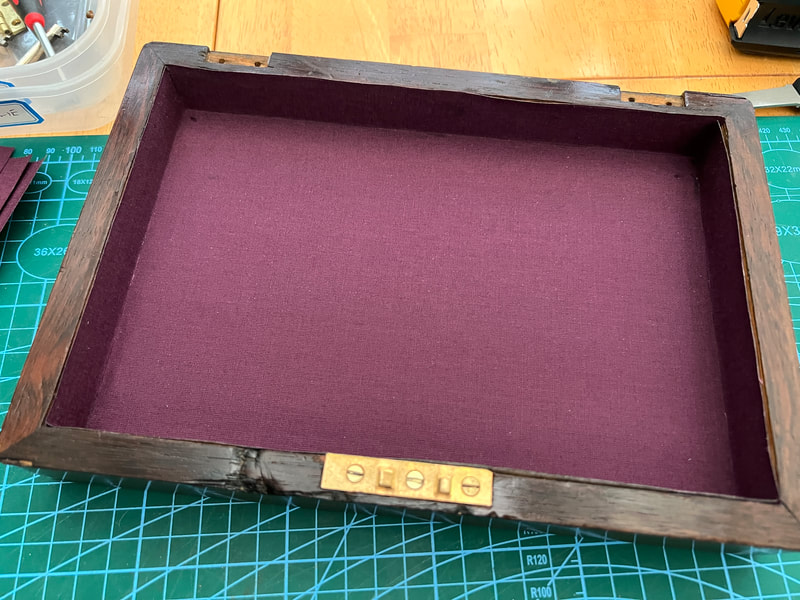
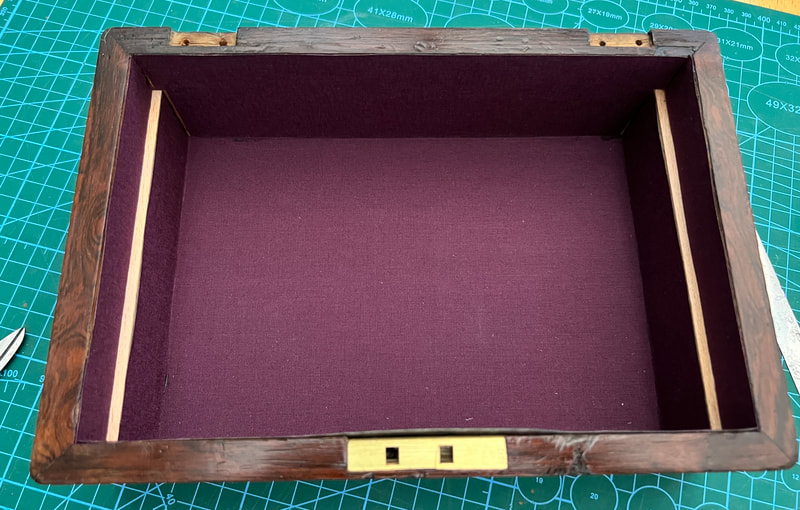
Line interior and lid, tray and dividers with Plum Purple Bookcloth
Supply and fit new baize to base.
Refit hinges, lock & keep. Provide new screws where necessary
29th September
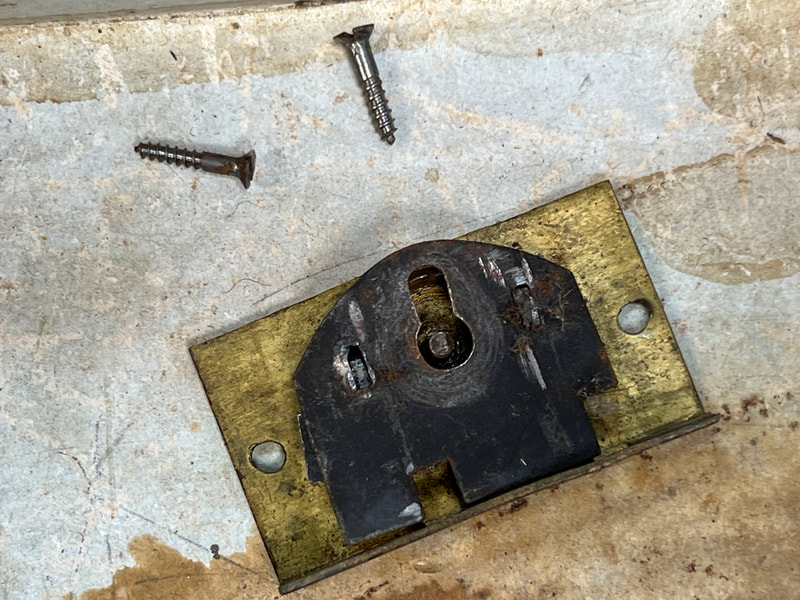
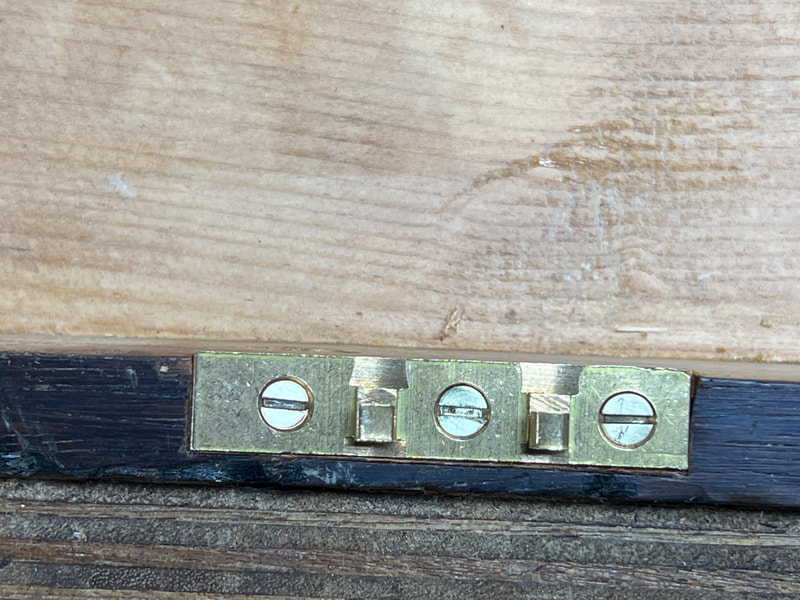
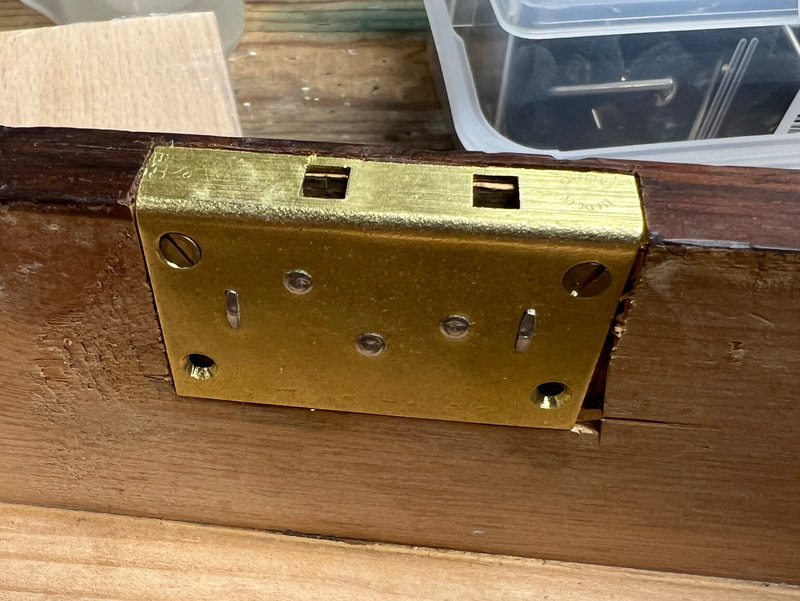
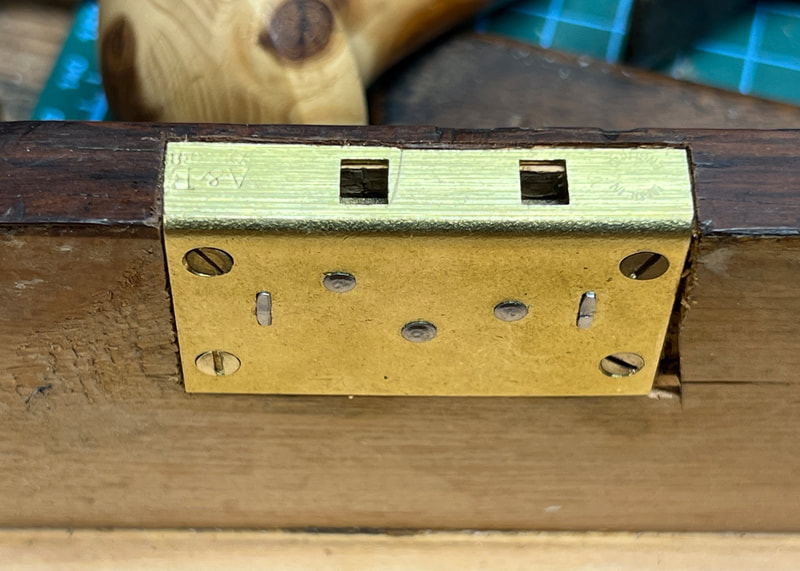
The removal of all hardware
The lock had been forced. This has broken the mechanism as well as one part of the keep. The spring is missing. Will need replacing (I have a spare but it also needs mending)
One hinge pin fell out, but is fixable.
The removal of all hardware
The lock had been forced. This has broken the mechanism as well as one part of the keep. The spring is missing. Will need replacing (I have a spare but it also needs mending)
One hinge pin fell out, but is fixable.
2nd October
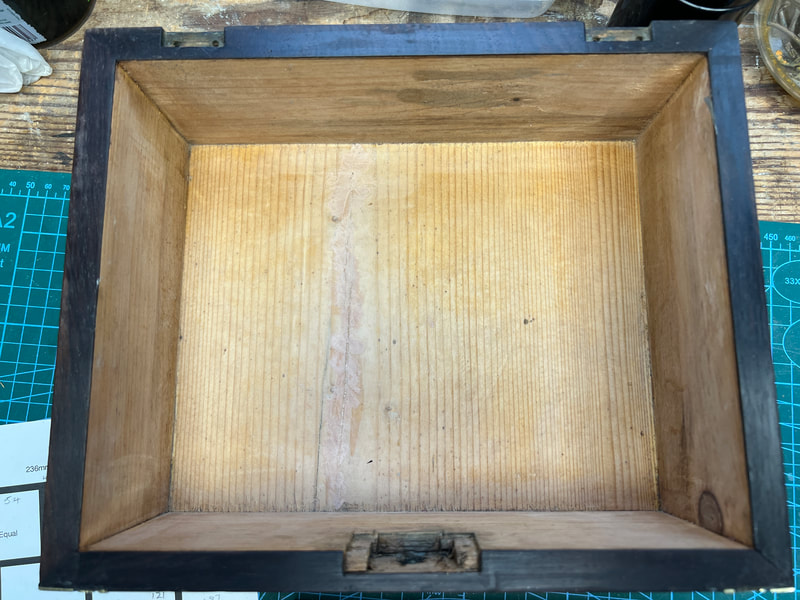
Today I have stripped the interior ready to repair the split in the base.
II have also polished the brass fittings.
4th October
I've filled the cracks in the base
Today I have stripped the interior ready to repair the split in the base.
II have also polished the brass fittings.
4th October
I've filled the cracks in the base
7th / 8th October
Base and all bare wood interior sanded
Exterior cleaned
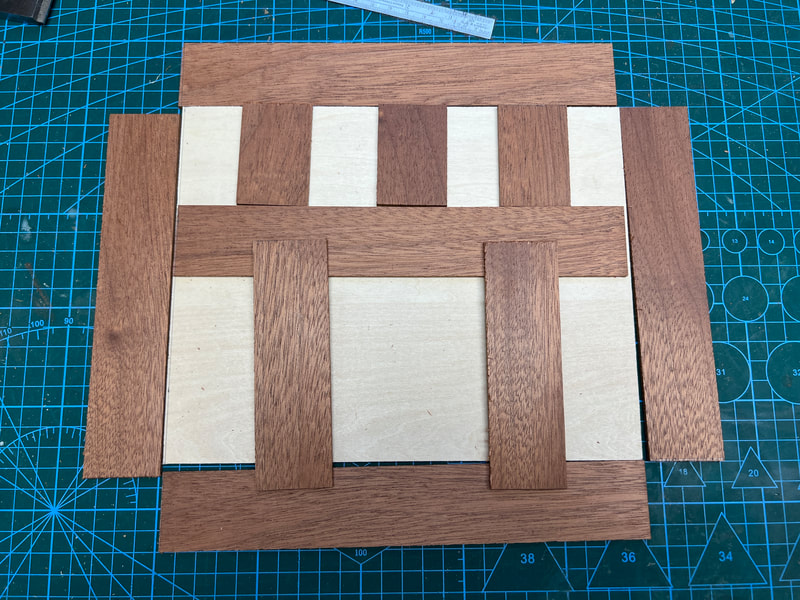
Tray components cut to size
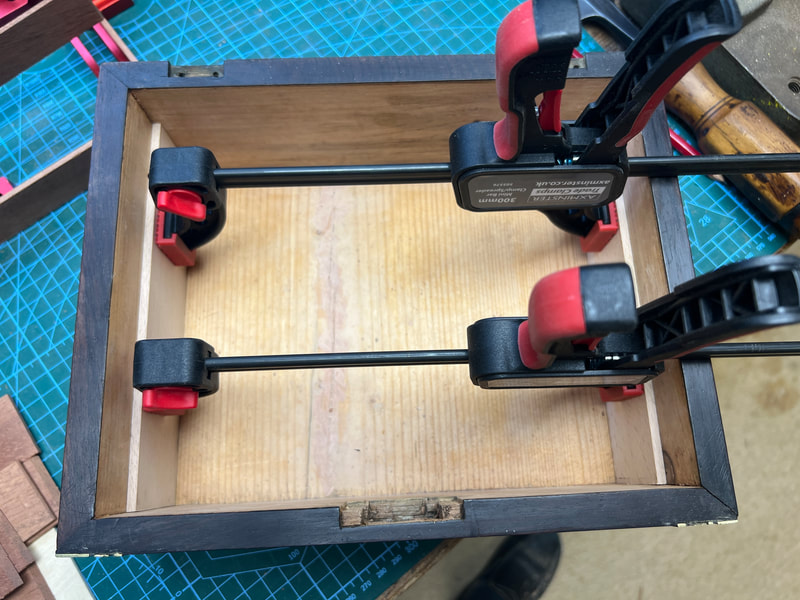
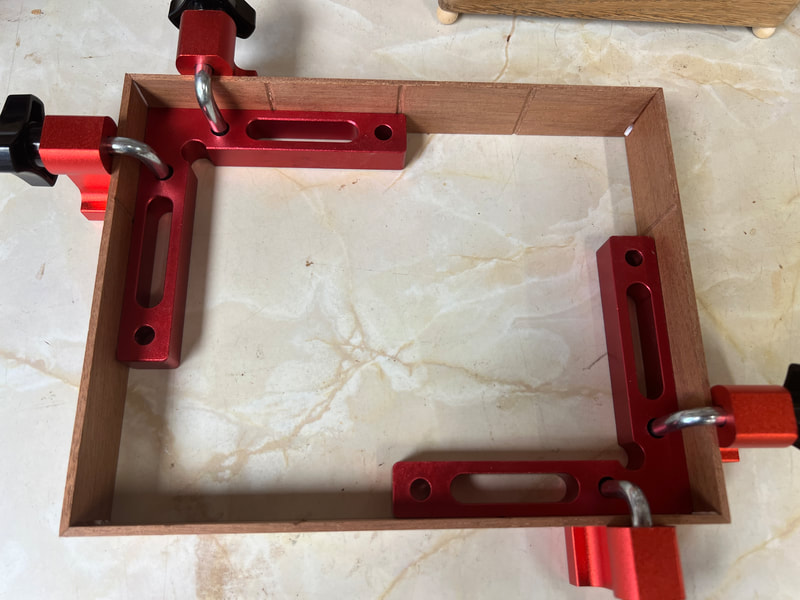
Tray sides part glued
Tray base glued in position and dividers trimmed to fit
11th October
New lock received and fitted
Base and all bare wood interior sanded
Exterior cleaned
Tray components cut to size
Tray sides part glued
Tray base glued in position and dividers trimmed to fit
11th October
New lock received and fitted
16th & 17th October
Final clean up ready for polishing
Several coats of clear shellac.
Final clean up ready for polishing
Several coats of clear shellac.
18th October
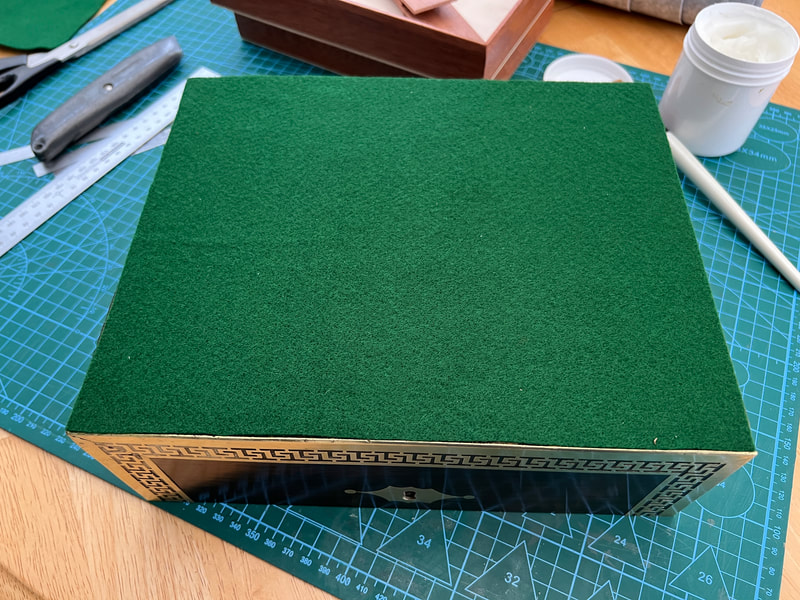
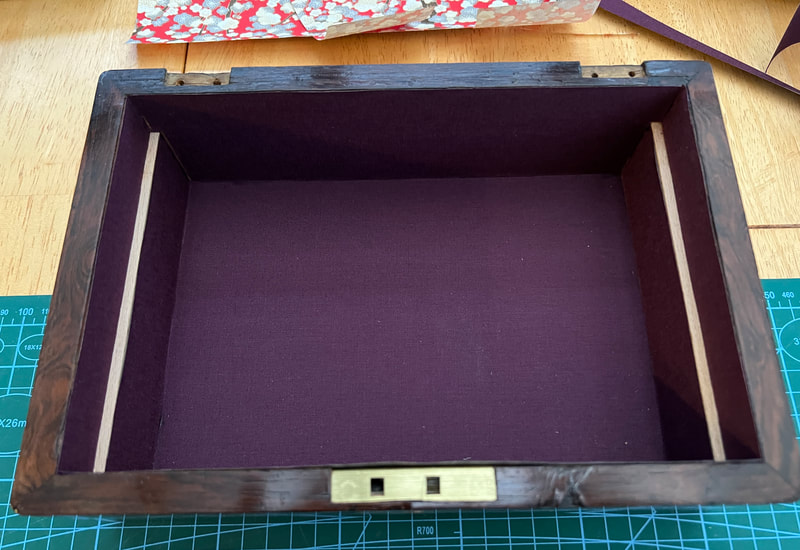
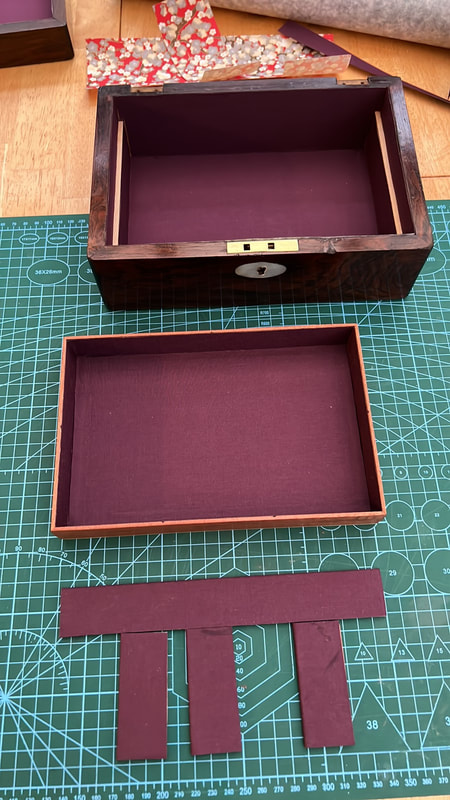
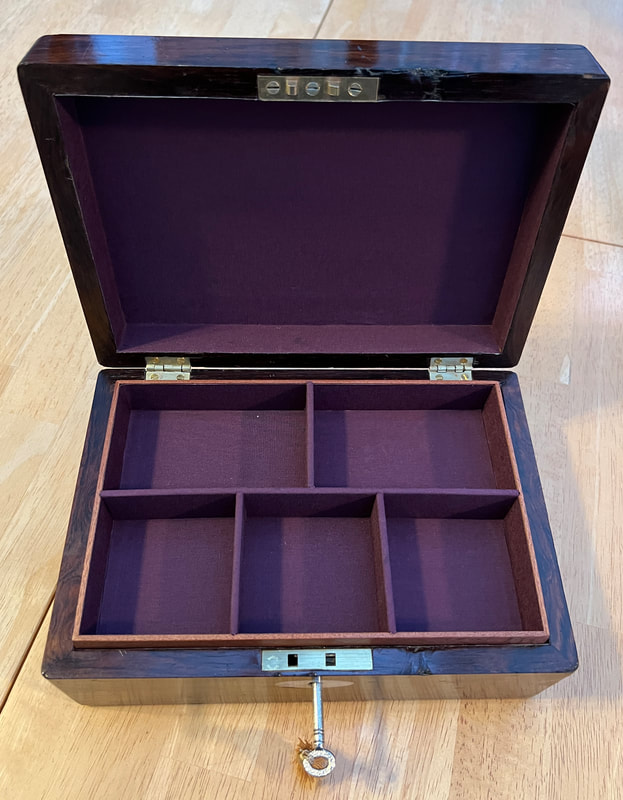
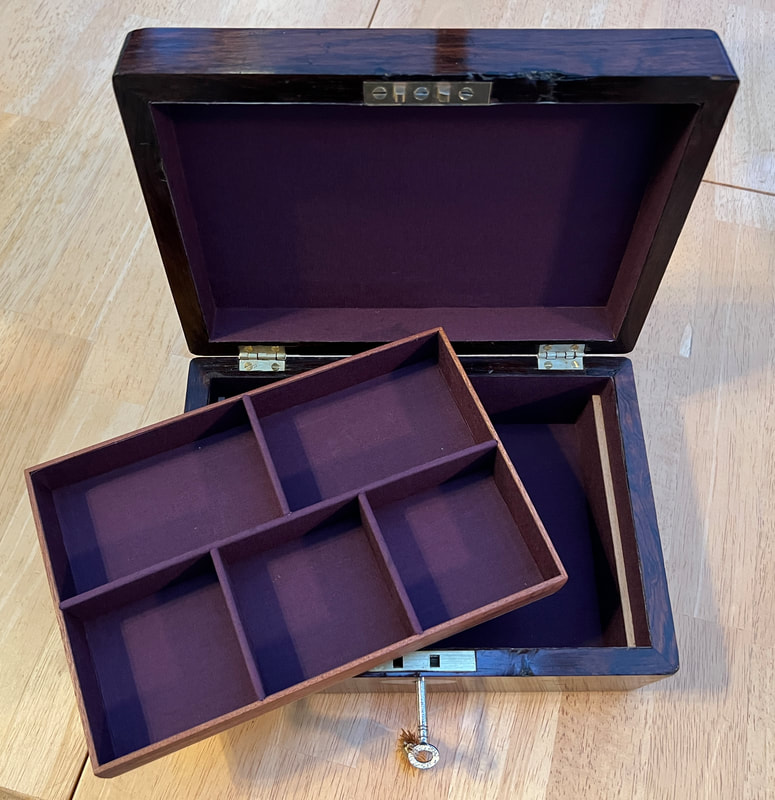
Lined with Plum Purple book cloth. Quite regal.
Something odd about the colours. All taken with the same camera on the same table. No's 1 & 5 are correct. Weird!
Lined with Plum Purple book cloth. Quite regal.
Something odd about the colours. All taken with the same camera on the same table. No's 1 & 5 are correct. Weird!
A bit of tidying up and hinges to fit and it will be ready to go home.
Needed new longer screws for both hinges due to being hinge bound previously, which accounts for hinge wear and loose screws.
All finished.
All finished.
