Restoring a Music Box Case
Some boxes require sensitive antique furniture restoration skills, including removal of old finishes, dismantling joints, re-gluing using traditional glues and techniques and of course refinishing, polishing and waxing. I attended a Course in late 2021 to learn these skills from an expert, Peter Thompson, aided by his wife Josie. I highly recommend Peter's courses. Below I'm sharing the relevant parts of the course applied to the restoration of a music box.
Method
Obviously the amount of work required to restore a box will greatly depend upon the condition at the time of restoration.
I will assume that the mechanism has already been removed for separate restoration.
If the structure of the box is compromised, there may be a need to glue and clamp joints or fill woodworm holes.
If any veneer has lifted or is missing, then there will be a separate chapter on how to fix these later.
Refer to the list of materials at the bottom of this page.
I'm going to assume that the structure of the box is sound.
The sequence and methods are as follows:
I find that it is best to treat the different elements separately at first.
Remove the lid and inner glass cover, taking note of the positions of the screws holes and the screws themselves.
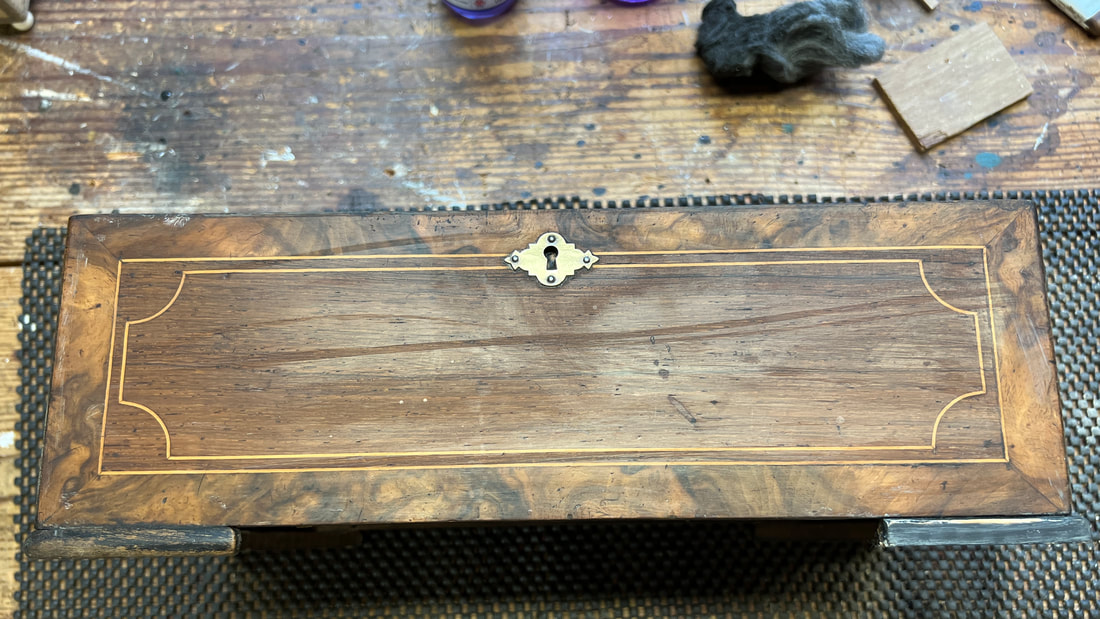
Remove the lock and the keep.
Set the lid and glass aside in a safe place.
A good way of keeping the metal parts in some sort of order is to use a sheet of blue tac, or plasticine, and simply press the parts lightly into the surface in order. This might seem extreme, but it can be important as most hinges will have been hand made and so the screw holes may be in slightly different places hinge to hinge. If a screw has been broken, it is useful to know which hole it came from so that you can re-drill it and replace the screw when reassembling.
Please note that the images below are of several different music boxes and have been chosen because they best illustrate the various processes. If there is no caption below an image, hover your mouse over it for a description or caption.
|
Remove any internal partitions if not already taken out. Remove any levers and screws from the control side and set them aside, along with the hinges, lock etc. These and the hinges will need to be cleaned and polished, as detailed in the paragraph about cleaning and polishing the brass components of the movement, before they can be reunited.
|
|
Begin with the box.
Before you start work, decide whether this is to be a full strip and repolish, or a clean and repolish. Inspect the inside and outside for holes, scratches, dents or any other damage and formulate a plan of action. If the sides, and/or the top, of the box have a 'scumble' finish, decide whether to try and keep the finish (and accept some blemishes) or to strip it right off and apply stain and polish instead. Although not not authentic, the finish will be much better and pleasing. Re'scumbling is a specialist process and not to be attempted by the amateur. For a full strip, use an electric rotary or oscillating sander fitted with the finest abrasive disc you can get. You need to take great care not to abrade right through the veneers - if present. |
If there is any missing stringing to the front, sides or rear panels, this should be replaced first and then stained to match the original using water based stains. (more later)
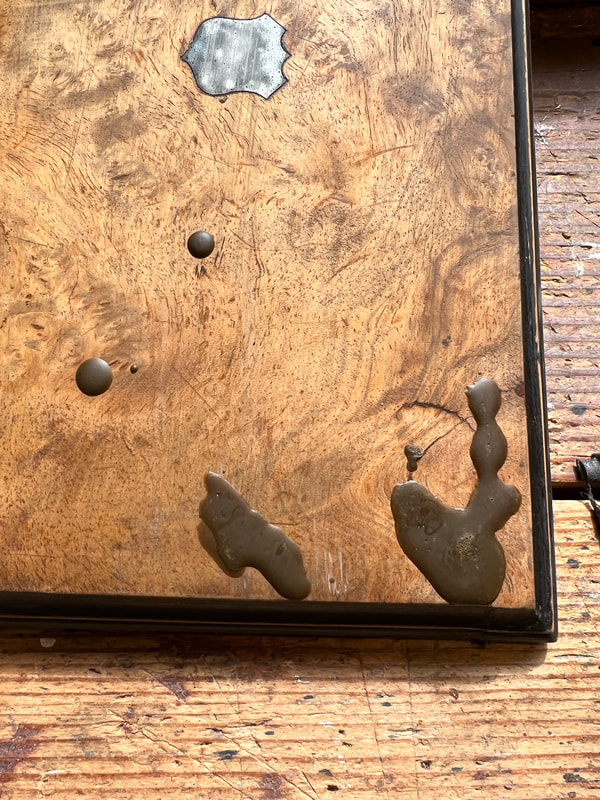
Woodworm holes, dents and deep abrasions should be filled with a suitable colour Liberon wax, melted with a soldering iron and left to harden. Always use a lighter colour than the original surface as it's easier to darken, but not to lighten, with stain.
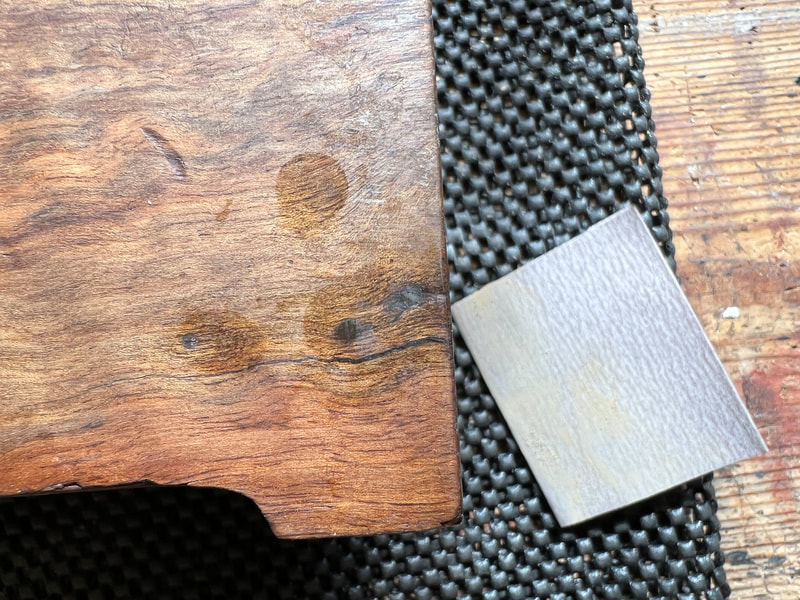
When hard use a plastic tilers squeegee, which has been sharpened with a plane, to gently scrape away the unwanted wax to leave a perfectly smooth surface.
The Lid
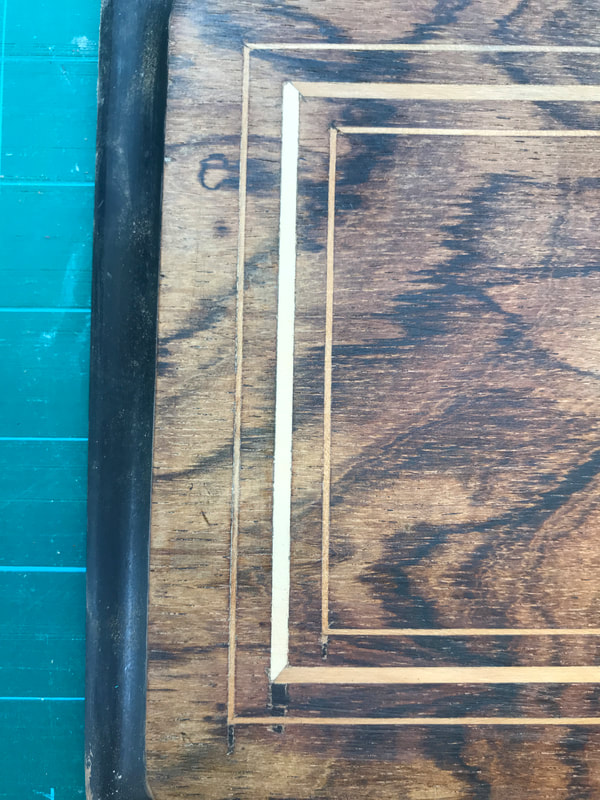
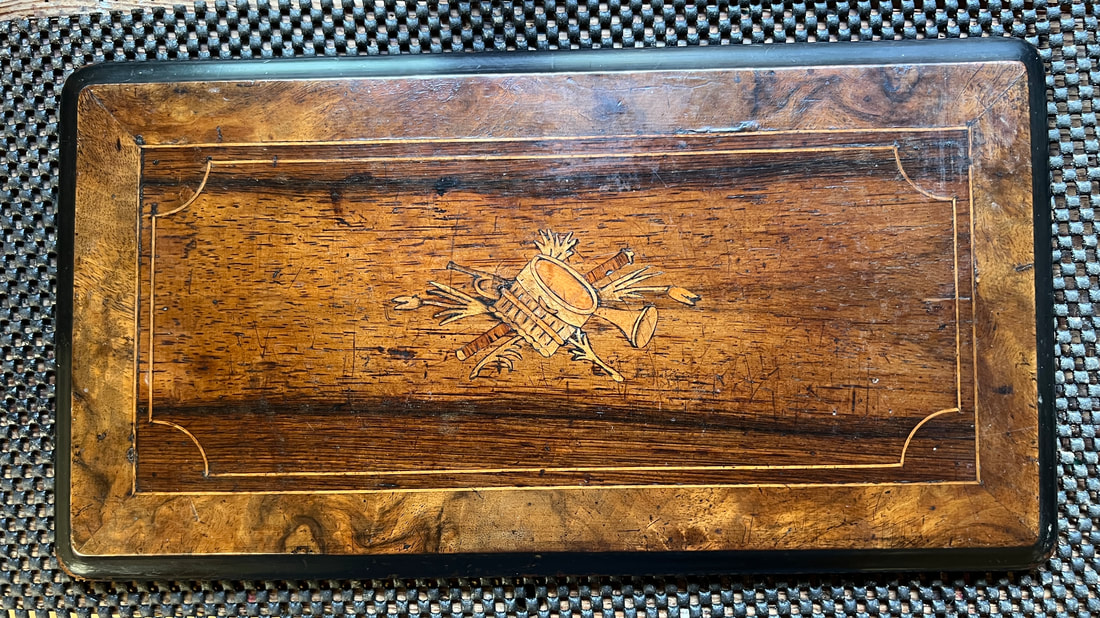
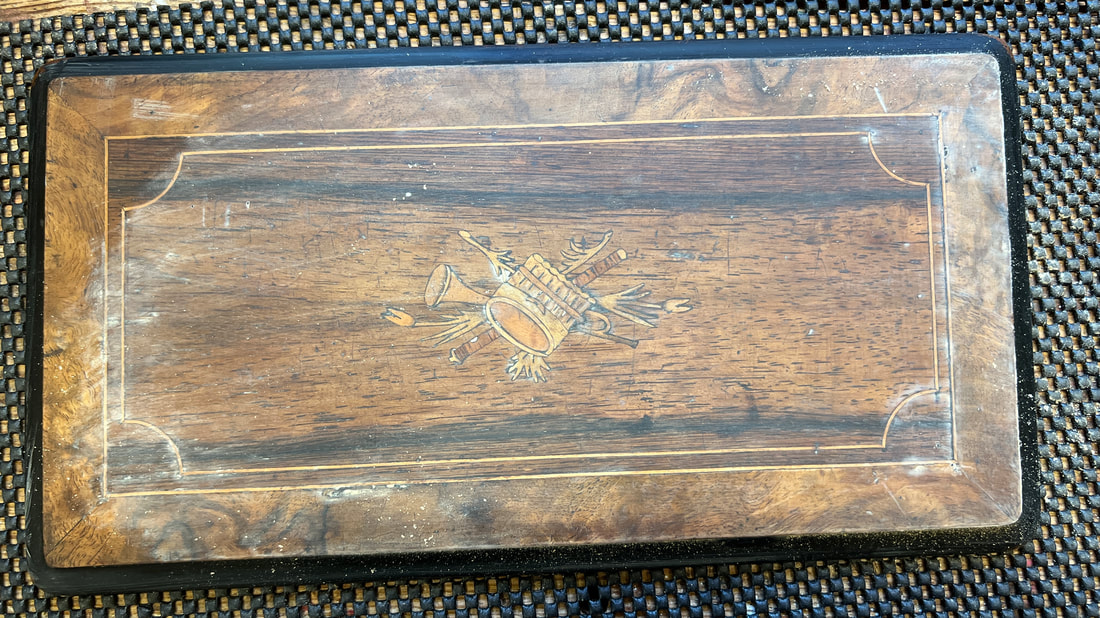
If the lid has stringing and marquetry inlay, carefully inspect it to decide if any needs repair.
This is a fairly specialist process, so if you are not sure seek help from a professional.
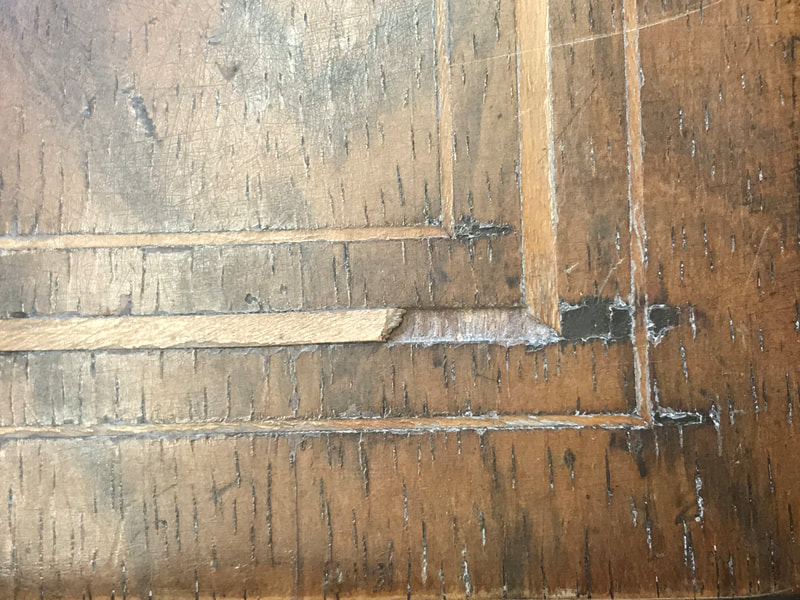
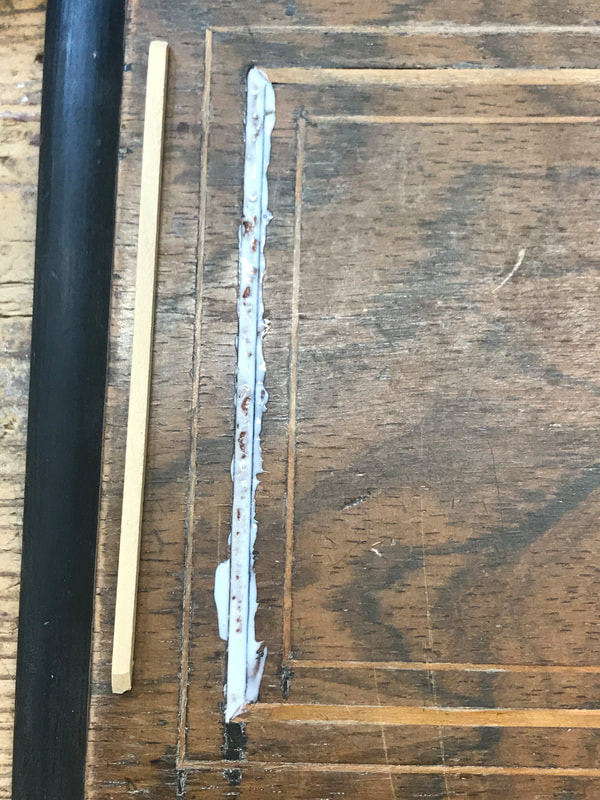
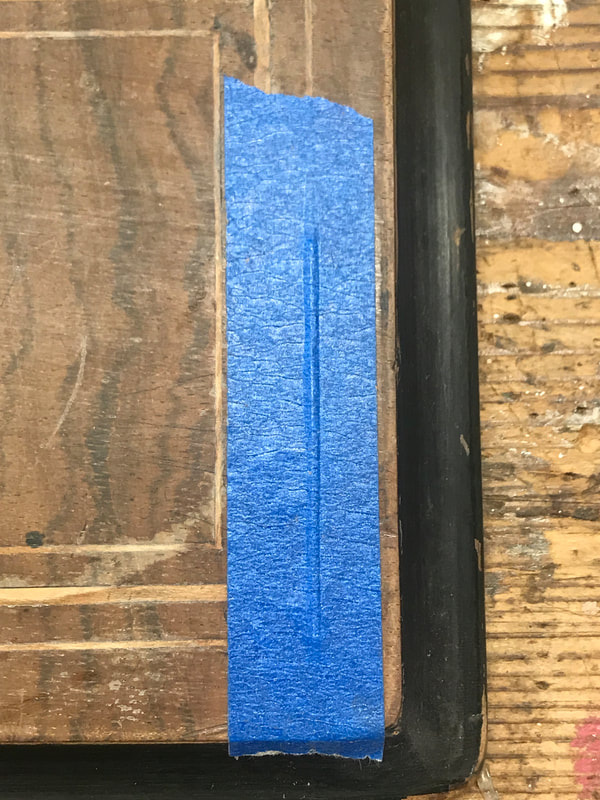
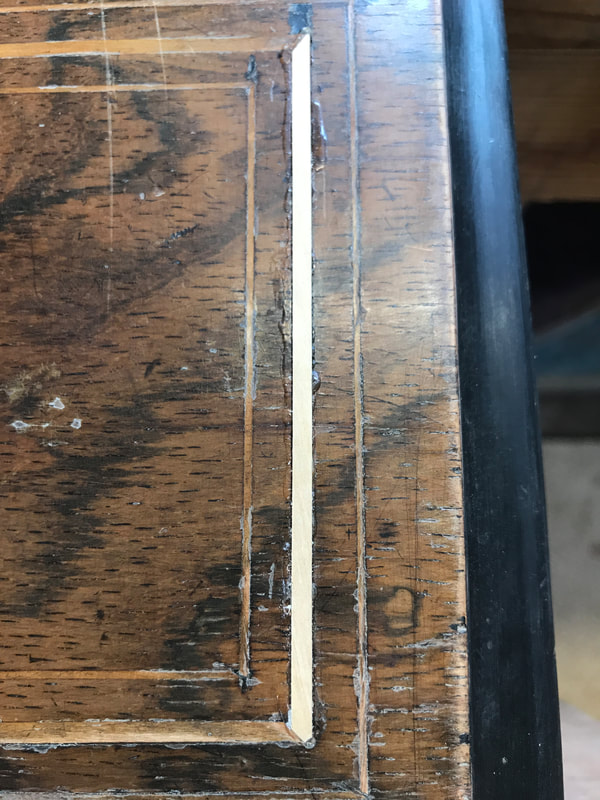
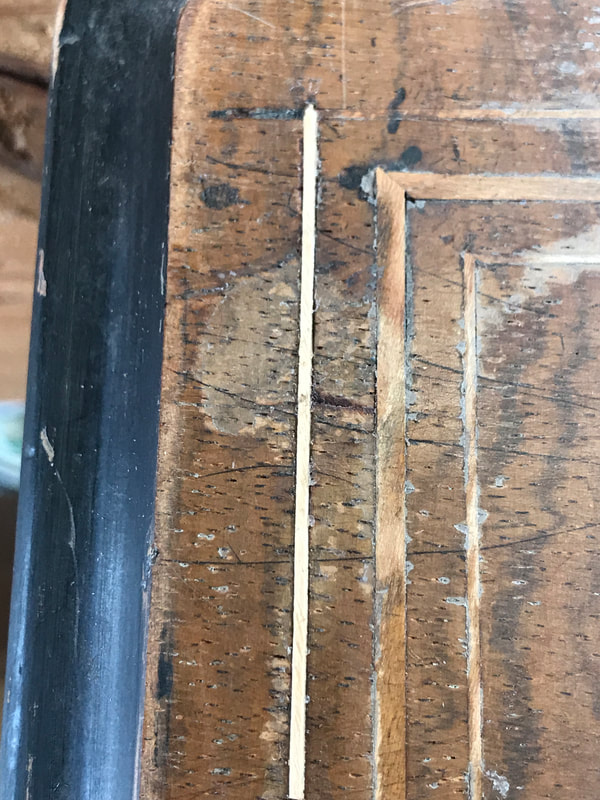
I have carried out simple repairs to marquetry and to the stringing with very good results. See below
If the lid has stringing and marquetry inlay, carefully inspect it to decide if any needs repair.
This is a fairly specialist process, so if you are not sure seek help from a professional.
I have carried out simple repairs to marquetry and to the stringing with very good results. See below
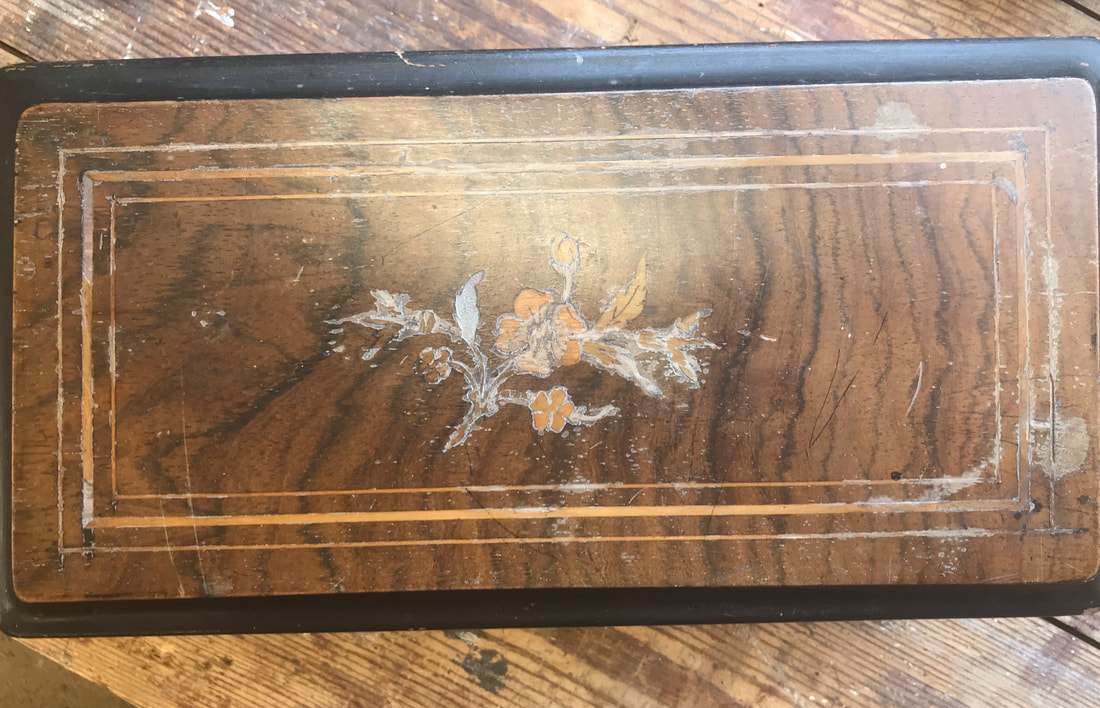
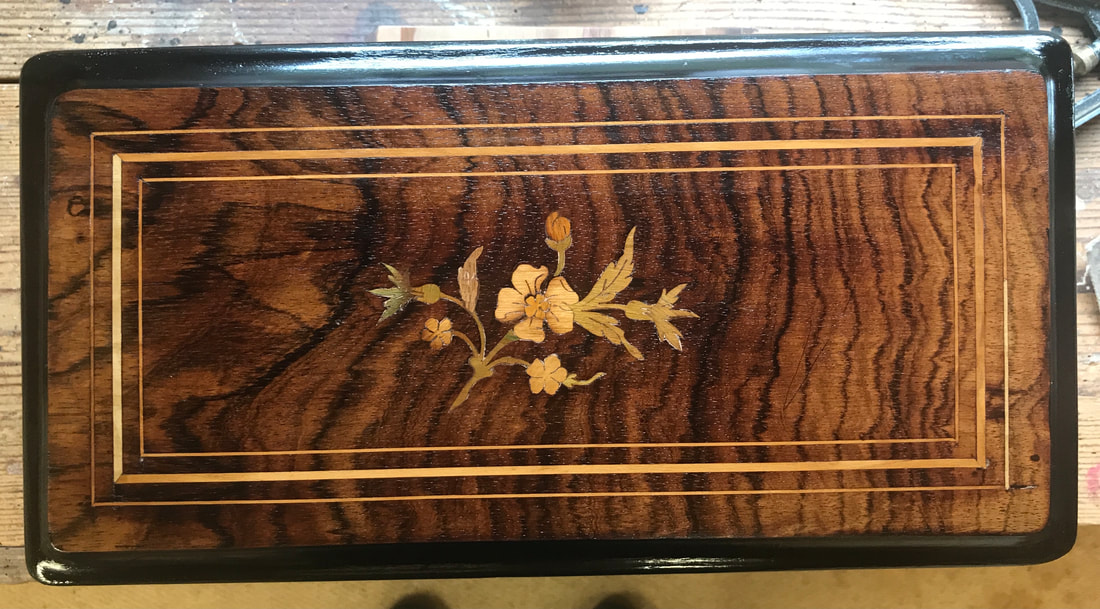
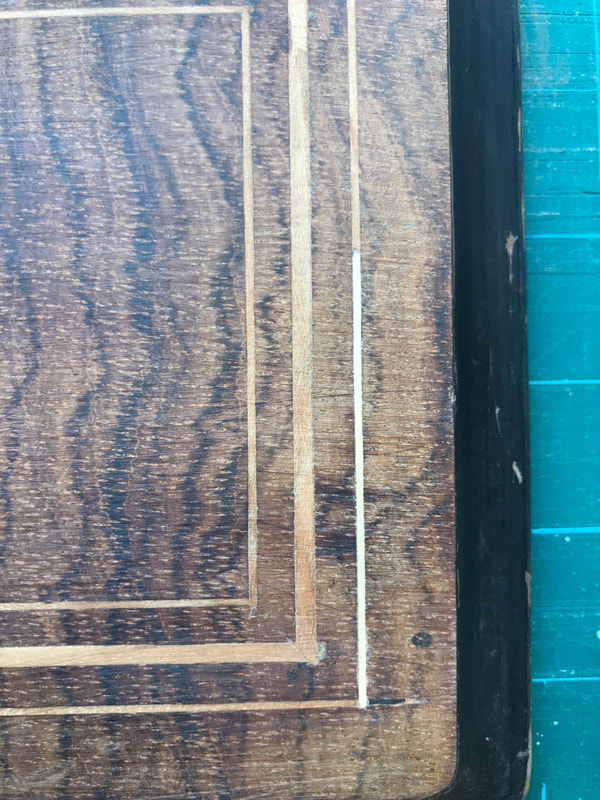
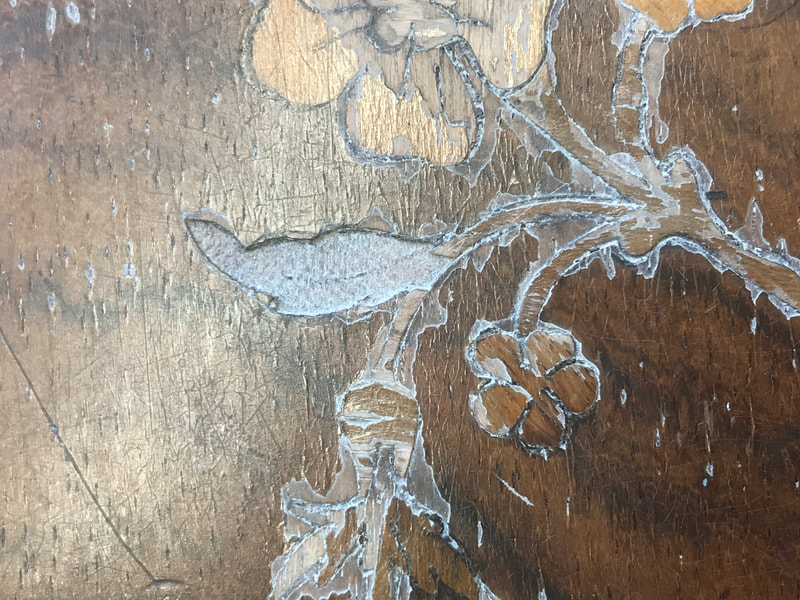
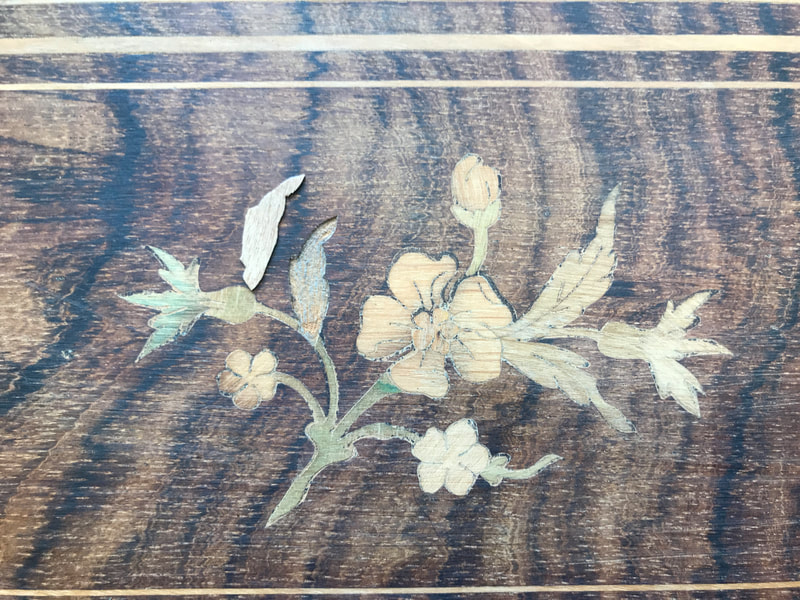
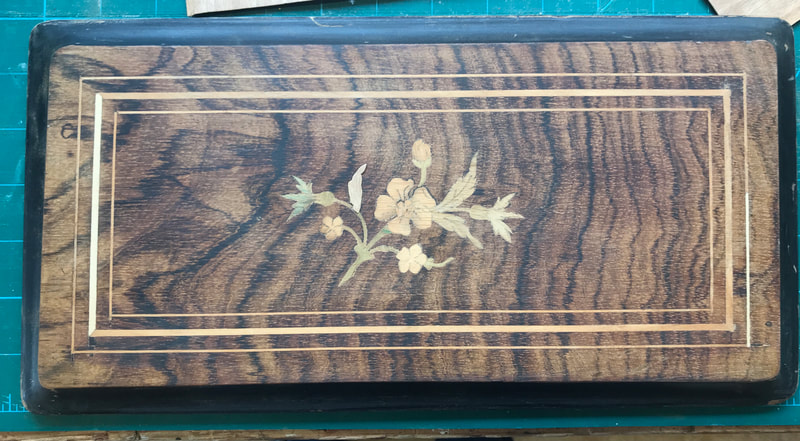
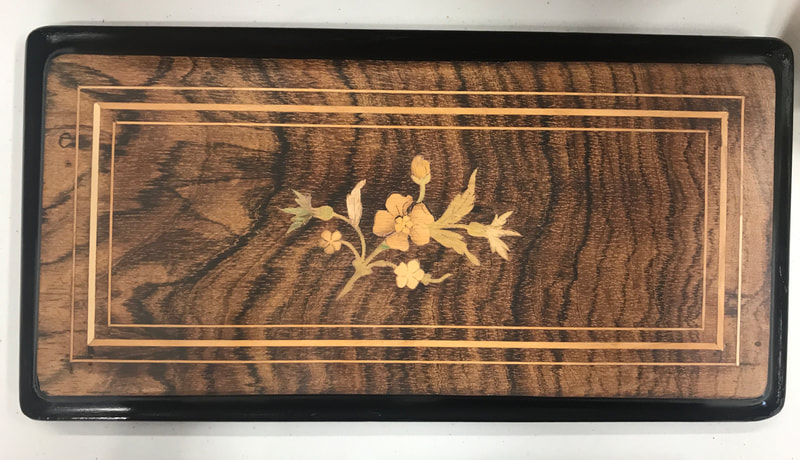
This lid had been in the sun and had a pot plant on top of it some years ago. It was missing several pieces of boxwood stringing and a leaf from the central flower. The polish was in a poor state.
Stringing can be bought in 300mm lengths and in various thicknesses. It is easily abraded if it's too thick and stands proud to give a perfectly smooth surface. Always use an animal glue (reversible) such as Titebond Genuine Hide Glue.
Below shows several stages of this lid being restored. Click an image to enlarge it.
Loose Veneer
Sometimes the veneer may have developed bubbles or lifted.
As the original glue will have been of the 'hot' variety, the remedy is very simple, it just needs to be remelted.
Find a suitable hardwood block about an inch thick and big enough to cover the entire surface that has lifted.
Cut a piece of greaseproof paper to go between the block and the surface of the veneer.
Prepare enough clamps and protection pads to secure the block to the lid.
Place the block(s) in a microwave for about one minute. Check that it doesn't overheat.
Using gloves, remove the block and place it onto the lid, with the greaseproof paper between, and tightly clamp.
Leave for 24 hours to cool and dry.
Preparing the surface (box and lid)
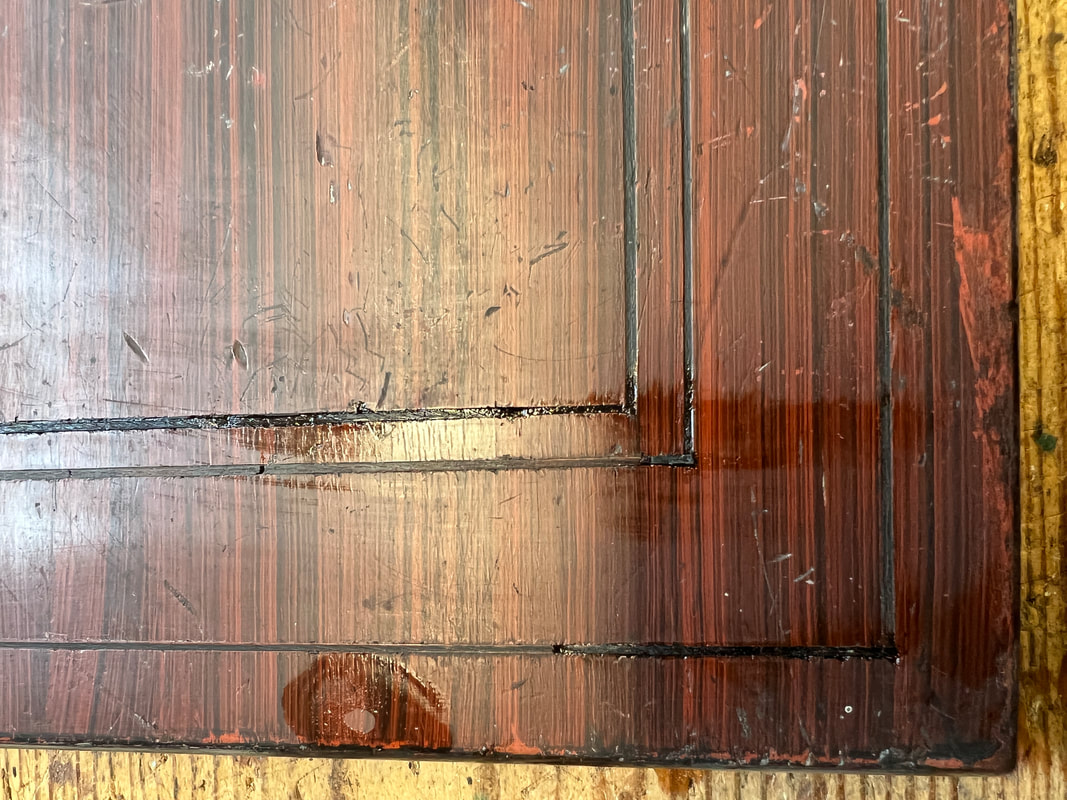
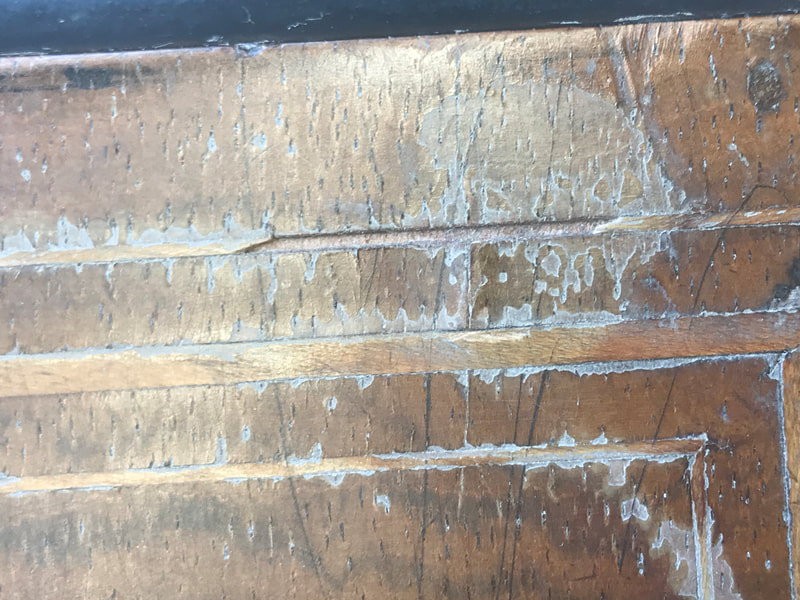
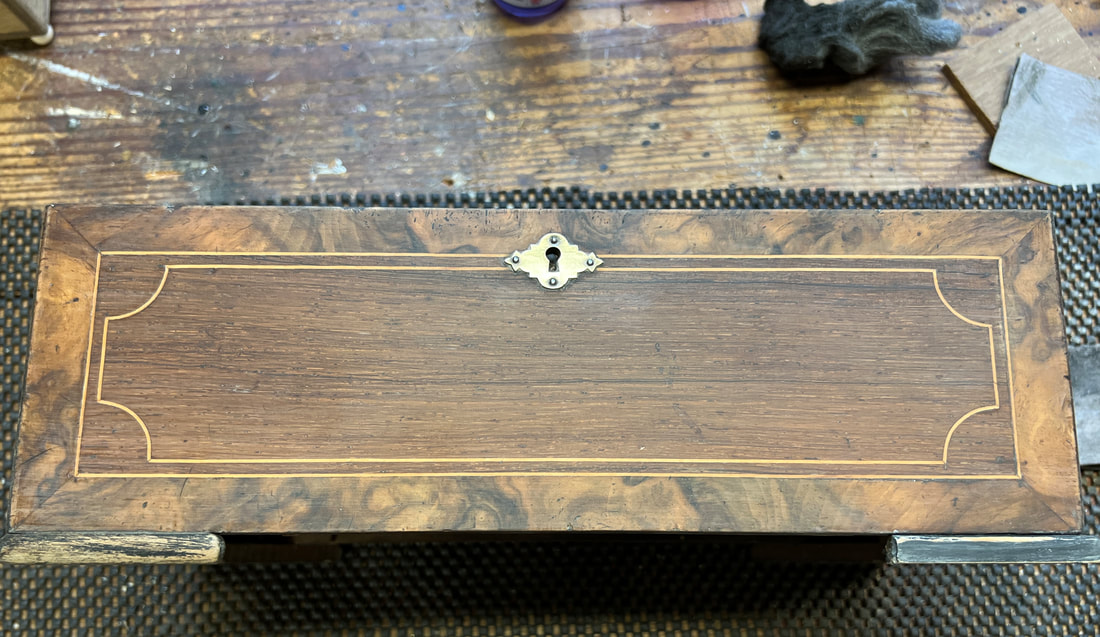
Take a piece of 0000 grade wire wool and dip it into methylated spirit. Work your way over the surface in a circular motion and finish with the grain. This will dissolve the surface layer of shellac along with the dirt which will then be deposited into any fine cracks helping to seal the surface. There may be some light streaky deposits left behind when it dries. The surface will be dull. See below
Take a piece of 0000 grade wire wool and dip it into methylated spirit. Work your way over the surface in a circular motion and finish with the grain. This will dissolve the surface layer of shellac along with the dirt which will then be deposited into any fine cracks helping to seal the surface. There may be some light streaky deposits left behind when it dries. The surface will be dull. See below
Using 400 grit silicon carbide abrasive paper, abrade the surface only as much as necessary to give a smooth surface and remove any bumps. Be careful not to abrade right through the veneer. The older the veneer the thicker it is likely to be.
Making new pieces
Sometimes parts are missing from cases.
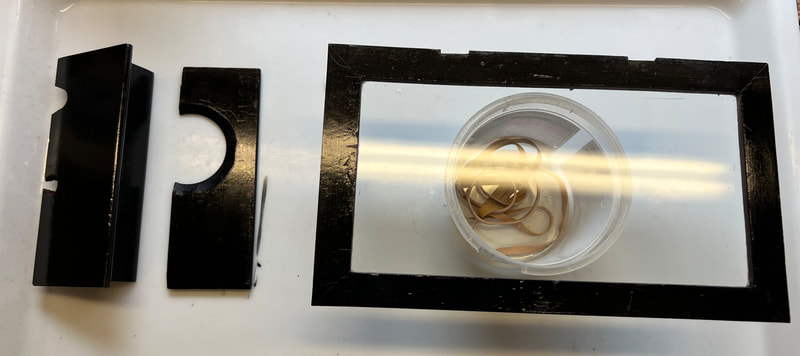
Below are images showing how to make new dividers and control levers
Soon I will be adding how to make a new glass lid.
Sometimes parts are missing from cases.
Below are images showing how to make new dividers and control levers
Soon I will be adding how to make a new glass lid.
The Black Bits
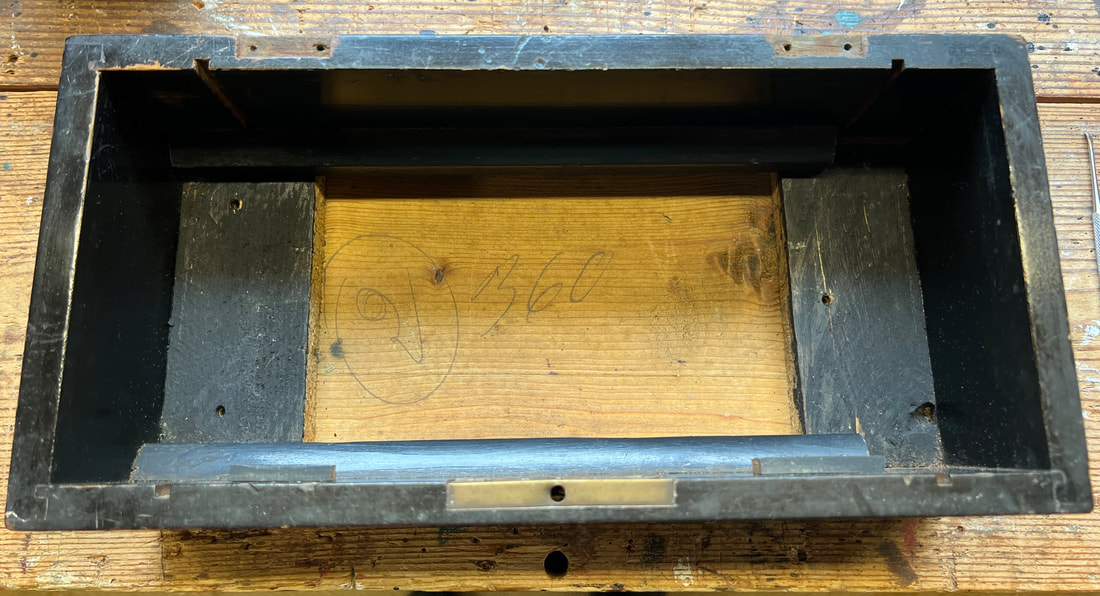
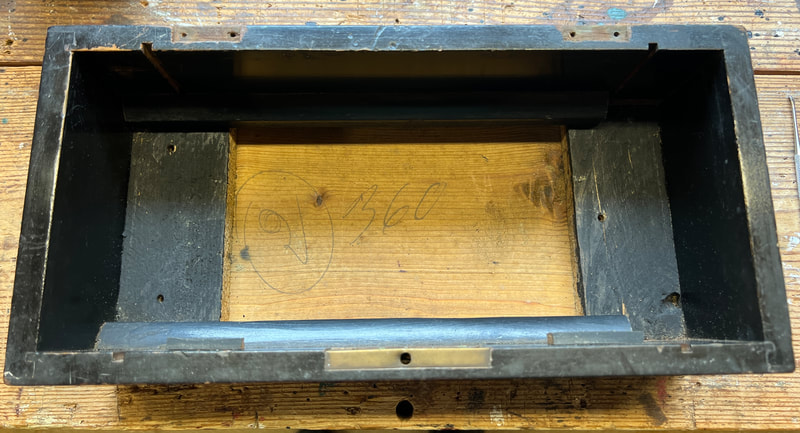
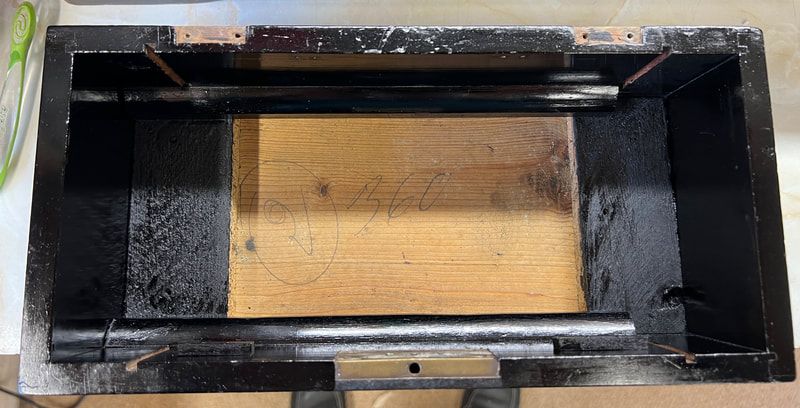
The interior of the case and the dividers are normally coated with black French polish.
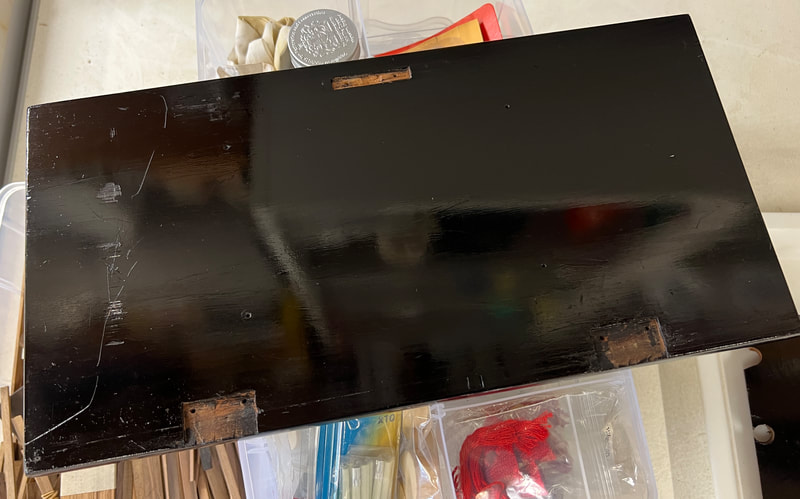
Sometimes the underside of the lid and the edges of the lid are also black French polished.
Lightly abrade all the surfaces with the 400 grit silicon carbide paper at the same time as abrading the outside.
Fill any holes with a suitable coloured filler and abrade smooth.
Use Mylands Black French Polish and a fine, flat artists brush about 20mm wide.
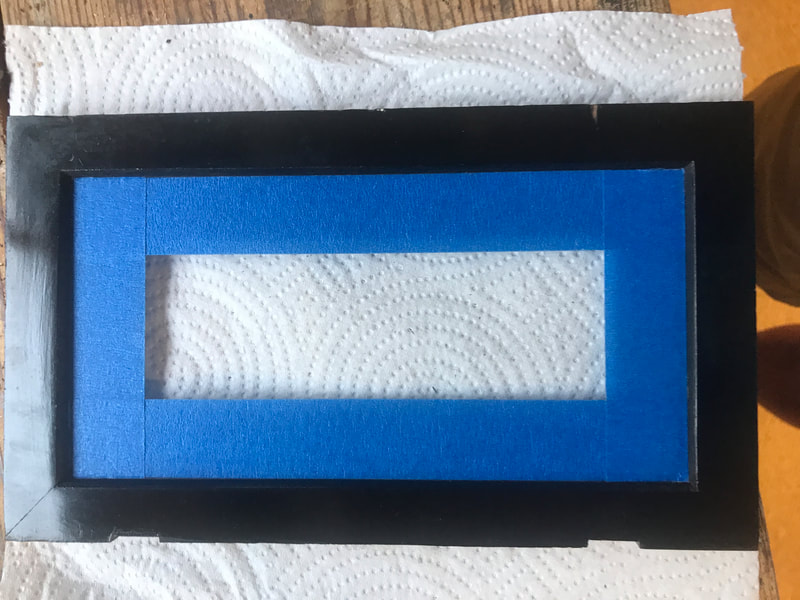
Apply two brush coats all surfaces taking care not to get any black on the veneered surfaces that will be polished later.
If you do get any on the exterior or lid, just abrade it away when dry.
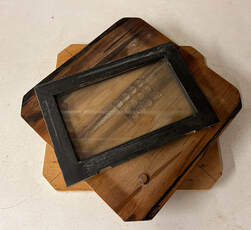
I find putting the box or lid on a simple turntable, like the one on the right, handy for this process as it allows you to rotate the piece without picking it up. You just need a Lazy Susan bearing (£6 from Amazon) and two pieces of plywood.
Some box interiors will be stained and French polished to give a warm red colour. See this Lecoultre Freres box
For any stained and polished surfaces, proceed as for the outside of the box.
Polishing the exterior
Having abraded all exterior surfaces and black polished the edge and underside of the lid (if applicable) it's time to polish the box.
You need the following materials:
French polishers rubber (see below)
Suitable size Kilner jar in which to keep it
Mylands Special Pale Shellac Polish
Methalated spirits
Clean, dust free, surface
Turntable (optional)
The polishing rubber
Purchase a large Kilner Jar in which to keep your rubber. Don't be tempted to use a plastic container. It will not be air tight and your rubber will dry out.
Make up a polishing rubber using an old handkerchief or square of white 100% cotton approximately 9" square by watching this YouTube video
This is the best video that I've found and is close to how I've been taught. It is a bit long winded but it is really important that you get this right, as the demonstrator shows.
It's a bit difficult to photograph a piece being polished, but the principle is as in the video.
Apply the polish evenly and quickly, building up the layers. If it's sticky, let it dry and apply another coat or two building up to the level of shine that you want.
Because you've done the black French polish first, some of this will come off on your rubber due to the fact that there is meths in the shellac polish. Your rubber will have a few black streaks, but it's nothing to worry about.
Tools and Materials
0000 grade steel wool
400 grit silicon carbide abrasive paper sheet cut into 8 pieces
Methylated spirit
Mylands Black French Polish
Mylands Special Pale Shellac Polish
Cotton wadding
Cotton square
Veneers and stringing (if required)
Titebond Genuine Hide Glue (if required)
Non bleed masking tape
Disposable PVC gloves
Apron
Dust mask / eye protection
Set of flat head screwdrivers - Always use the correct size for the screw you are trying to remove/replace to prevent burring
Wood block for abrasive sheet
1/2' or 3/4' flat artists brush
Kilner jar
Microwave
Various sizes of clamps
Scrap wood to protect surfaces being clamped
Turntable
Please refer to my other Tips and Tricks page which shows you how to Restore a Musical Mechanism.
