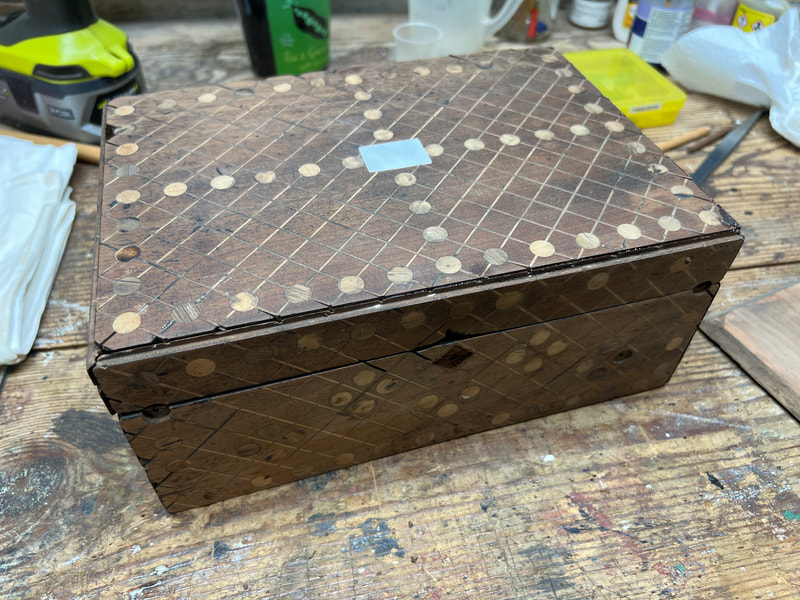
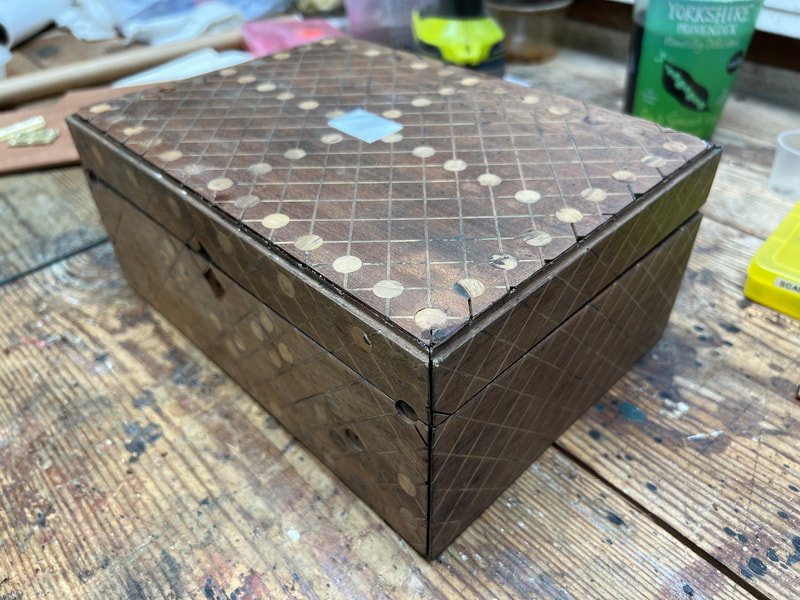
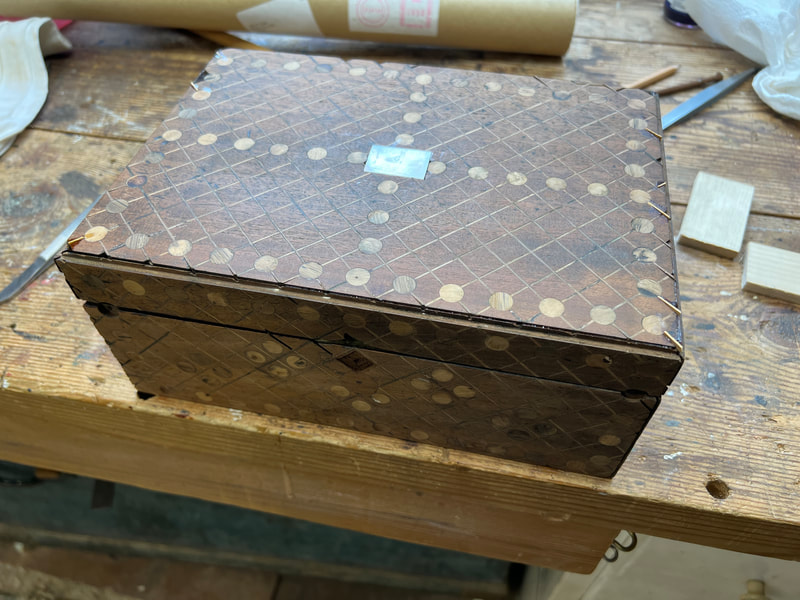
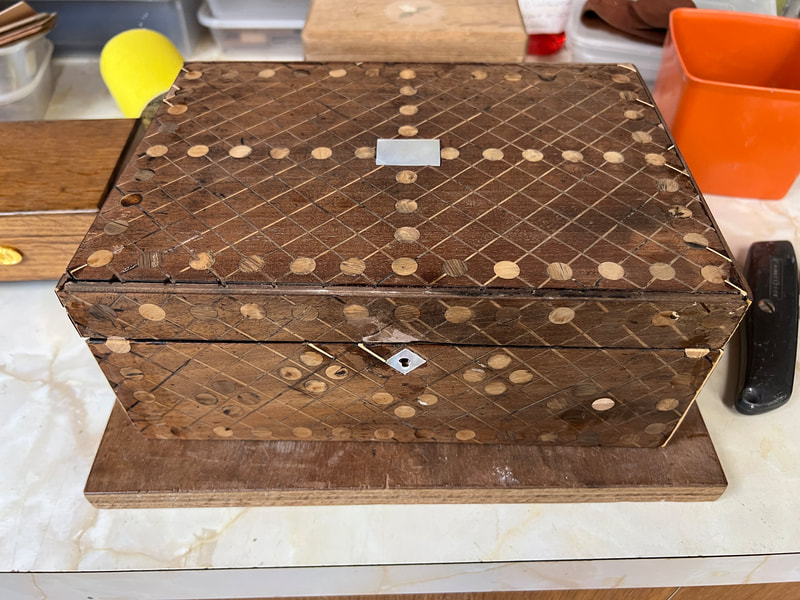
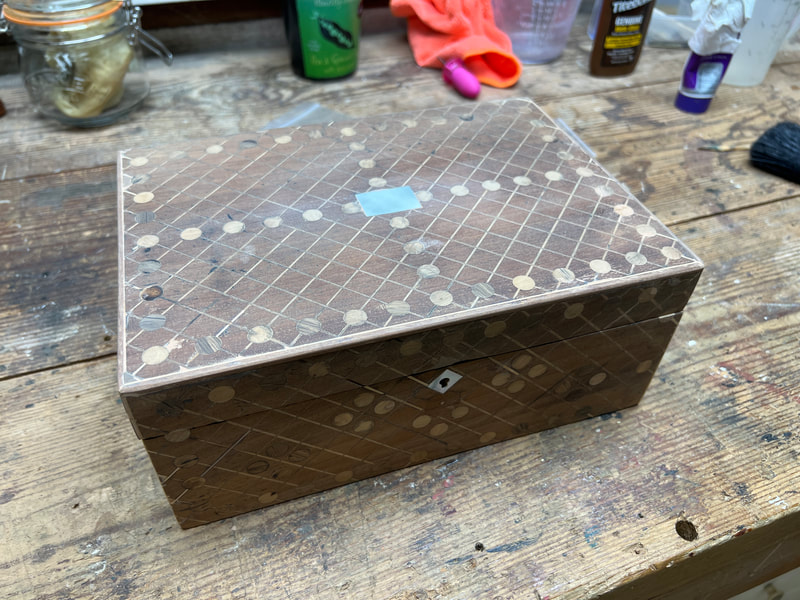
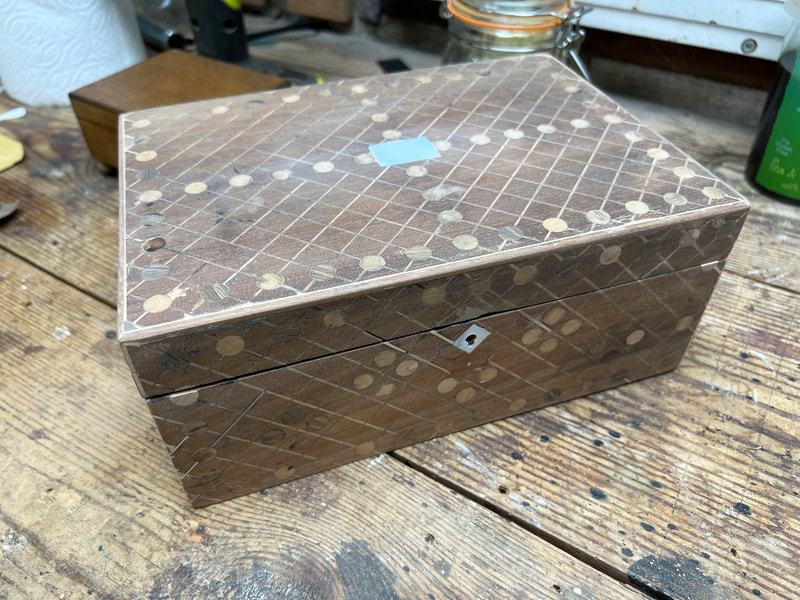
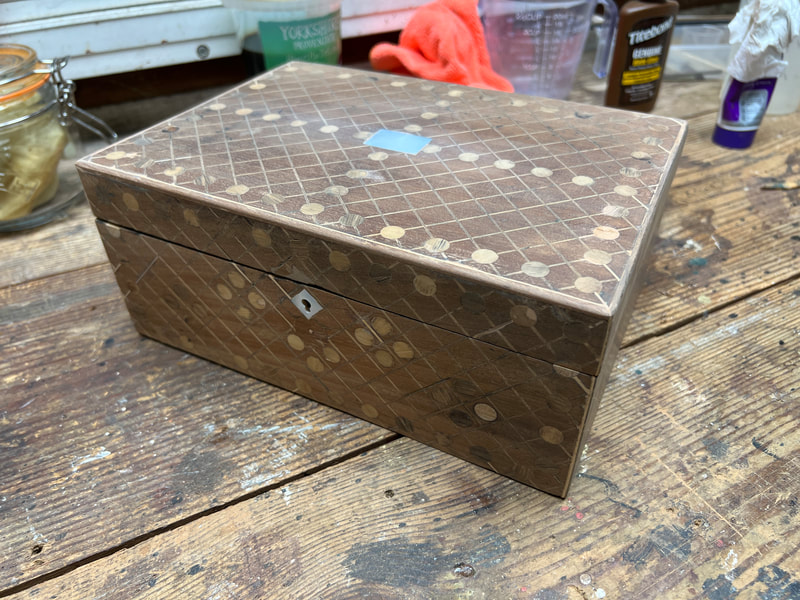
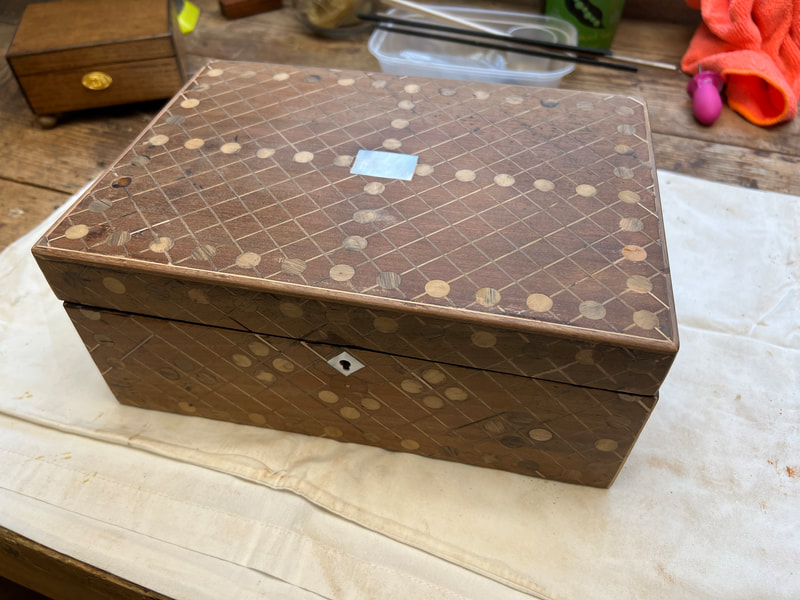
Small intricately inlaid box
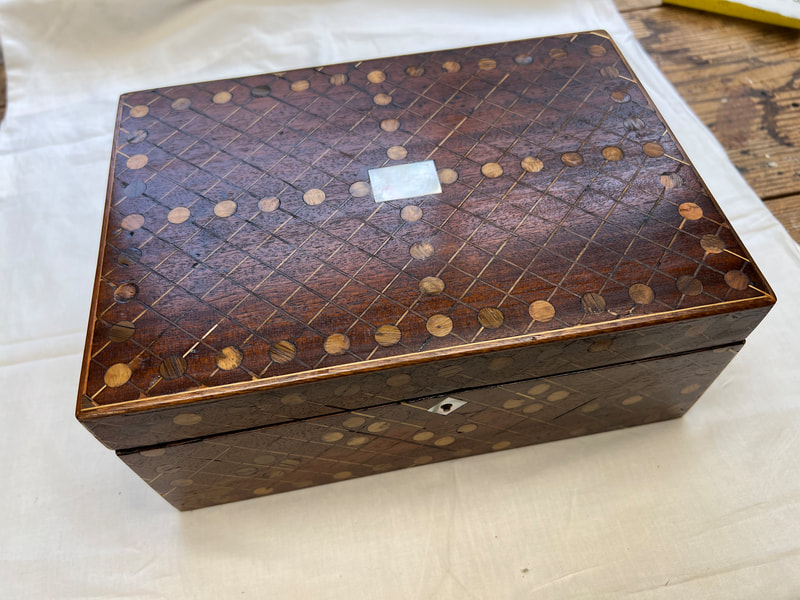
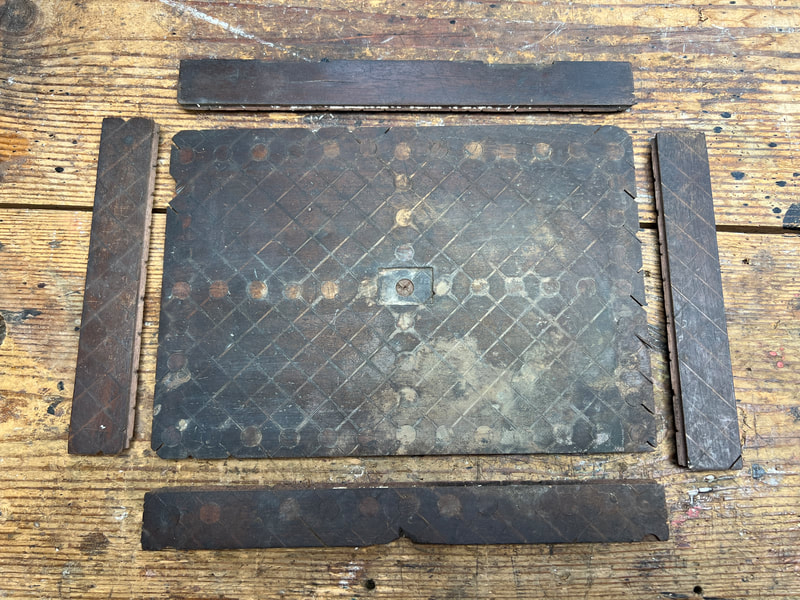
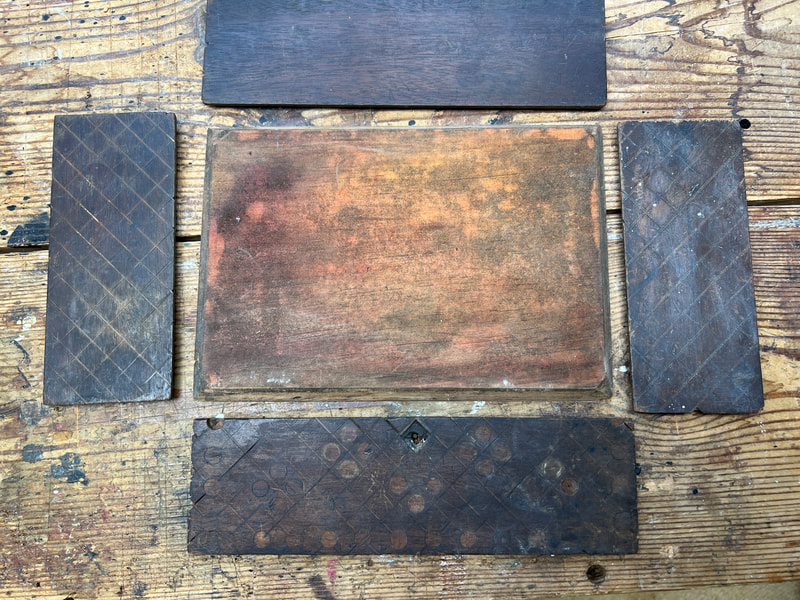
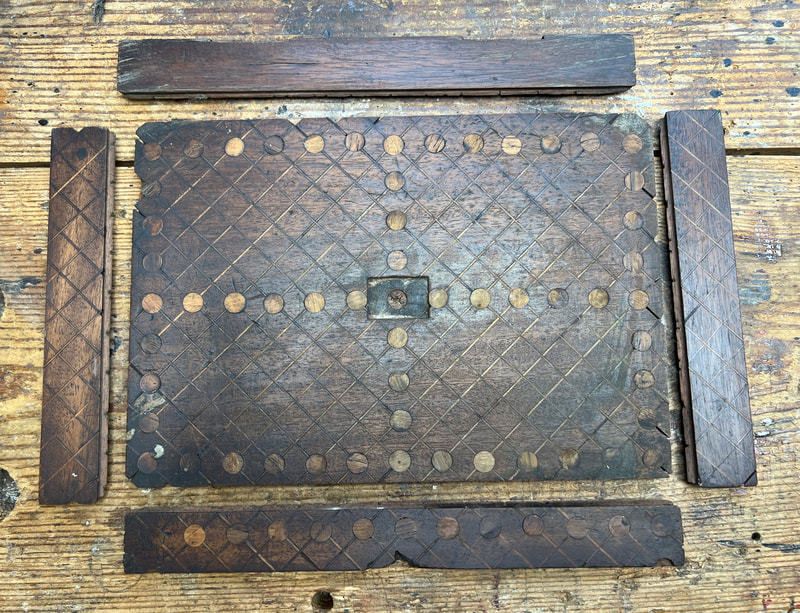
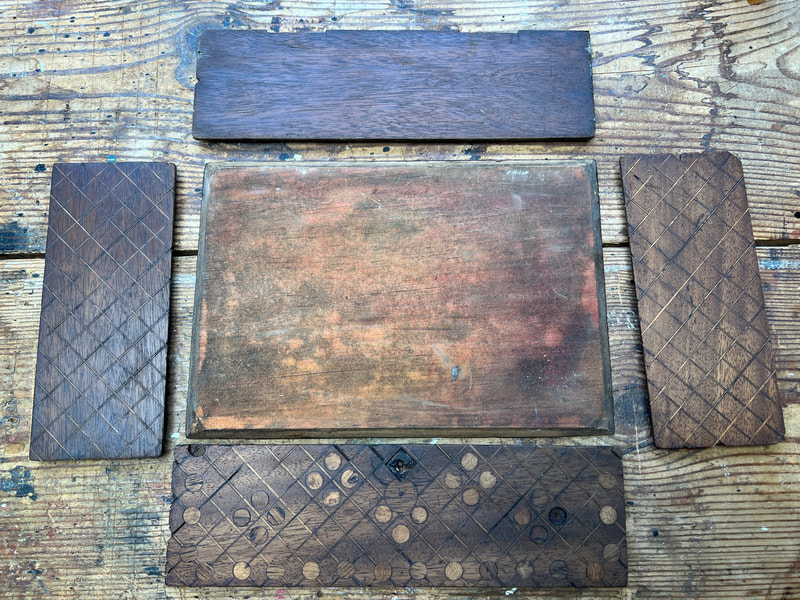
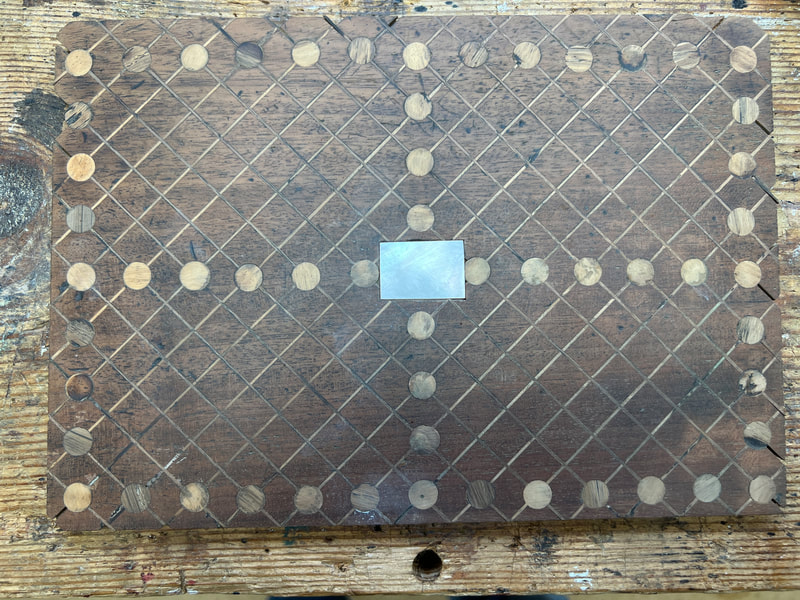
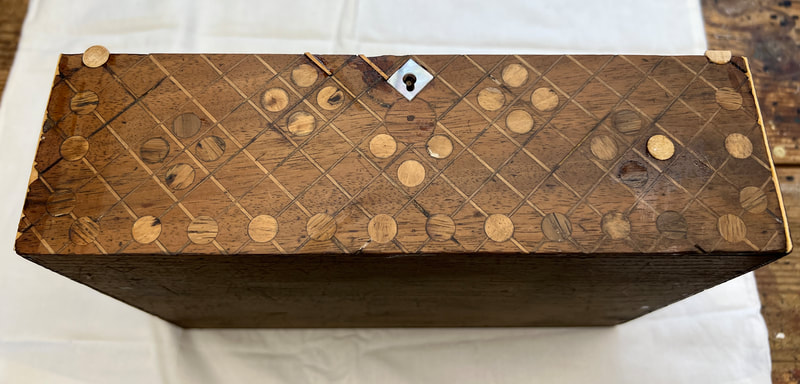
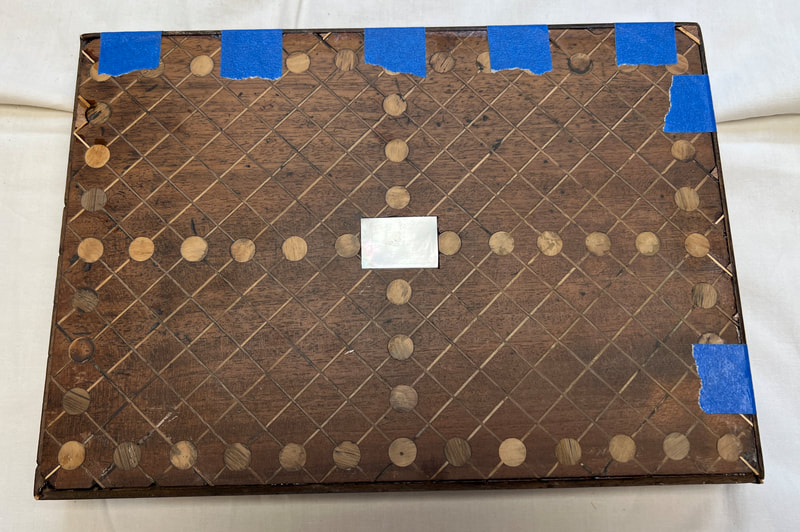
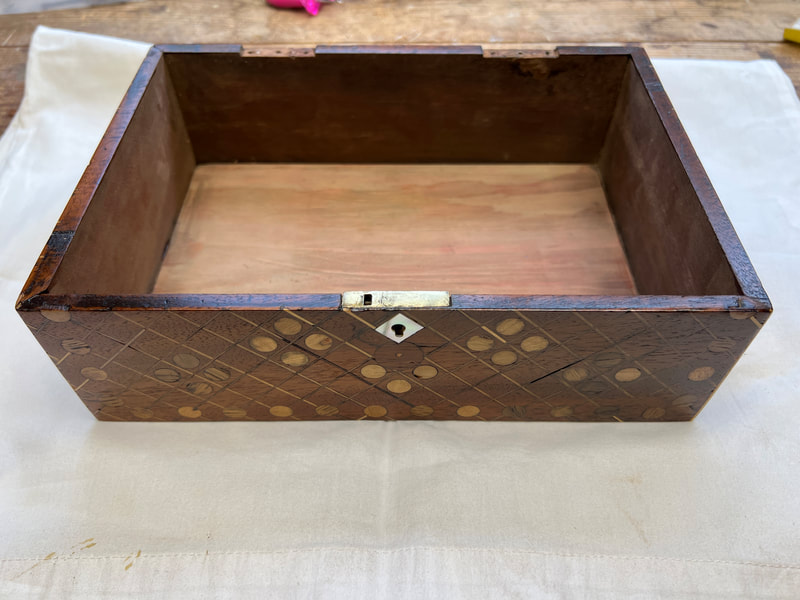
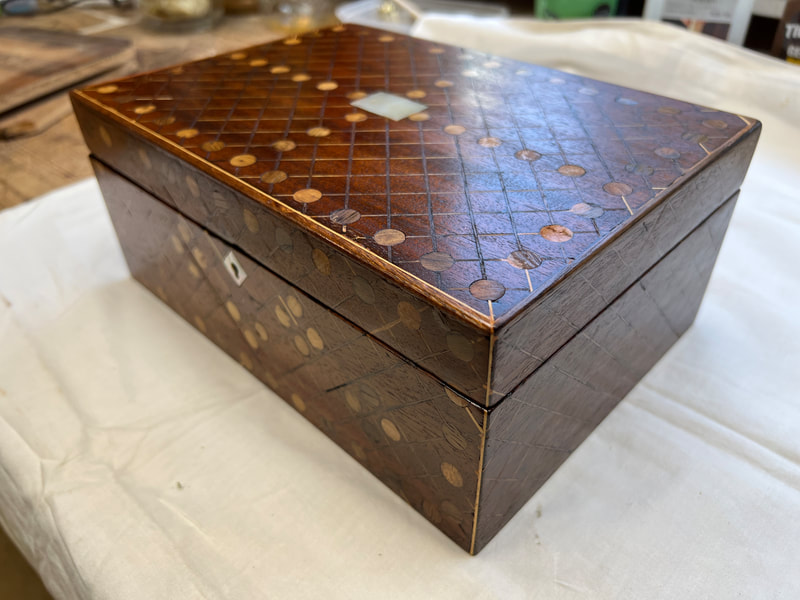
The 19th century mahogany box was 'flat pack' when I first saw it. The picture above is a far cry from the contents of a shoe box that a friend deposited with me, saying that this might be a challenge. How right he was.
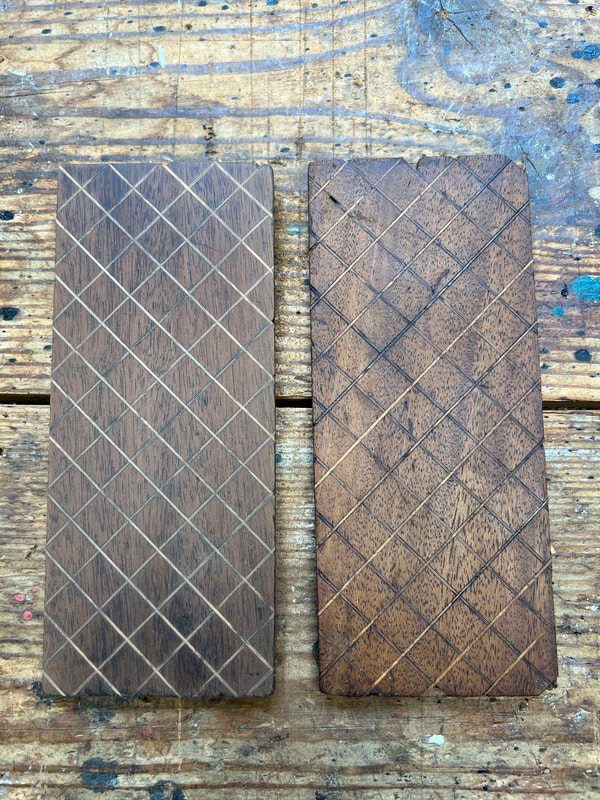
There were the 10 main pieces plus a couple of edging pieces and some scrap.
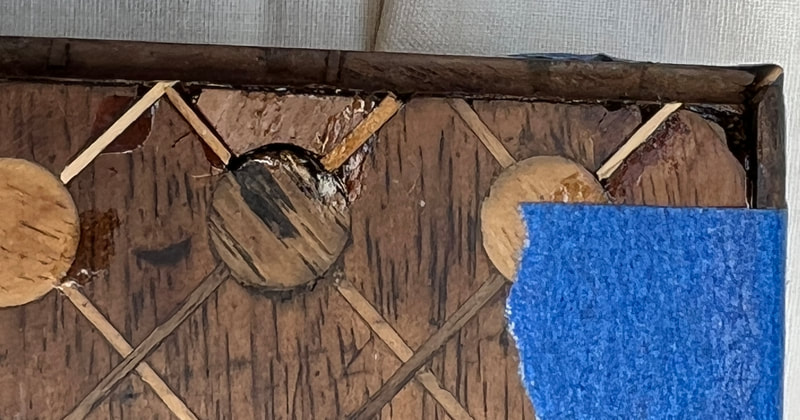
No mother of pearl, and a lot of damage to the boxwood stringing plus a few missing roundels.
It was also all very, very dirty.
There were the 10 main pieces plus a couple of edging pieces and some scrap.
No mother of pearl, and a lot of damage to the boxwood stringing plus a few missing roundels.
It was also all very, very dirty.
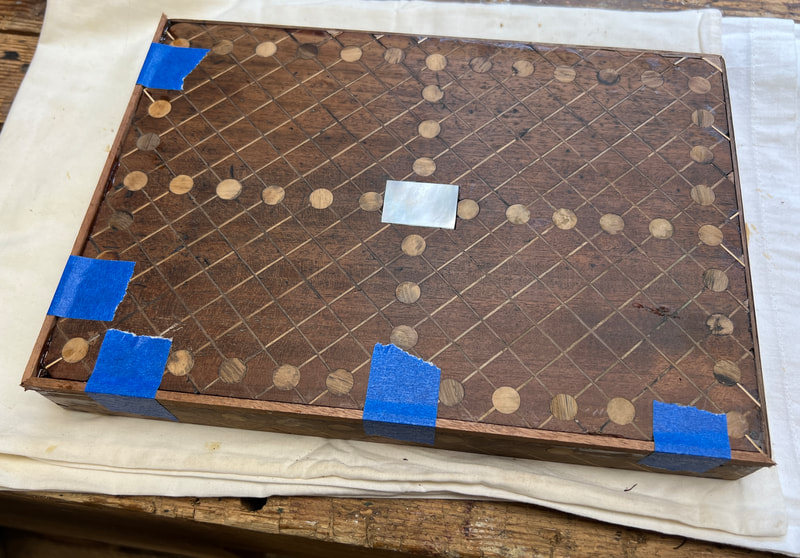
Having identified all the remaining pieces, the first task was to clean everything using fine steel wool dipped in meths. Once the Dirt was gone this allowed me to assess the damage.
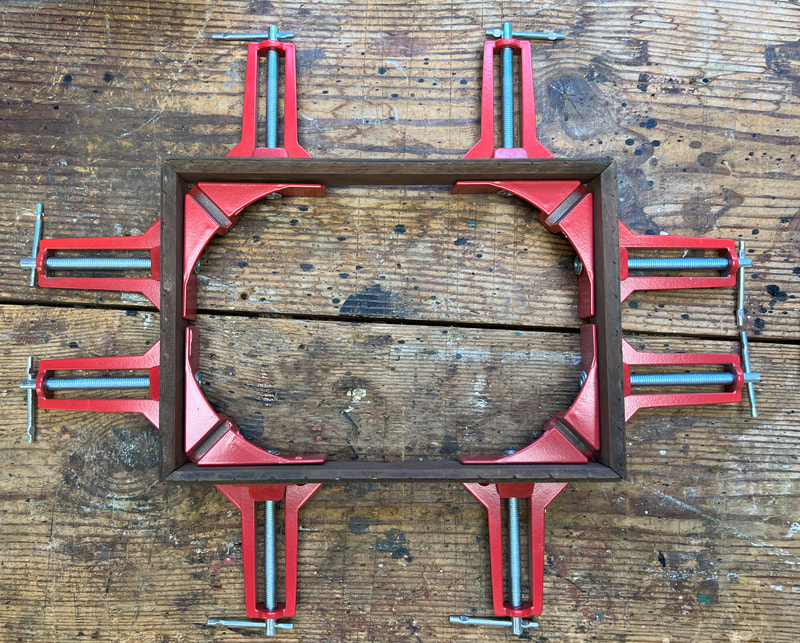
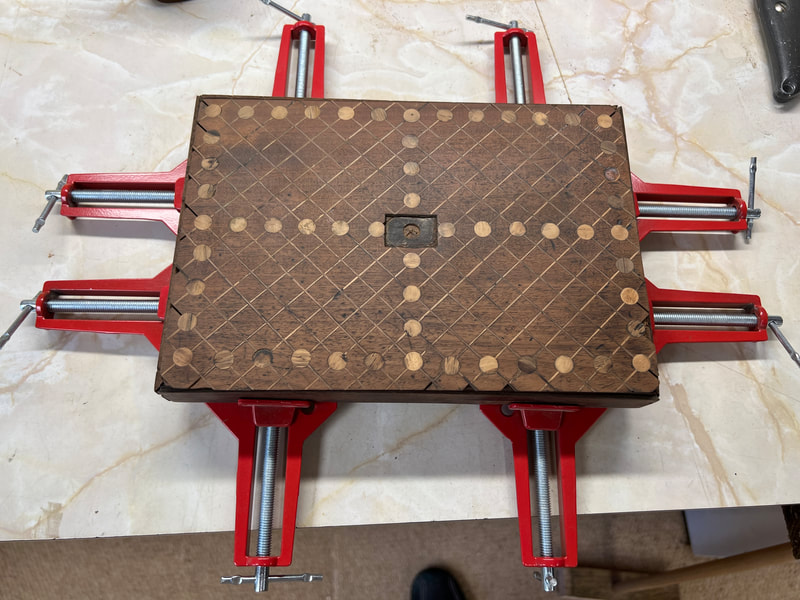
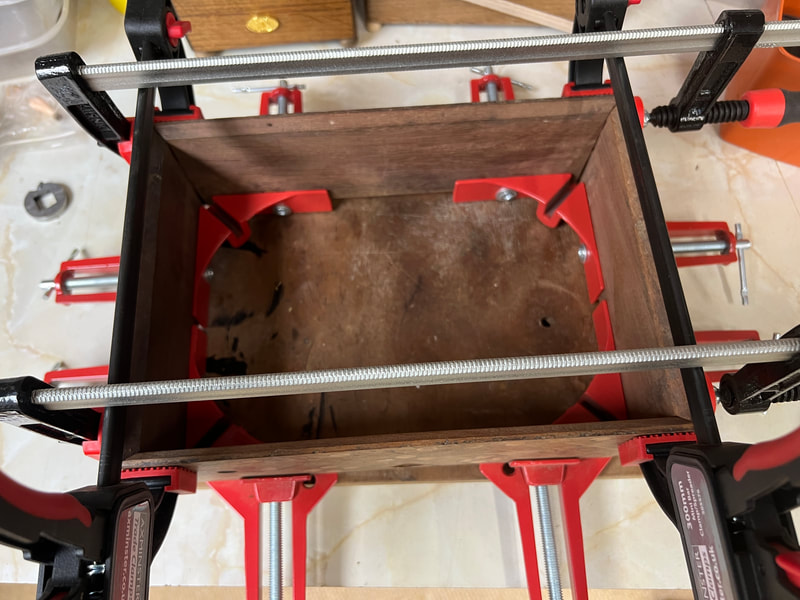
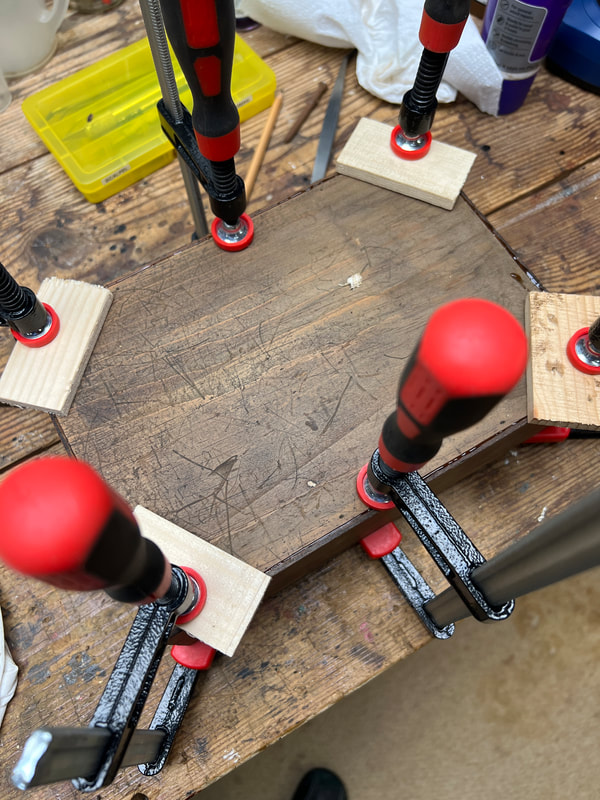
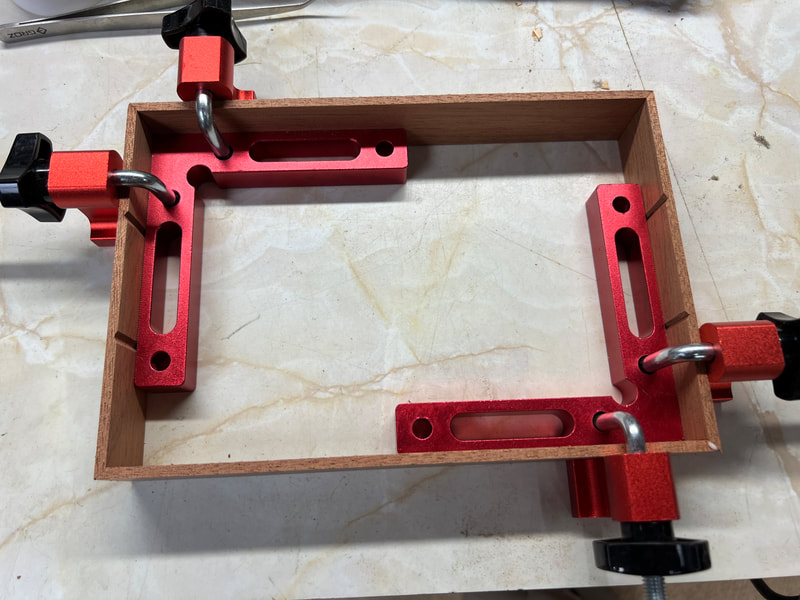
The lid sides were glued together and held with frame cramps and using natural hide glue.
When this was set, the lid was added.
This was repeated for the base and sides.
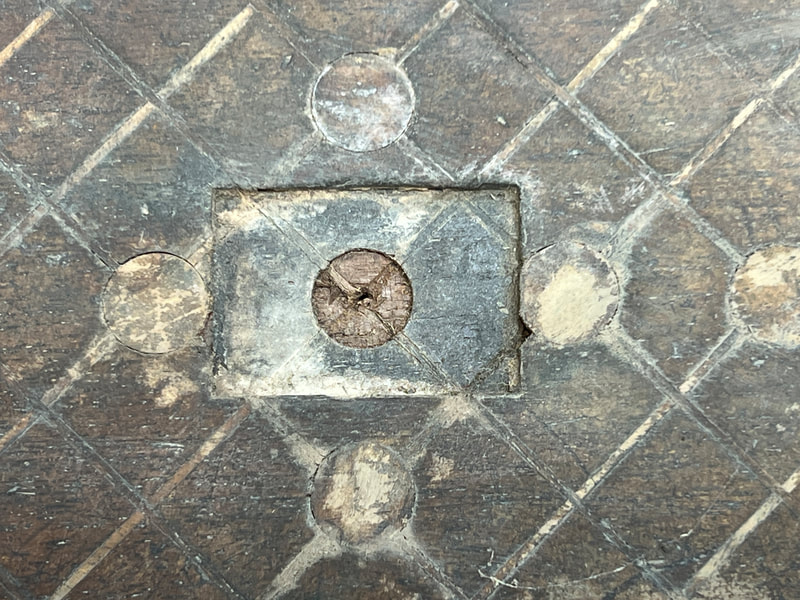
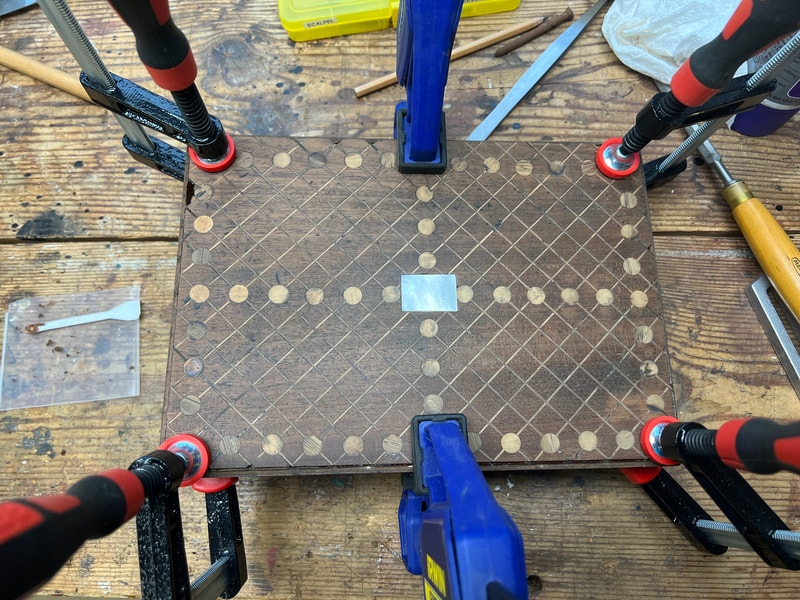
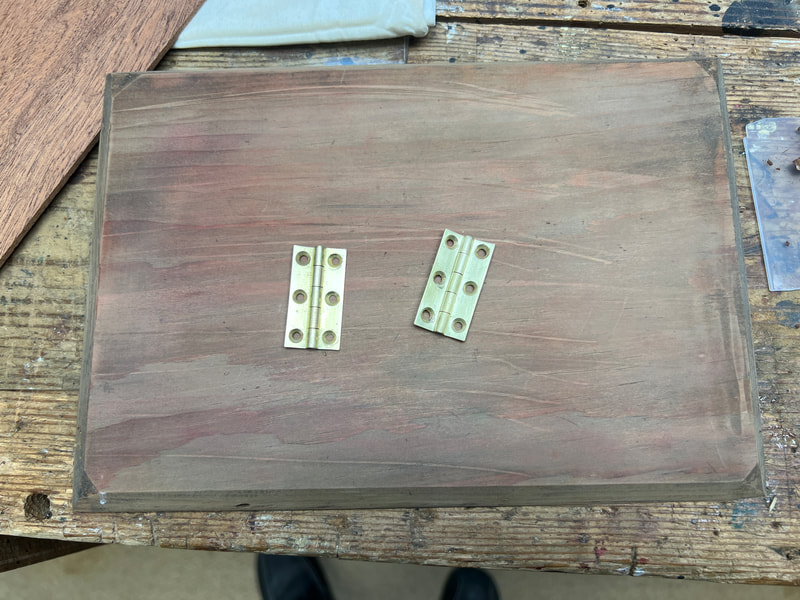
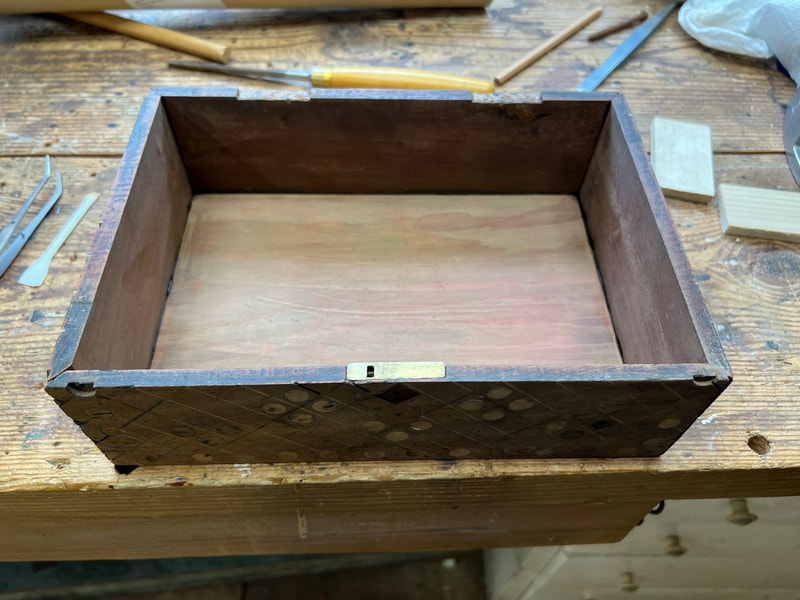
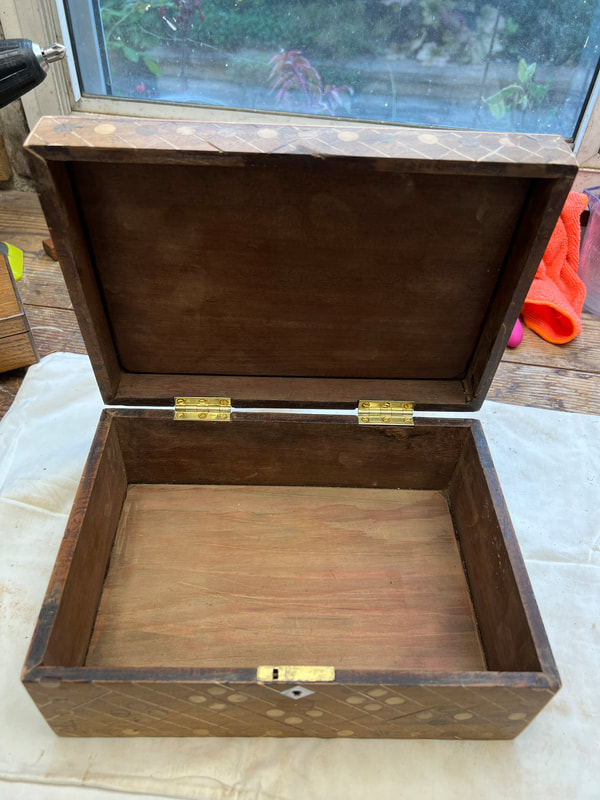
While the glue was drying I cut and fitted a mother of pearl cartouche in the centre of the lid and escutcheon to the keyhole and selected a pair of brass stop hinges from my stock.
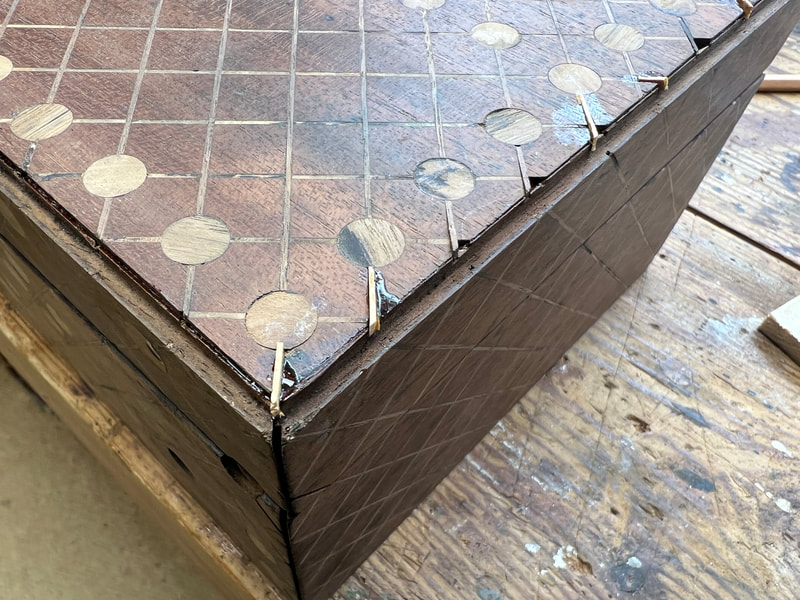
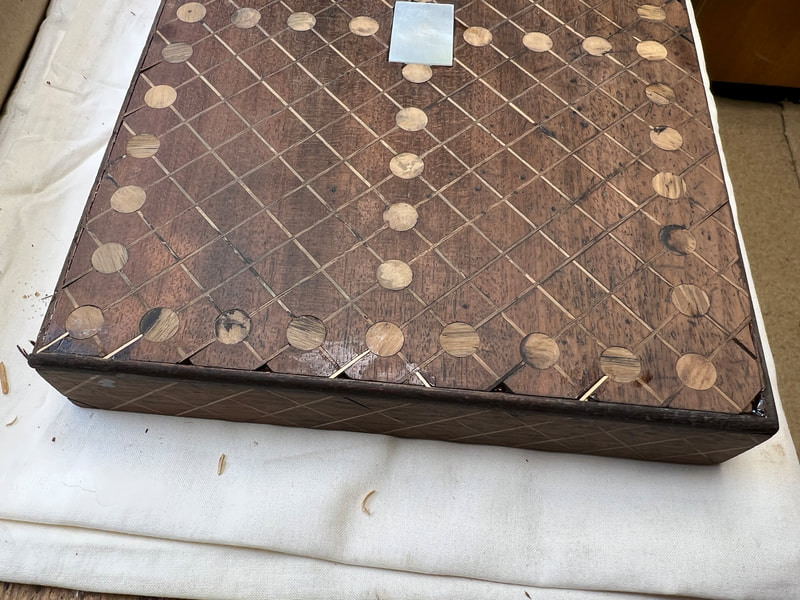
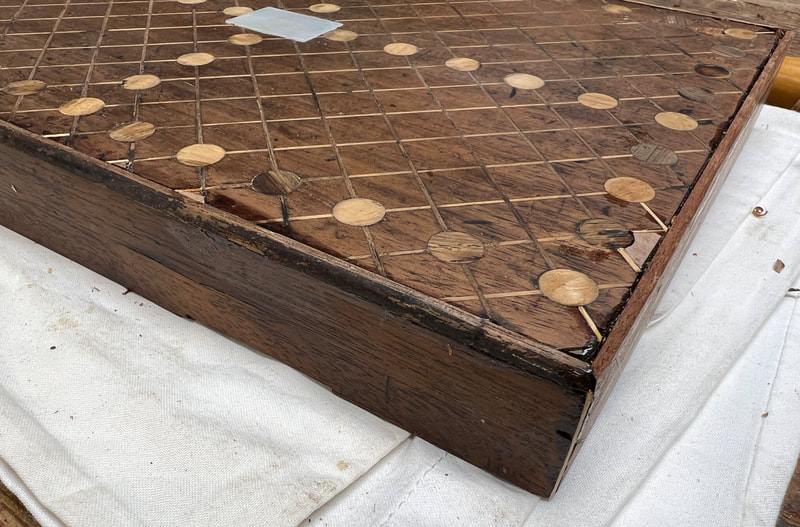
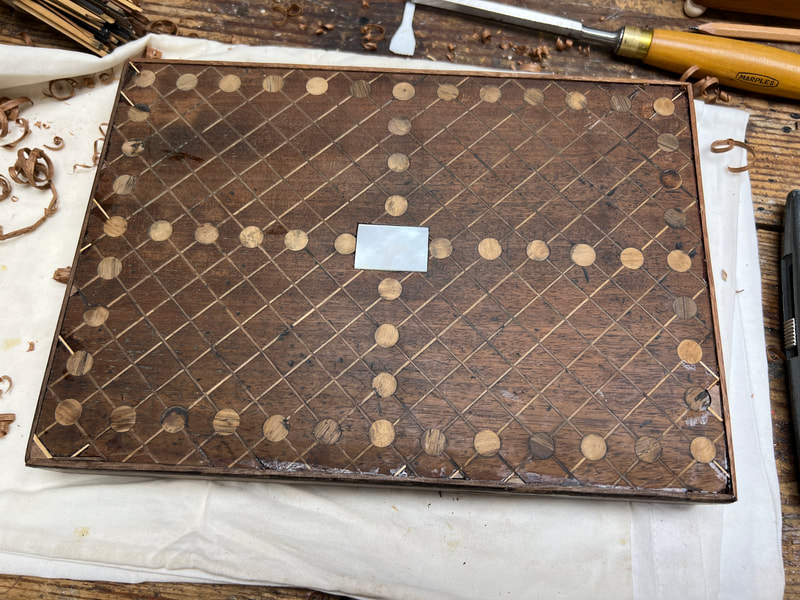
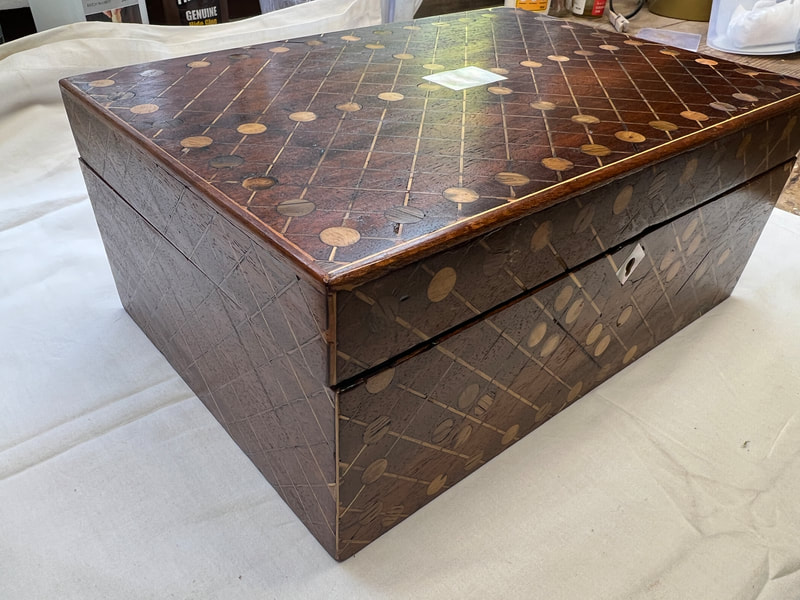
There followed several days of 'micro surgery' to repair and replace the marquetry stringing.
New roundels were made by turning down a piece of dowel and the slicing it thinly to be sanded down after gluing into place.
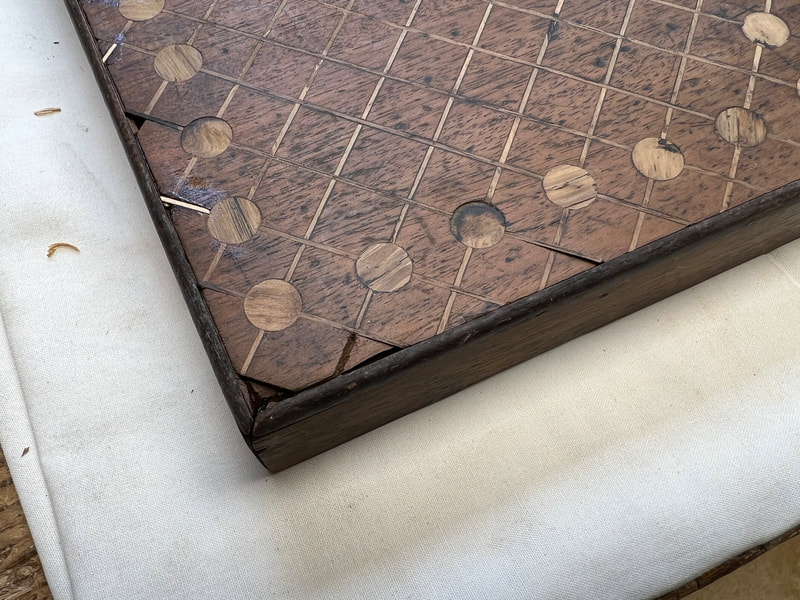
The next stage was to add the edges to the lid.
Only two were present so two new ones were cut and the corners guillotined to 45 degrees before gluing Ito place.
Once set any minor holes were filled before abrading to a smooth finish using silicon carbide 400 grit paper.
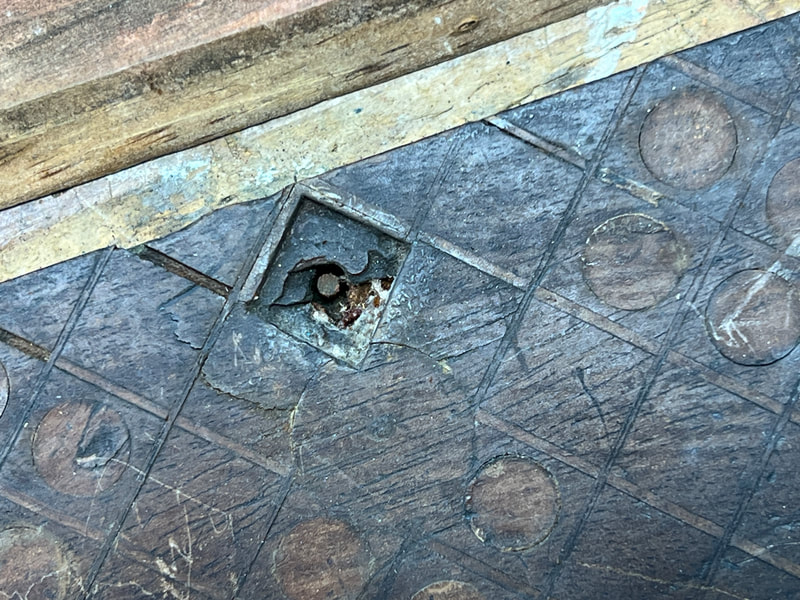
Note: although there is a lock fitted, it is not functional and could not be replaced due to it being rusted in. There was no keep and the front lip of the box was damaged, requiring delicate repair,
To fit a new lock and keep was not an option as I feared that much damage would be done unnecessarily.
Finishing with multiple coats of pure shellac, abrading part way through.
26th November
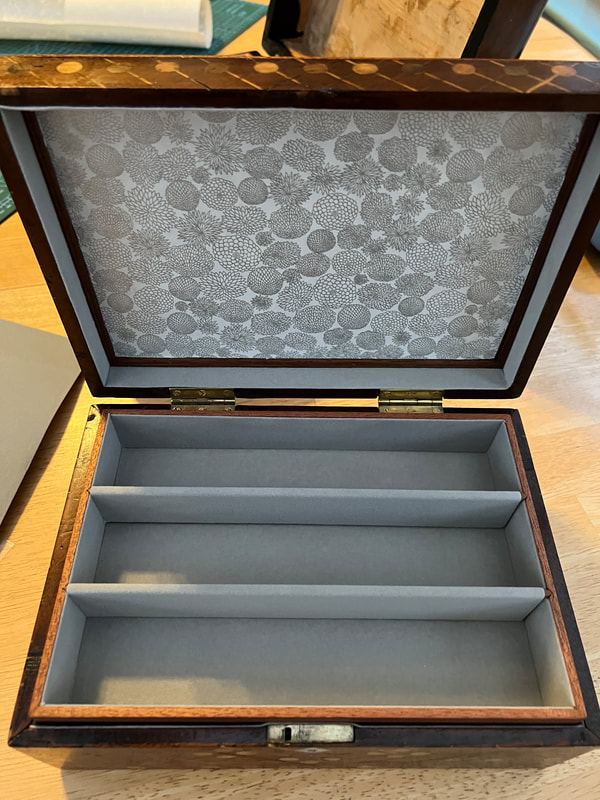
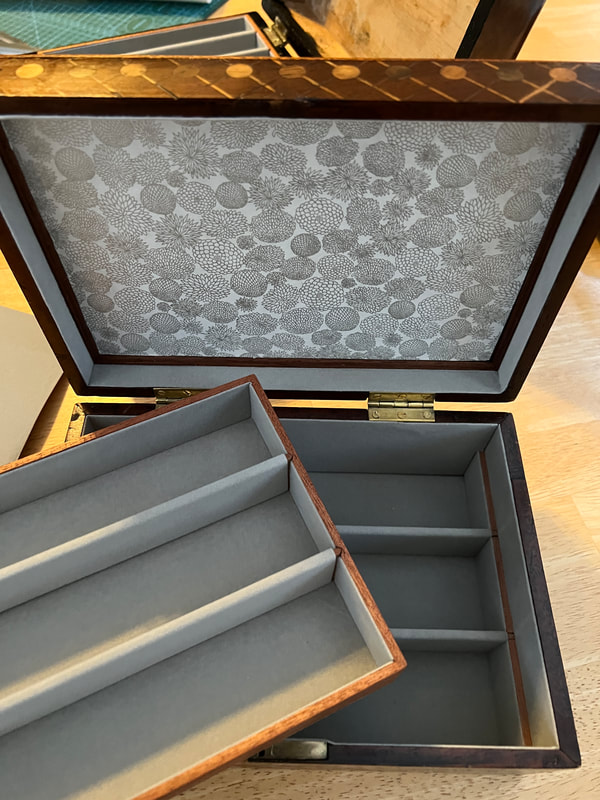
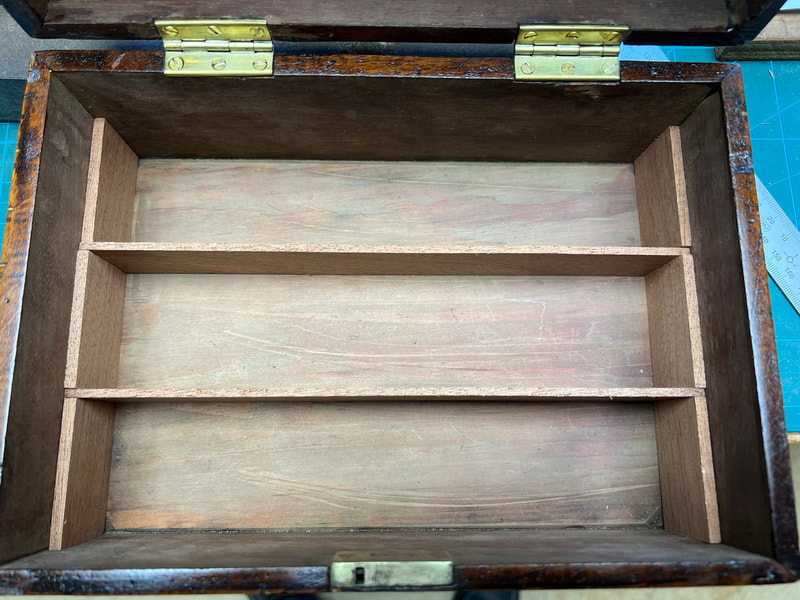
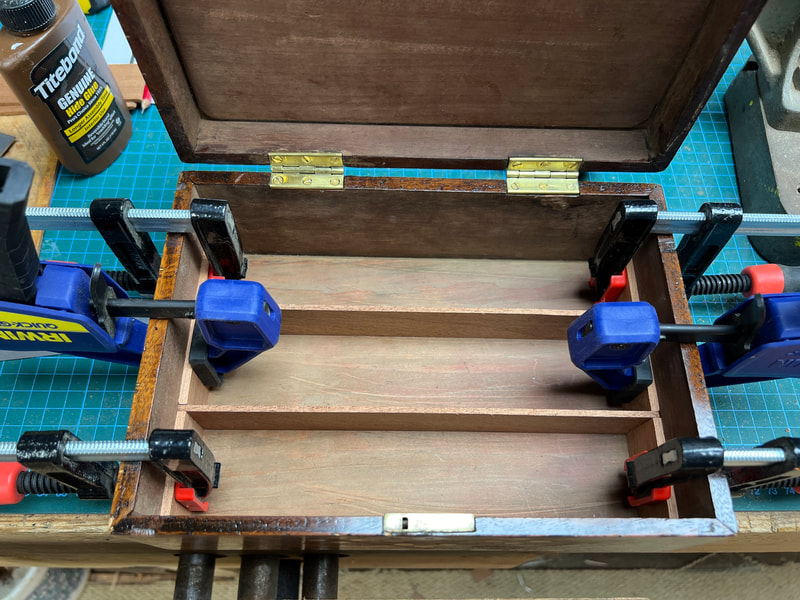
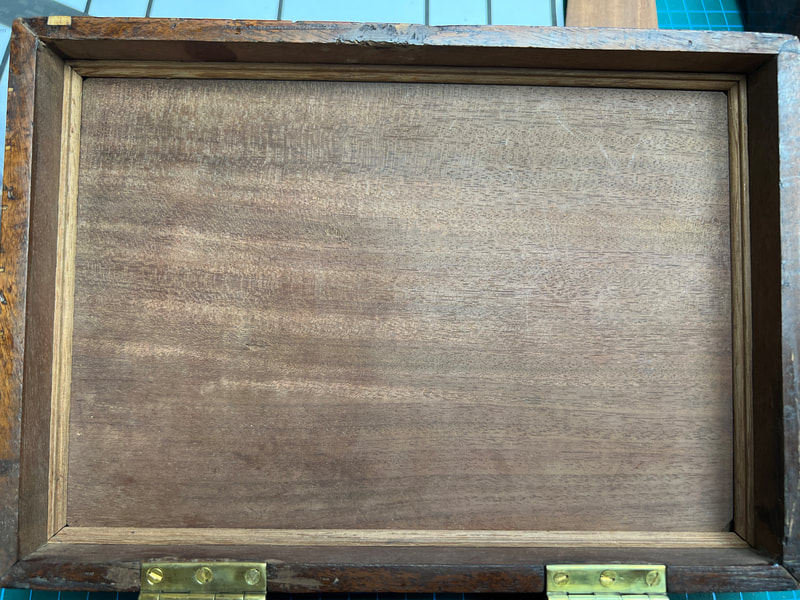
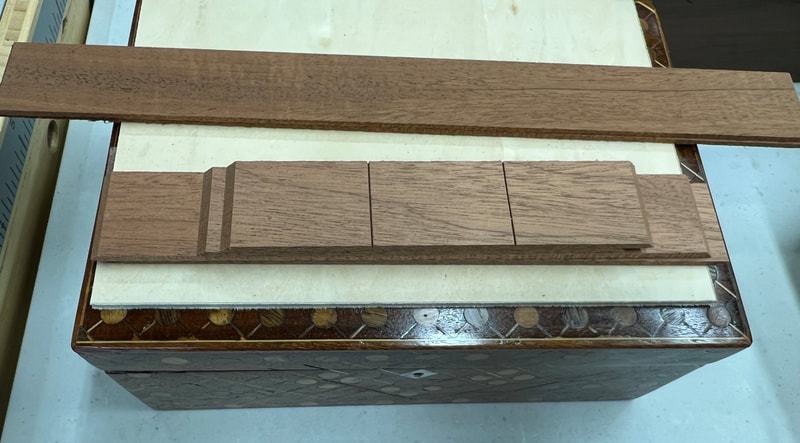
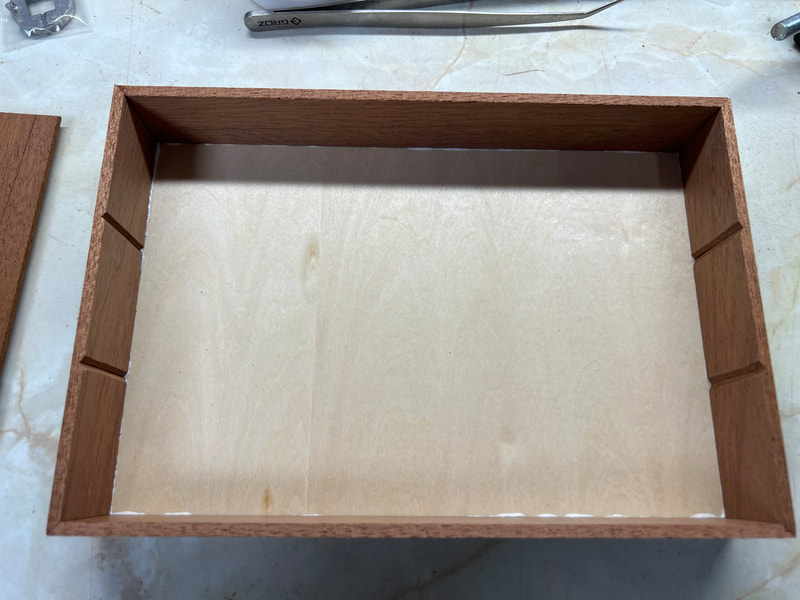
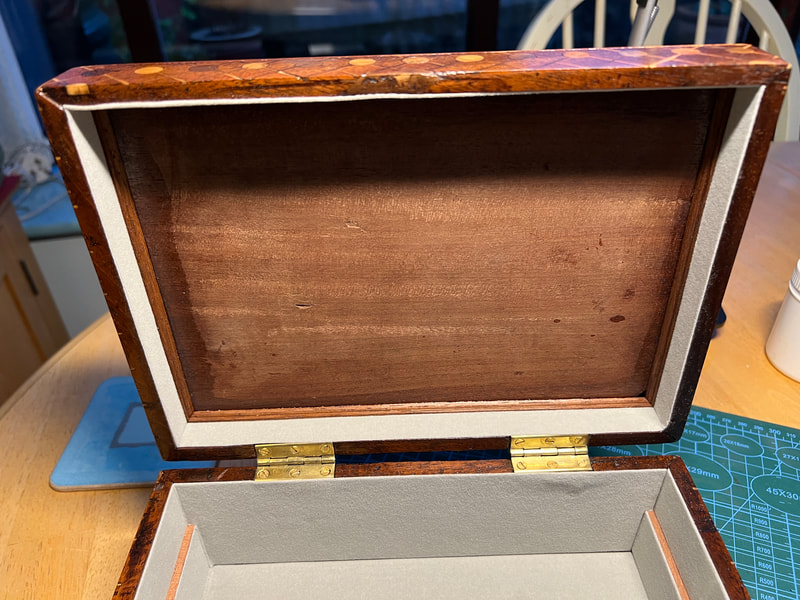
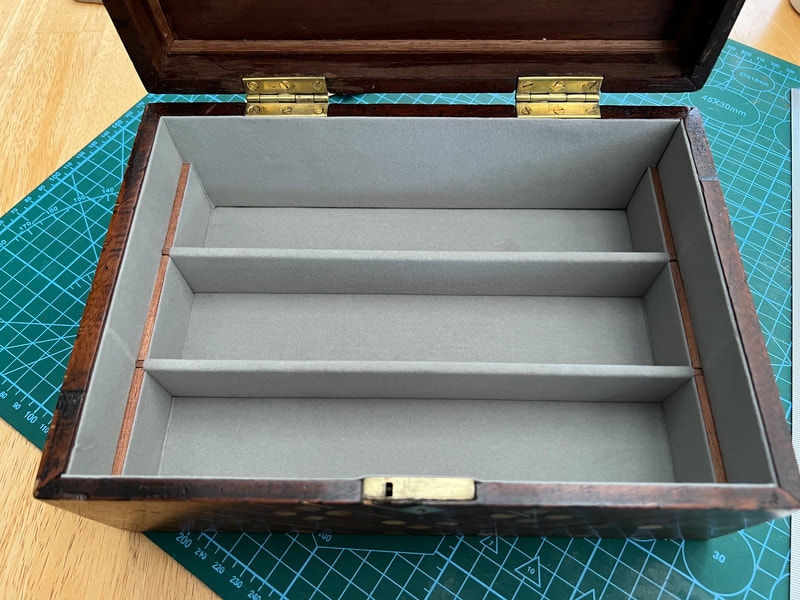
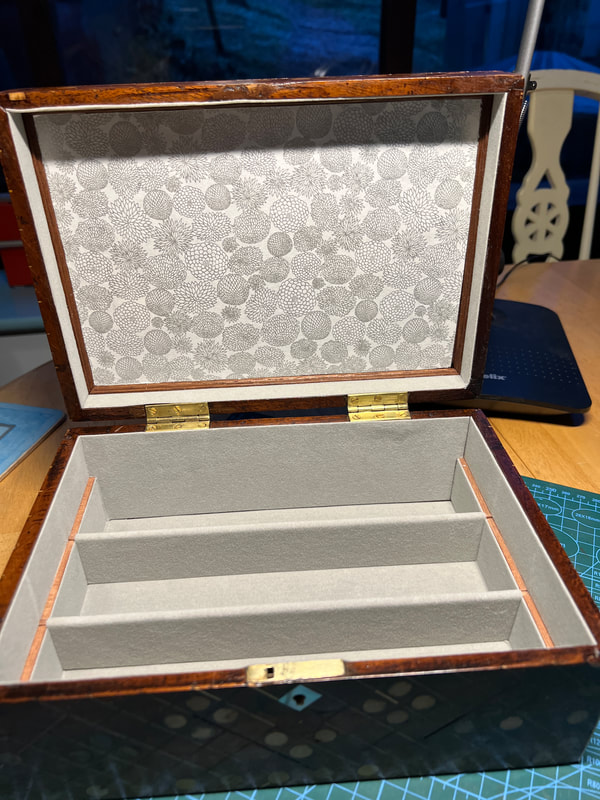
The box is now destined to be used for storing necklaces, and so base dividers and a tray have been made and lining has begun
The box is now destined to be used for storing necklaces, and so base dividers and a tray have been made and lining has begun
